If you're planning a gathering and want appetizers that make a splash, smoked salmon is your secret weapon! From classic spreads to creative crostinis and elegant bites, this roundup of appetizers with smoked salmon has something for every palate and occasion.

Smoked salmon pairs beautifully with a variety of ingredients, making it ideal for creating a range of crowd-pleasing appetizers! These easy smoked salmon appetizer recipes have something for every occasion, whether you're hosting a holiday party, brunch, or casual get-together, these recipes are sure to impress your guests while being easy to prepare.
[feast_advanced_jump_to]There are different types of smoked salmon
There are a few different types of smoked salmon, each with unique qualities and methods of preparation. While the type of salmon may vary, today's classifications of smoked salmon reflect distinct characteristics, flavors, and textures based on the smoking and curing process used.
- Lox, traditionally made from the belly of the salmon, is cured in brine but never actually smoked, giving it a saltier, more raw texture. It resembles thinly sliced raw salmon.
- Gravlax is made with the same process as lox, but it's seasoned with other ingredients like dill, salt, and sugar.
- Cold-smoked and hot-smoked salmon are actually cooked. They are sometimes cured or brined first.
- Cold-smoked salmon is cooked at a low temperature for up to 12 hours. It is more delicate than hot-smoked salmon.
- Hot-smoked salmon is cooked at a higher temperature for only a few hours and it has a drier, flakier texture.
We've noticed on the East Coast and much of the Midwest, smoked salmon often brings to mind lox or gravlax, while the West Coast, it's usually cold- or hot-smoked salmon. Both are delicious but have distinct flavors and textures, so not all recipes are interchangeable. Be sure you select a recipe that works with the type of smoked salmon you are using.

Where to buy smoked salmon
Many grocery stores carry smoked salmon and lox in their meat or seafood section. There are also a number of online retailers that will ship to you.
On the West Coast, SeaBear is our go-to, they ship to all 50 states, and they have both hot-smoked salmon and lox.
On the East Coast we use Wild For Salmon, a fisherman owned business that practices sustainable fishing in Bristol Bay, Alaska.
6 ways to use smoked salmon (without a recipe!)
We've included smoked salmon appetizer recipes, but it's also delicious in a variety of other ways!
- Add to a crisp green salad.
- Break into potato or broccoli soup or chowders.
- Serve on a sandwich with artisan bread, cucumbers, tomatoes, and sandwich spread of your choice.
- Add to scrambled eggs.
- Serve on a bagel with cream cheese, fresh dill, and capers.
- Fill a taco shell and add your favorite toppings.
Our Favorite Recipe

Asking us to pick one favorite recipe is...unfair. But if we had to choose JUST ONE DISH from this recipe collection, it would be this Smoked Salmon Spread with Buttery Crostini.
Quick and easy to make, served on buttery, toasted crostini it's a perfect appetizer for any occasion; holiday gatherings, family get-togethers, or any time you want to impress!
Recipes for Smoked Salmon Appetizers
This collection features some of our favorite smoked salmon appetizer recipes from our archives, plus a few delicious ideas from other recipe developers!

Smoked Salmon Tart
A light and flaky puff pastry crust, layered with a lemon caper cream cheese and buttery smoked salmon for a simple yet elegant tart that's perfect for special occasions and is ready in 30 minutes!
Recipe & Photo: Coley Cooks

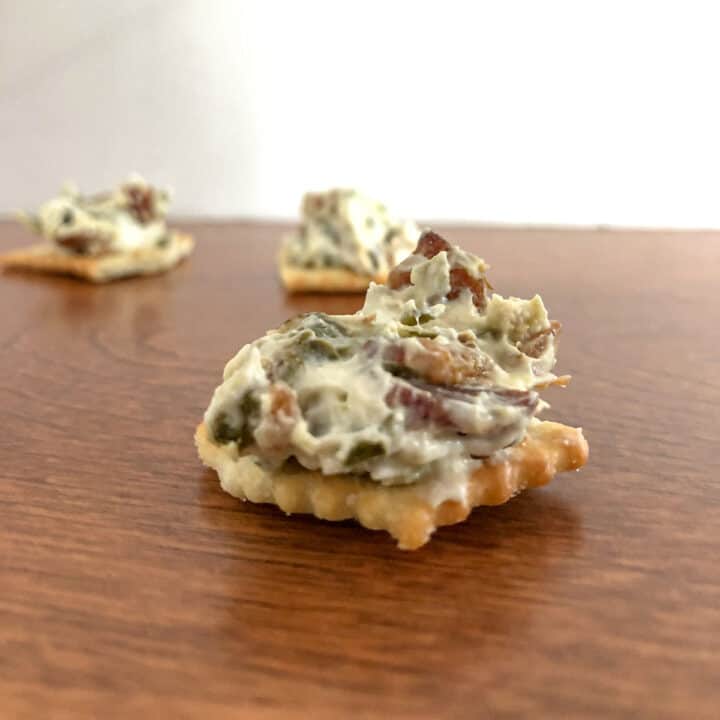
Smoked Salmon Spread
This smoked salmon spread is, hands down, the best we've ever had - and no cream cheese required! Impress your guests at your next get together.

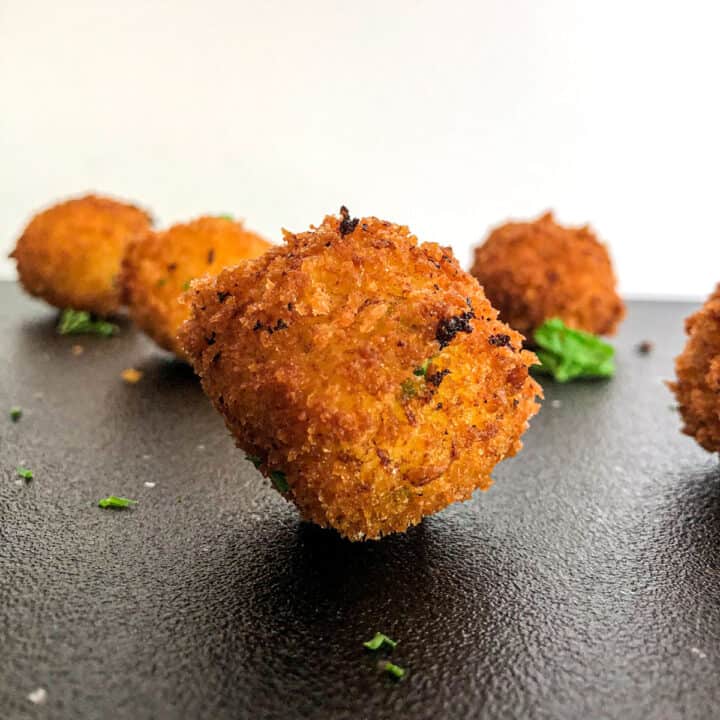
Smoked Salmon Cakes
These easy smoked salmon patties are a delicious and versatile option that can be served as an appetizer or as a main dish!
Recipe & Photo: Our Love Language is Food

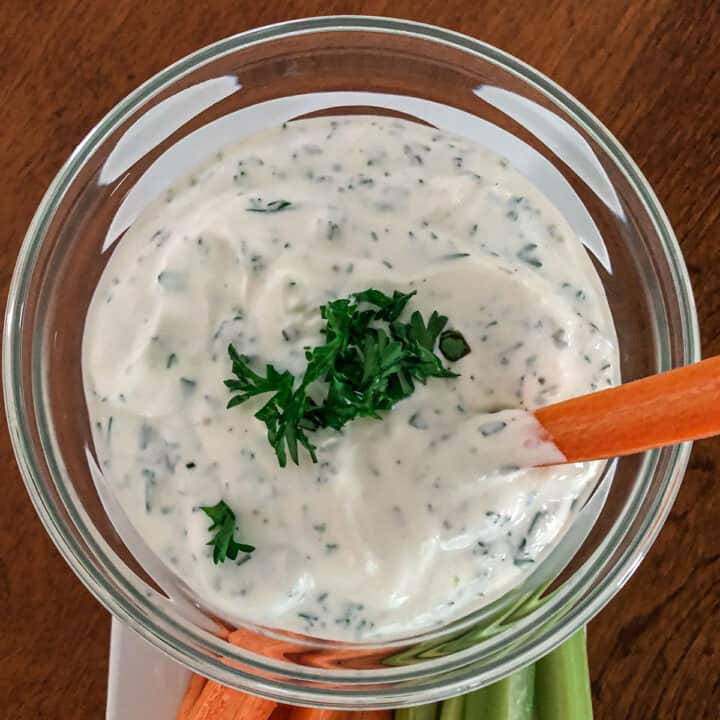
Smoked Salmon Dip in Cucumber Cups
This easy smoked salmon dip makes a simple but elegant appetizer! Serve it as a salmon spread on toast or inside refreshing cucumber cups.
Recipe & Photo: Life As A Strawberry

Smoked Salmon Polenta Pancakes
The tang of smoked salmon and creamy horseradish paired with the pillowy polenta pancake and chive garnish creates the perfect combination for the taste buds.
Recipe & Photo: The Mindful Hapa

Smoked Salmon Platter
Whether you are serving brunch or an appetizer, this easy Smoked Salmon Platter is the perfect plate!
Recipe & Photo: Little Sunny Kitchen

Smoked Salmon and Cream Cheese Crackers
Smoked salmon and cream cheese cracker bites are topped with cucumber and arugula to make the perfect bite-size snacks.
Recipe & Photo: Ahead of Thyme

Smoked Salmon Bites Appetizer with Cucumber
Ideal for your next dinner party or happy hour, these Smoked Salmon Bites with cucumber are a delicious and easy appetizer.
Recipe & Photo: Homemade Happy Hour
Add a vegetarian holiday appetizer option to your table with
this festive Feta, Cilantro, and Roasted Red Pepper Spread recipe.
Frequently Asked Questions
No. Lox, also referred to as smoked salmon, is cured in brine but never actually smoked. Gravlax uses the same process as lox, but is seasoned with other ingredients. Cold-smoked and hot-smoked salmon are actually cooked.
Yes! We love ordering online from our preferred providers because we know, and love, the quality. For those on the East Coast, Wild For Salmon, a fisherman owned business who practice sustainable fishing in Bristol Bay, Alaska is our go-to. On the West Coast we use SeaBear, they ship to all 50 states and have both hot-smoked salmon and lox.
We hope you loved this guide to smoked salmon appetizers! If you have any questions, drop a comment below. For more easy ideas to help you entertain with confidence, visit our full recipe index.