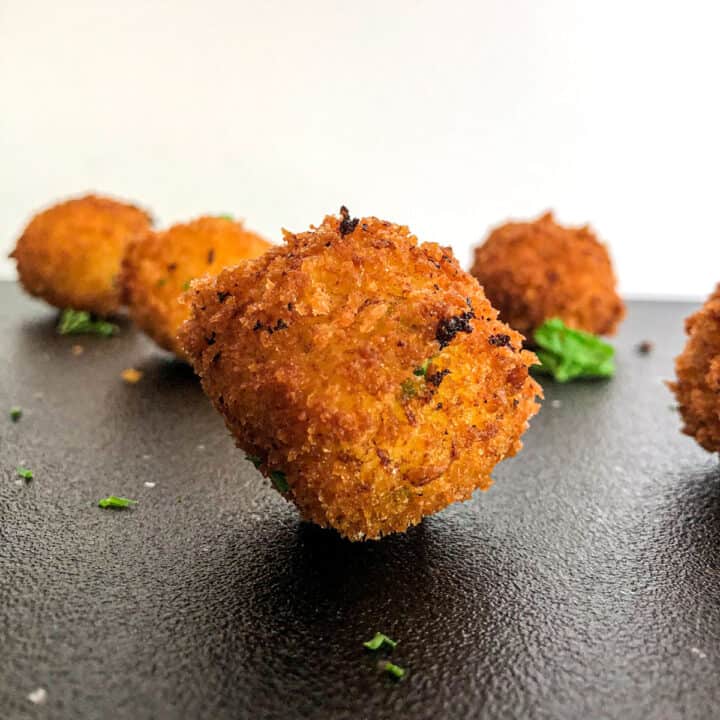
These jalapeño popper mac & cheese bites are the ultimate comfort appetizer. Easy to prepare, customizable to your taste preferences, and perfect for making ahead of time. Baking these bites in a mini muffin tin makes them a perfect grab and go bite for your next BBs, game day party, or casual gathering!

These baked mac and cheese jalapeño popper bites are the best of two of our favorite foods; jalapeño poppers and mac & cheese, and are a guaranteed crowd-pleaser! We always make extra, hoping for leftovers, but we always underestimate how popular these are!
These jalapeño mac and cheese bites are similar to jalapeño mac and cheese balls, but are baked in the oven in a mini muffin tin instead of being coated in a breading and then deep fried. We get all the flavor without the deep frying!
[feast_advanced_jump_to]Main ingredients
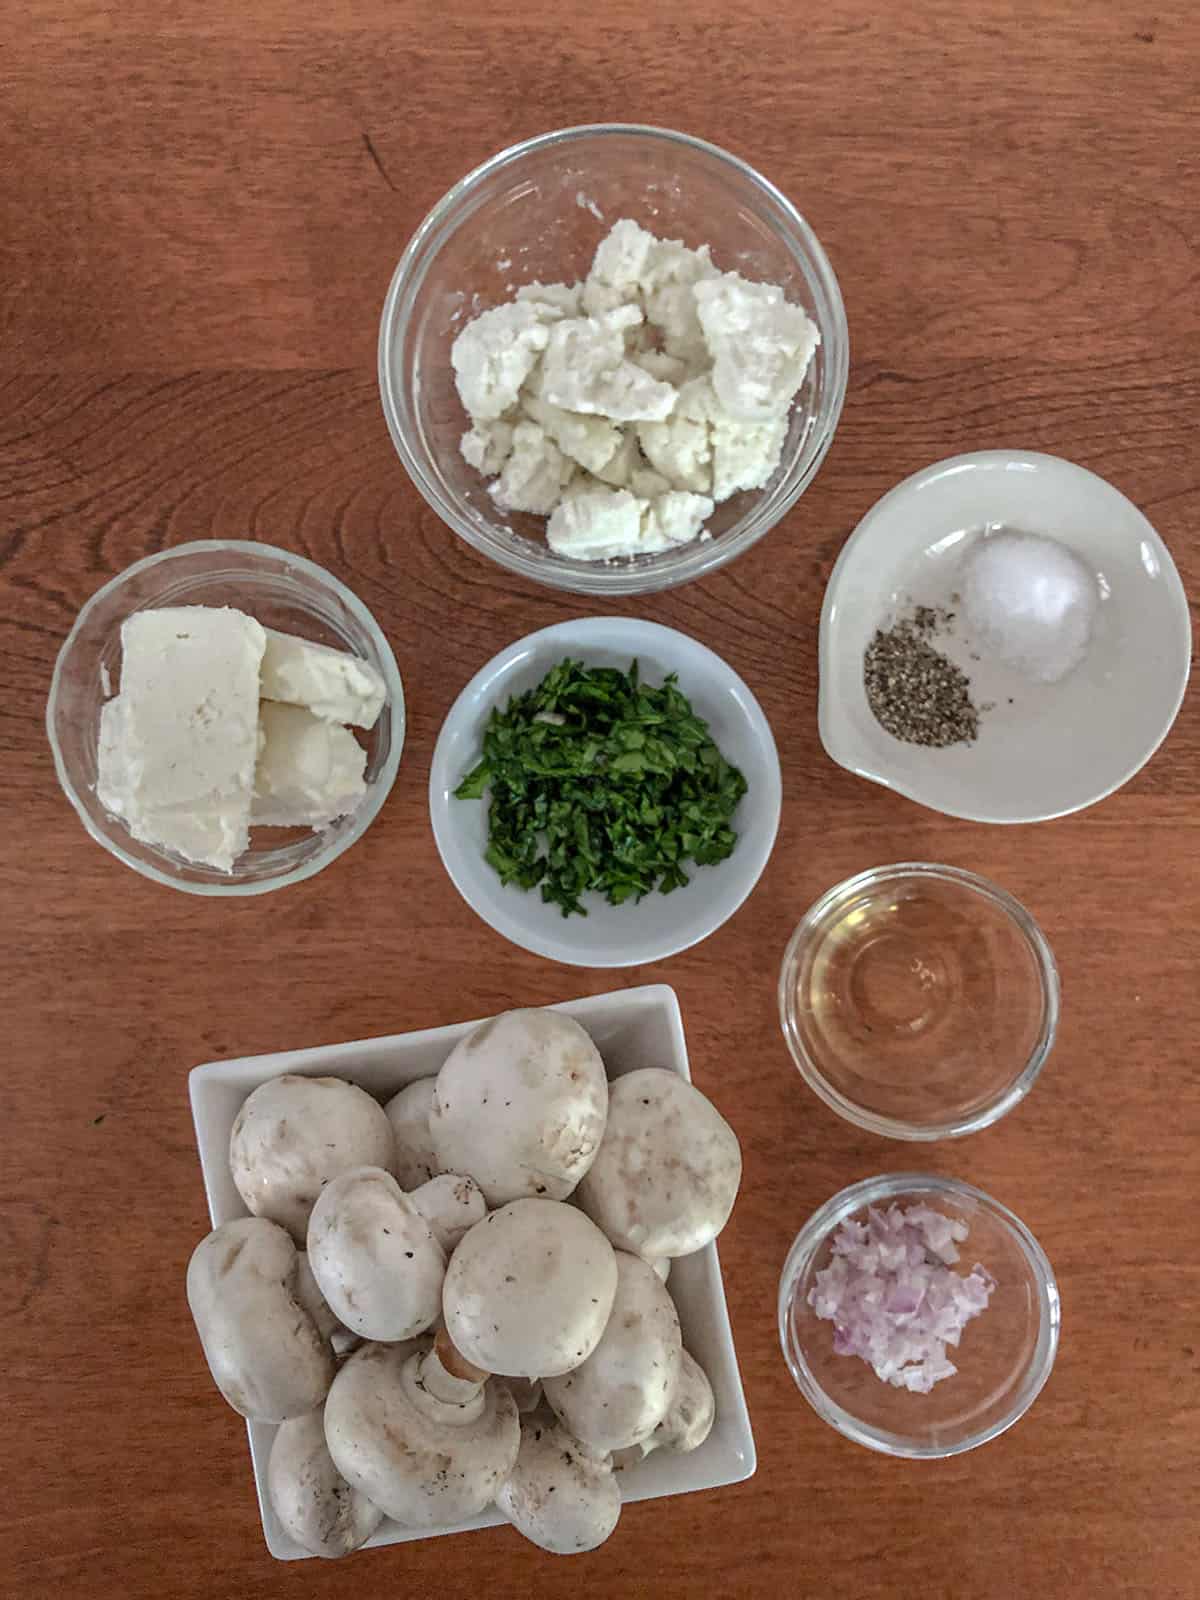
See the recipe card below for a full list of ingredients and quantities.

Jalapeños. Fresh diced jalapeños are the namesake of this dish. Adjust the number or jalapeños depending on your desired spice level. We recommend wearing gloves when handling hot peppers. For more information about peppers and the Scoville Heat Units, see our Jalapeño Breakfast Casserole post.
Pasta. Since these bites will be baked in a small muffin tin, we recommend using a small pasta shape like; small shells, small elbows, ditalini, or one of the other many small shapes available in your local market.
Cheese. A combination of shredded cheddar cheese and cream cheese gives these jalapeño popper mac & cheese cups a creamy, cheesy mix. Top with some blue cheese to bring in even more "popper flavor".
Bacon. We can't have a jalapeño popper without some crispy crumbled bacon!
Staples. Butter, flour, milk, salt, and pepper.
Order of operations
This jalapeño popper mac & cheese bites recipe has several steps, but they are easy to make and ready to eat, start-to-finish, in under an hour.
Cut jalapeños
We recommend wearing gloves when working with hot peppers.

Start by washing the jalapeño pepper (image 1). Cut the stem off the pepper and slice it in half lengthwise (image 2). Use a spoon, or your fingers, to remove the seeds from both sides. Removing seeds will help reduce the heat of the pepper, but feel free to leave them in if you want the heat and don't mind the seeds (image 3). Make 12-14 slices off the end of one side of the jalapeño. Cut each of these slices in half and set aside for later (image 4). Slice all of the remaining jalapeño pepper into thin strips (image 5). Cut small pieces off the strips so you end up with small, diced pepper pieces (image 6).
Remember to wash your hands - multiple times - when done handling hot peppers.
Cook pasta

Add water to a medium-sized pot and heat until boiling (image 7). Salt the water and add the pasta. Cook 3-4 minutes less than the recommended time on the package (the pasta will continue cooking in the oven), drain pasta in a colander, run cold water over the pasta, and set aside while making the cheese sauce (image 8).
Make cheese sauce

Return the pot you cooked the pasta in to the stovetop and add butter and flour (image 9). Stir this together until the butter is melted and the flour has cooked. When flour cooks it will have a delicious smell like lightly toasted almonds and just begin to brown (image 10). Slowly whisk in the milk. Then add salt and pepper to taste and cook over medium-low heat until it begins to thicken (image 11 & 12). Once the white sauce has thickened, remove from the heat and add the shredded cheddar cheese and cream cheese (image 13). Stir until all of the cheese is melted and you are left with a smooth cheese sauce (image 14).
Mixing jalapeño popper mac & cheese bites

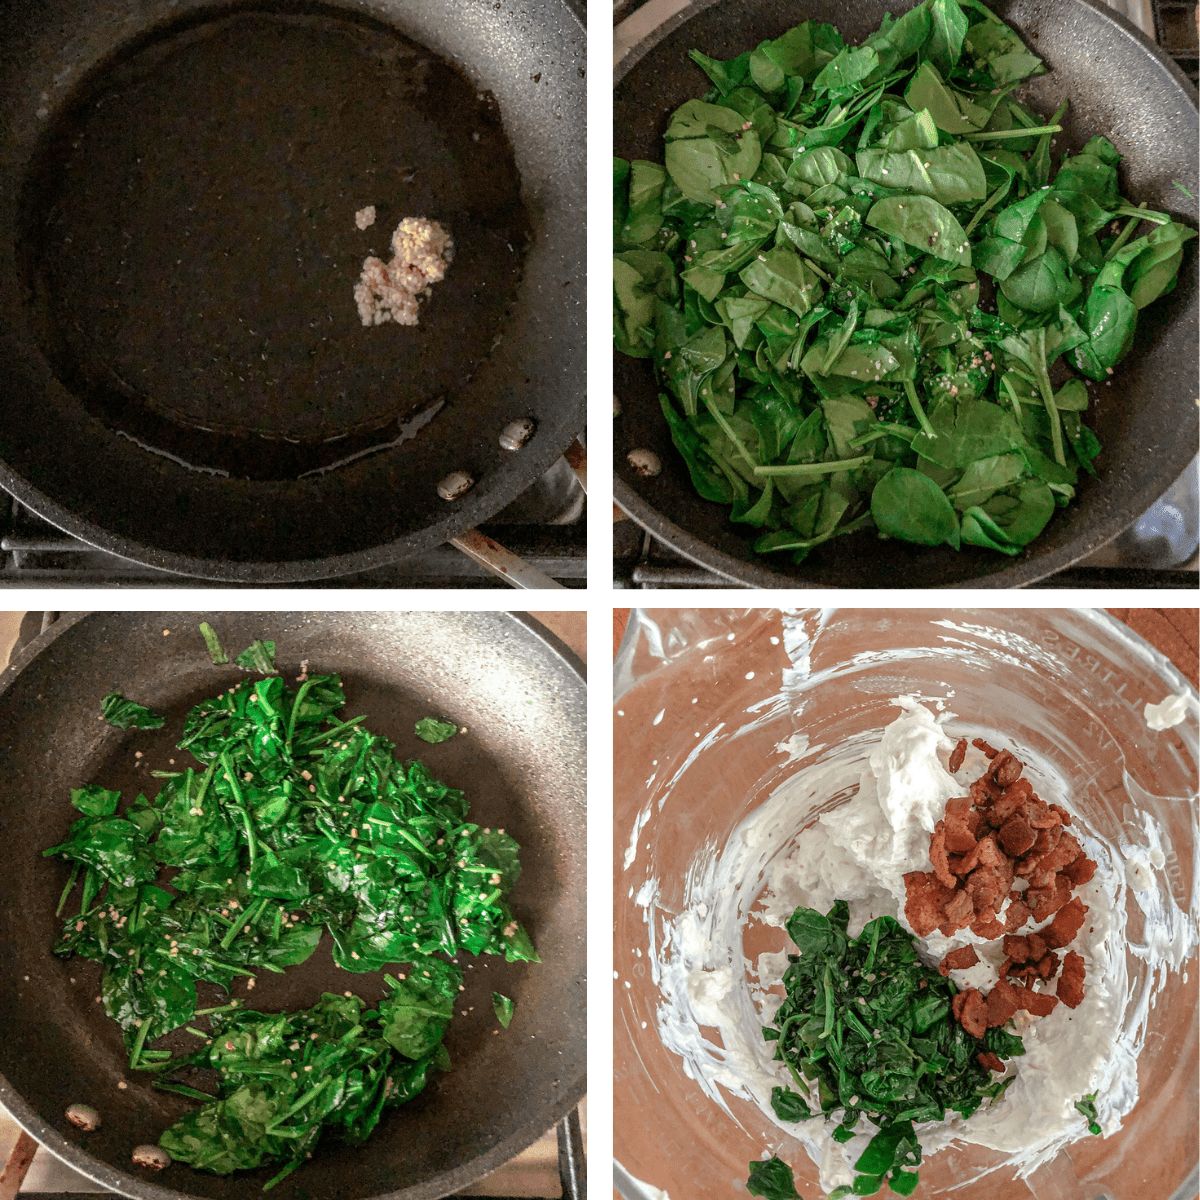
Add the cooked pasta, crispy bacon crumbles, and diced jalapeños into the pot with the cheese sauce (image 15). Stir until everything is coated with the cheese sauce (image 16).
NOTE: there should be a significant amount of sauce in the pan after you stir everything together. If there is not enough sauce, the bites will become too dry when baking.
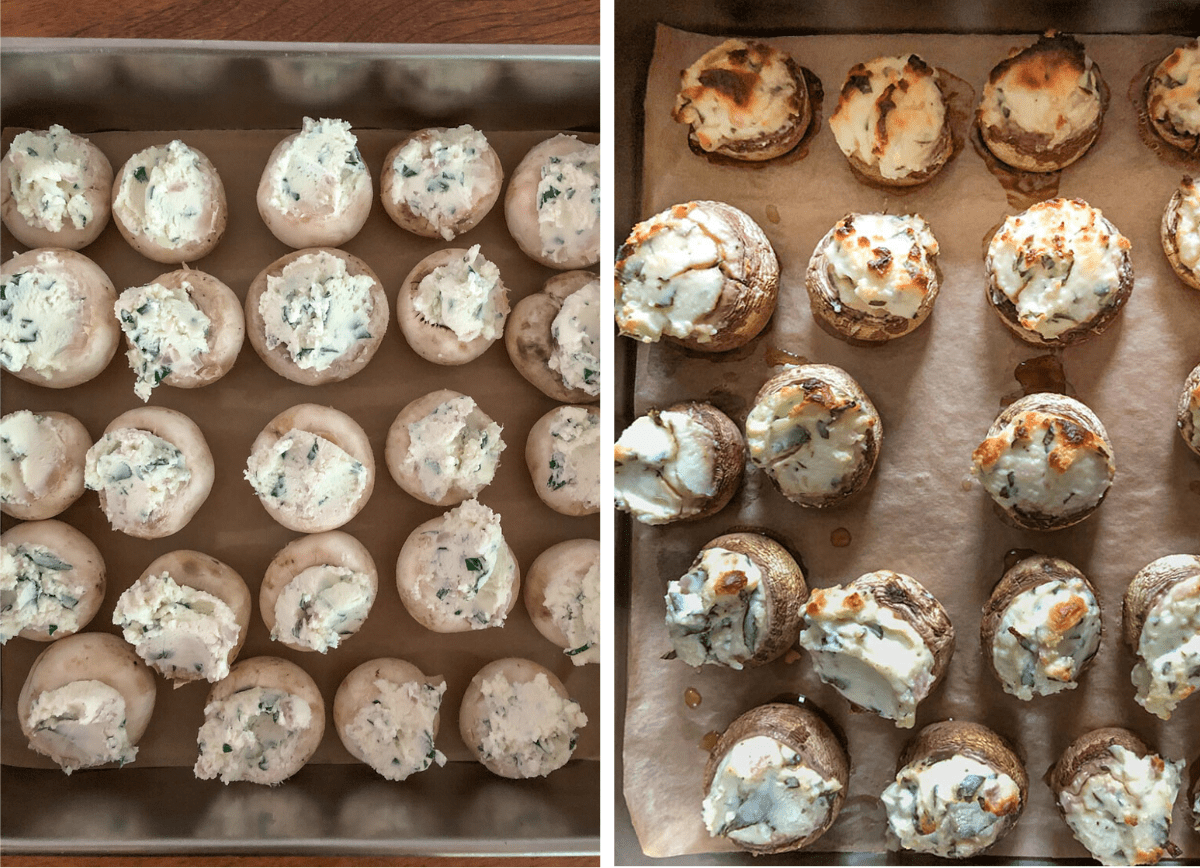
Gather your mini muffin pan, pasta mixture, small sliced jalapeños, and blue cheese crumbles (if using) all together (image 17). Fill each muffin cup with the pasta mixture and gently press the pasta into the cup so it is loosely packed. This will help form a tight cup that holds together versus one that falls apart once baked (image 18).
Baking bites

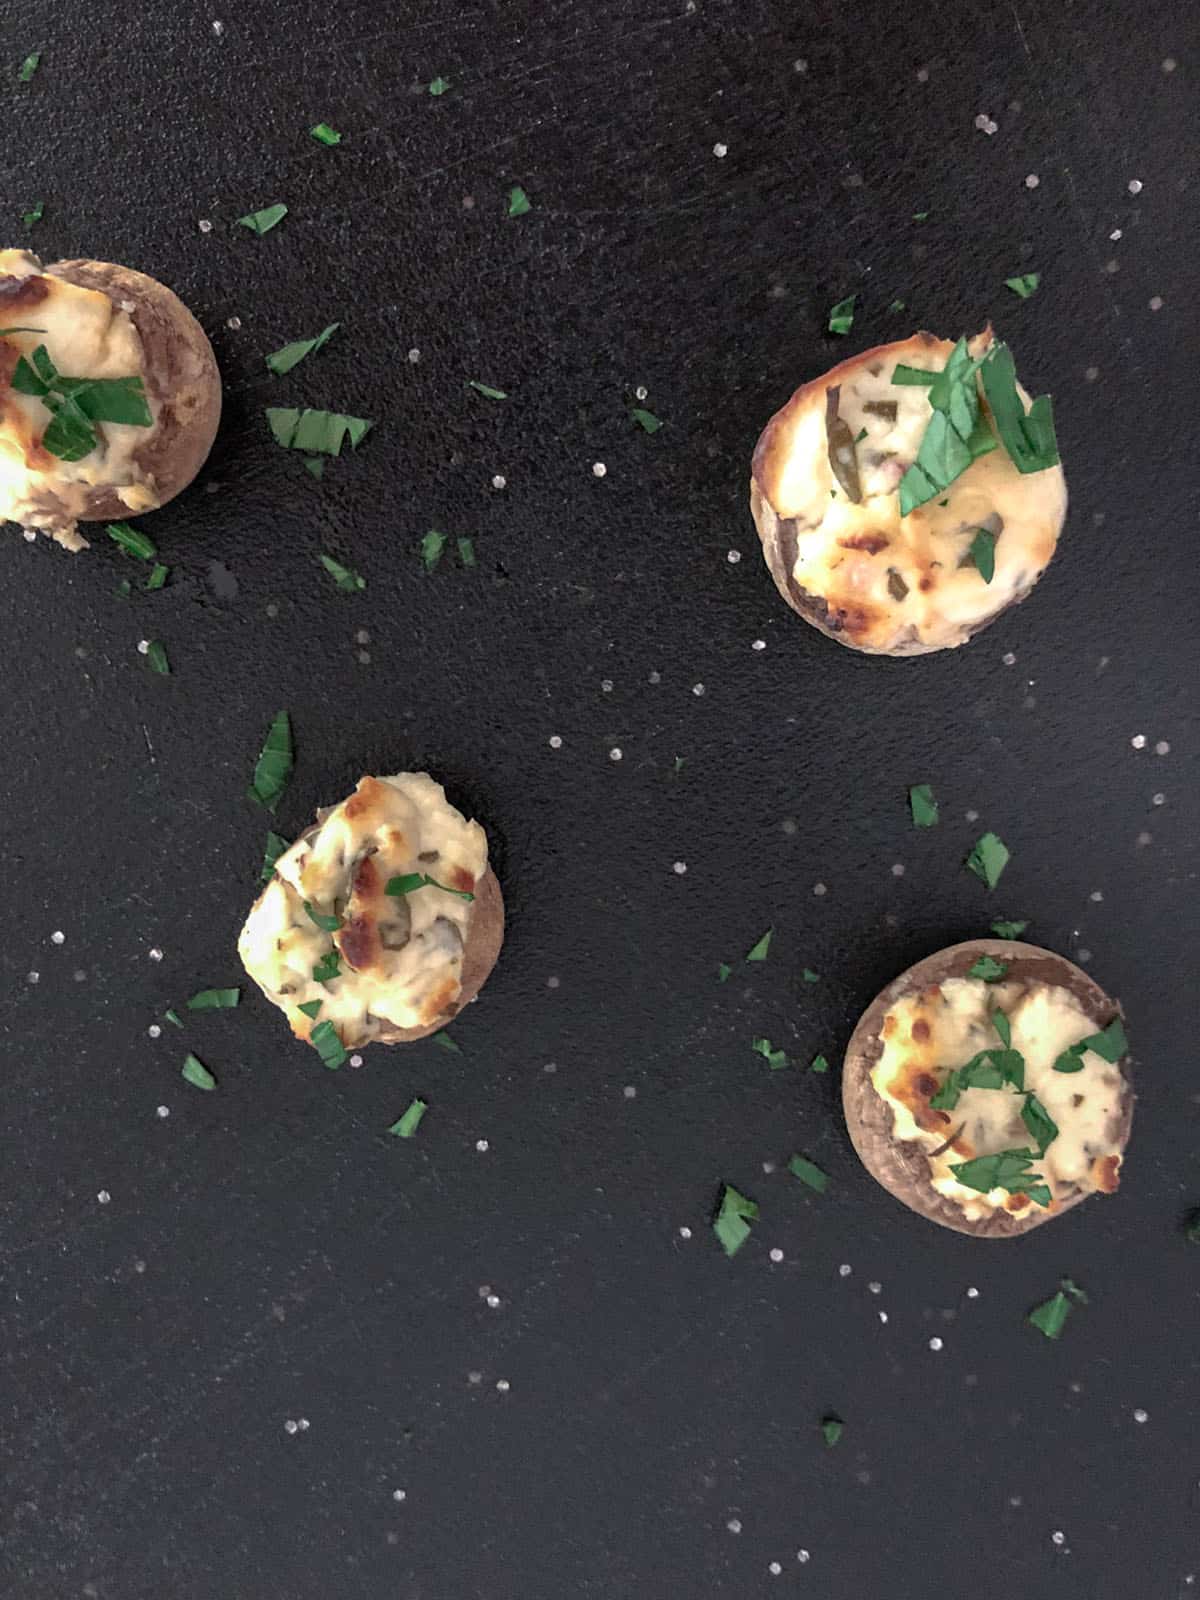
Place one of the sliced jalapeño peppers on top of each bite (image 19). Bake until hot all the way through and the cheese is beginning to get crispy and golden brown on top (image 20). Let cool 1-2 minutes so you don't burn yourself, and then remove the bites from the pan. Serve immediately or let cool and store in the fridge until ready to reheat.
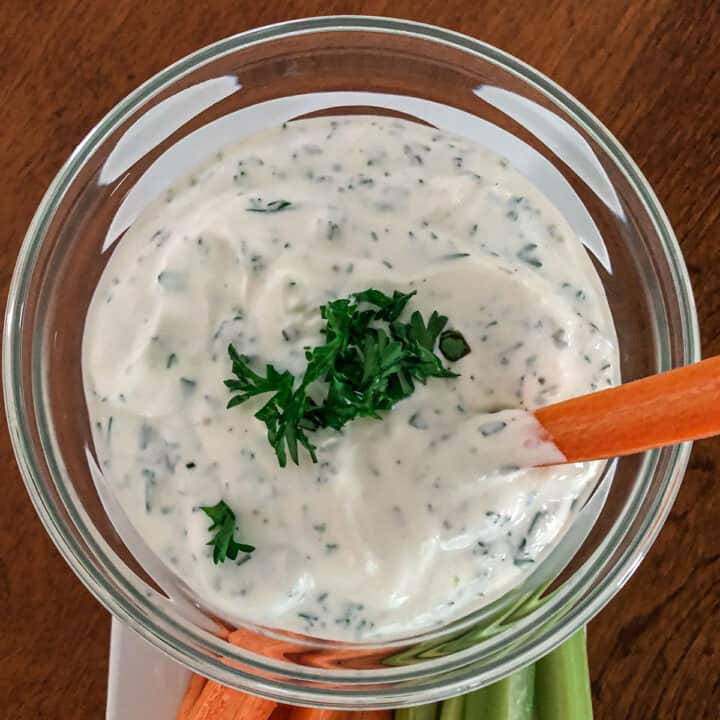
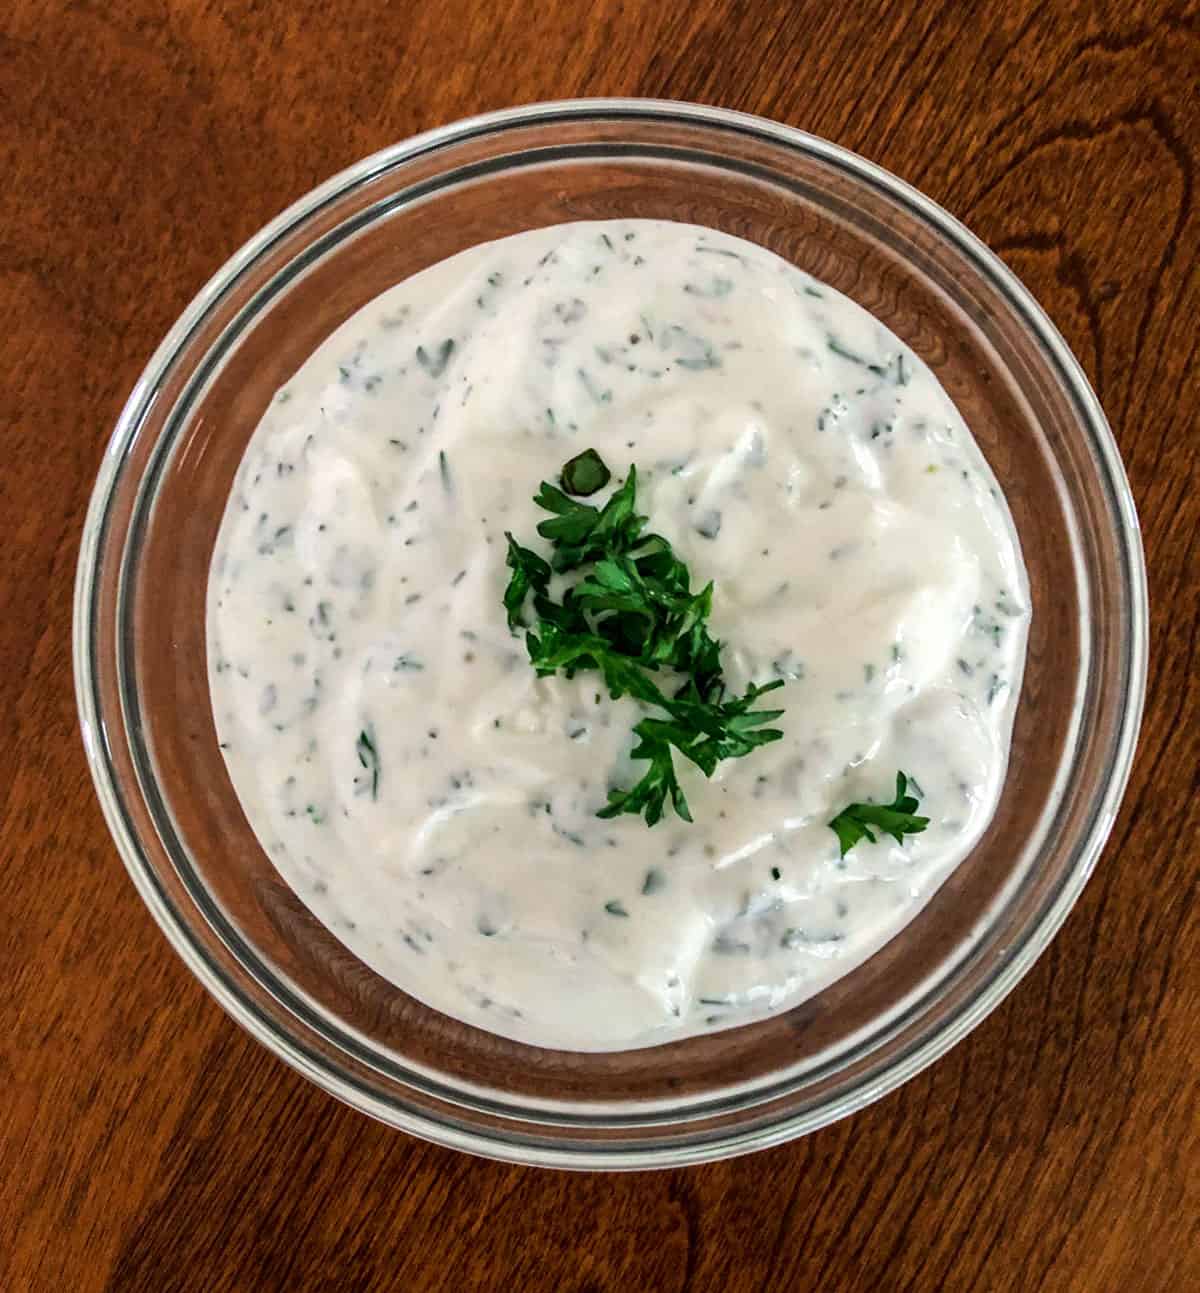
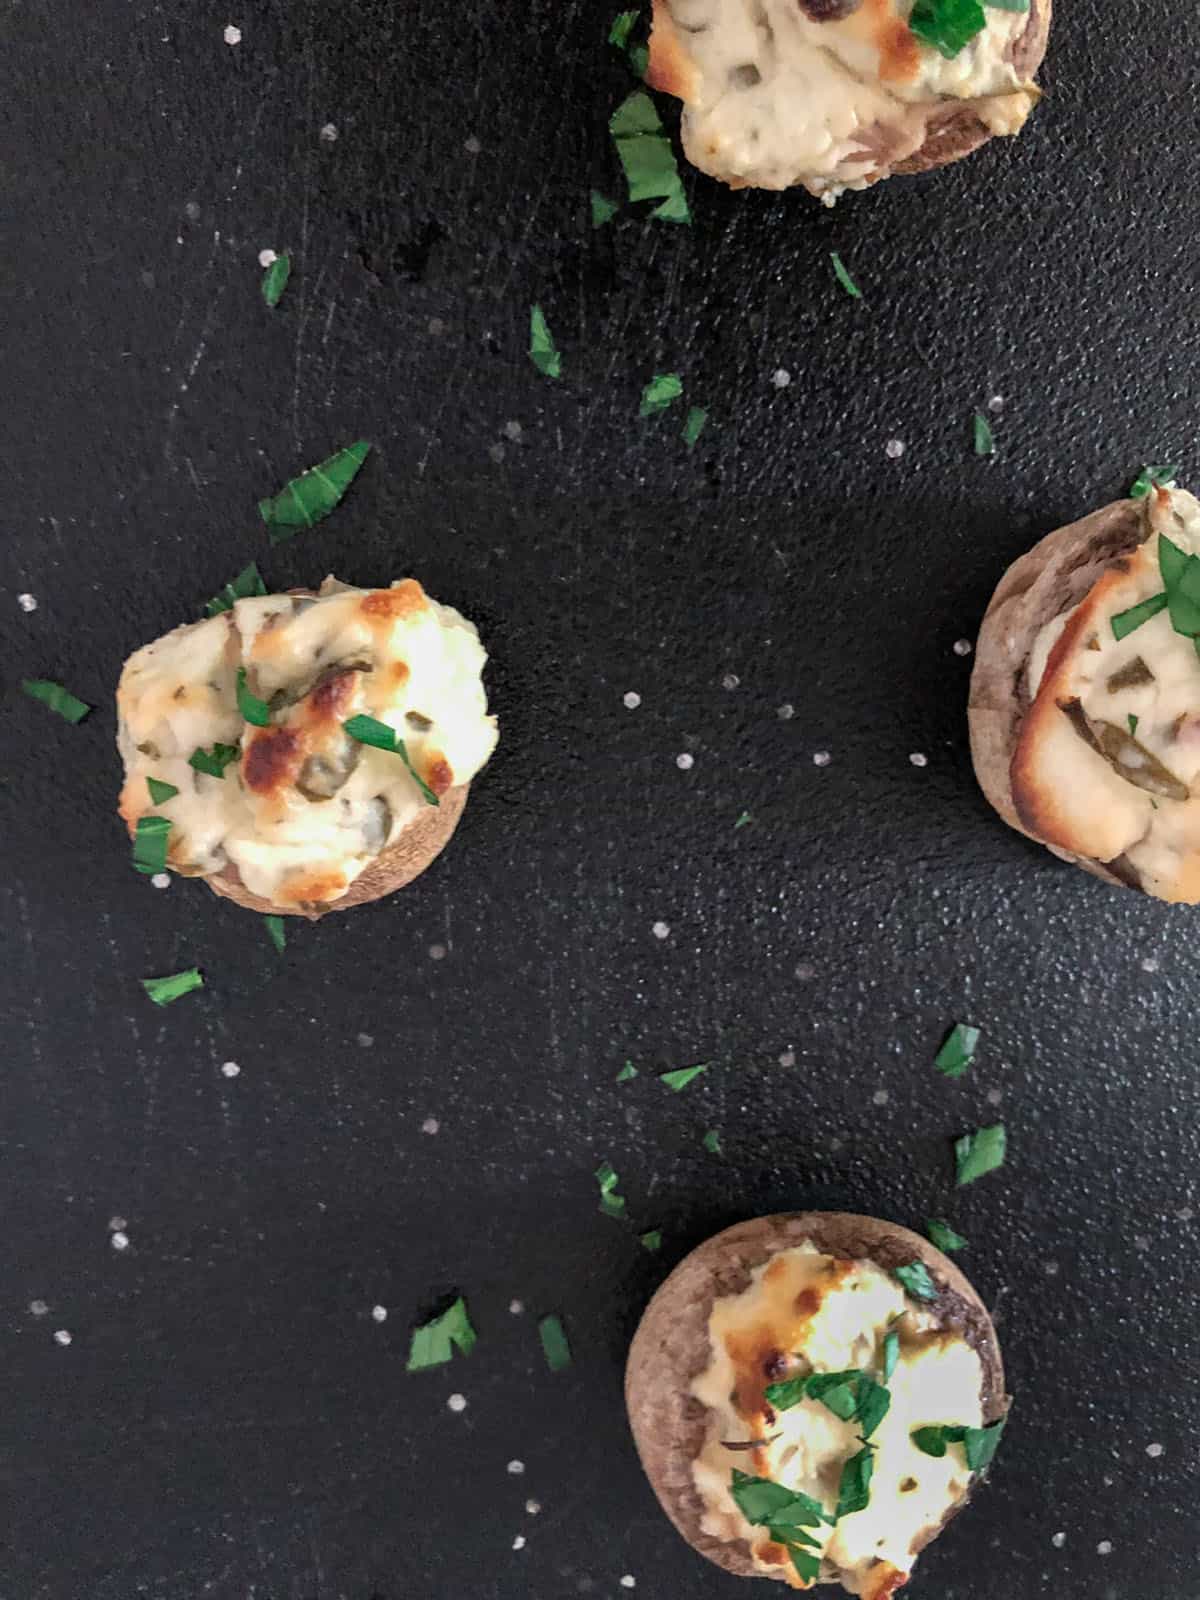
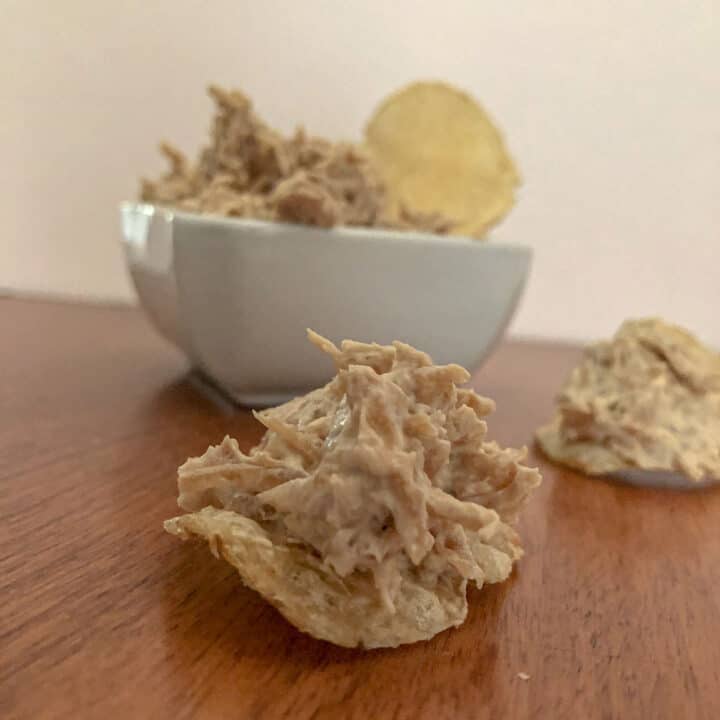
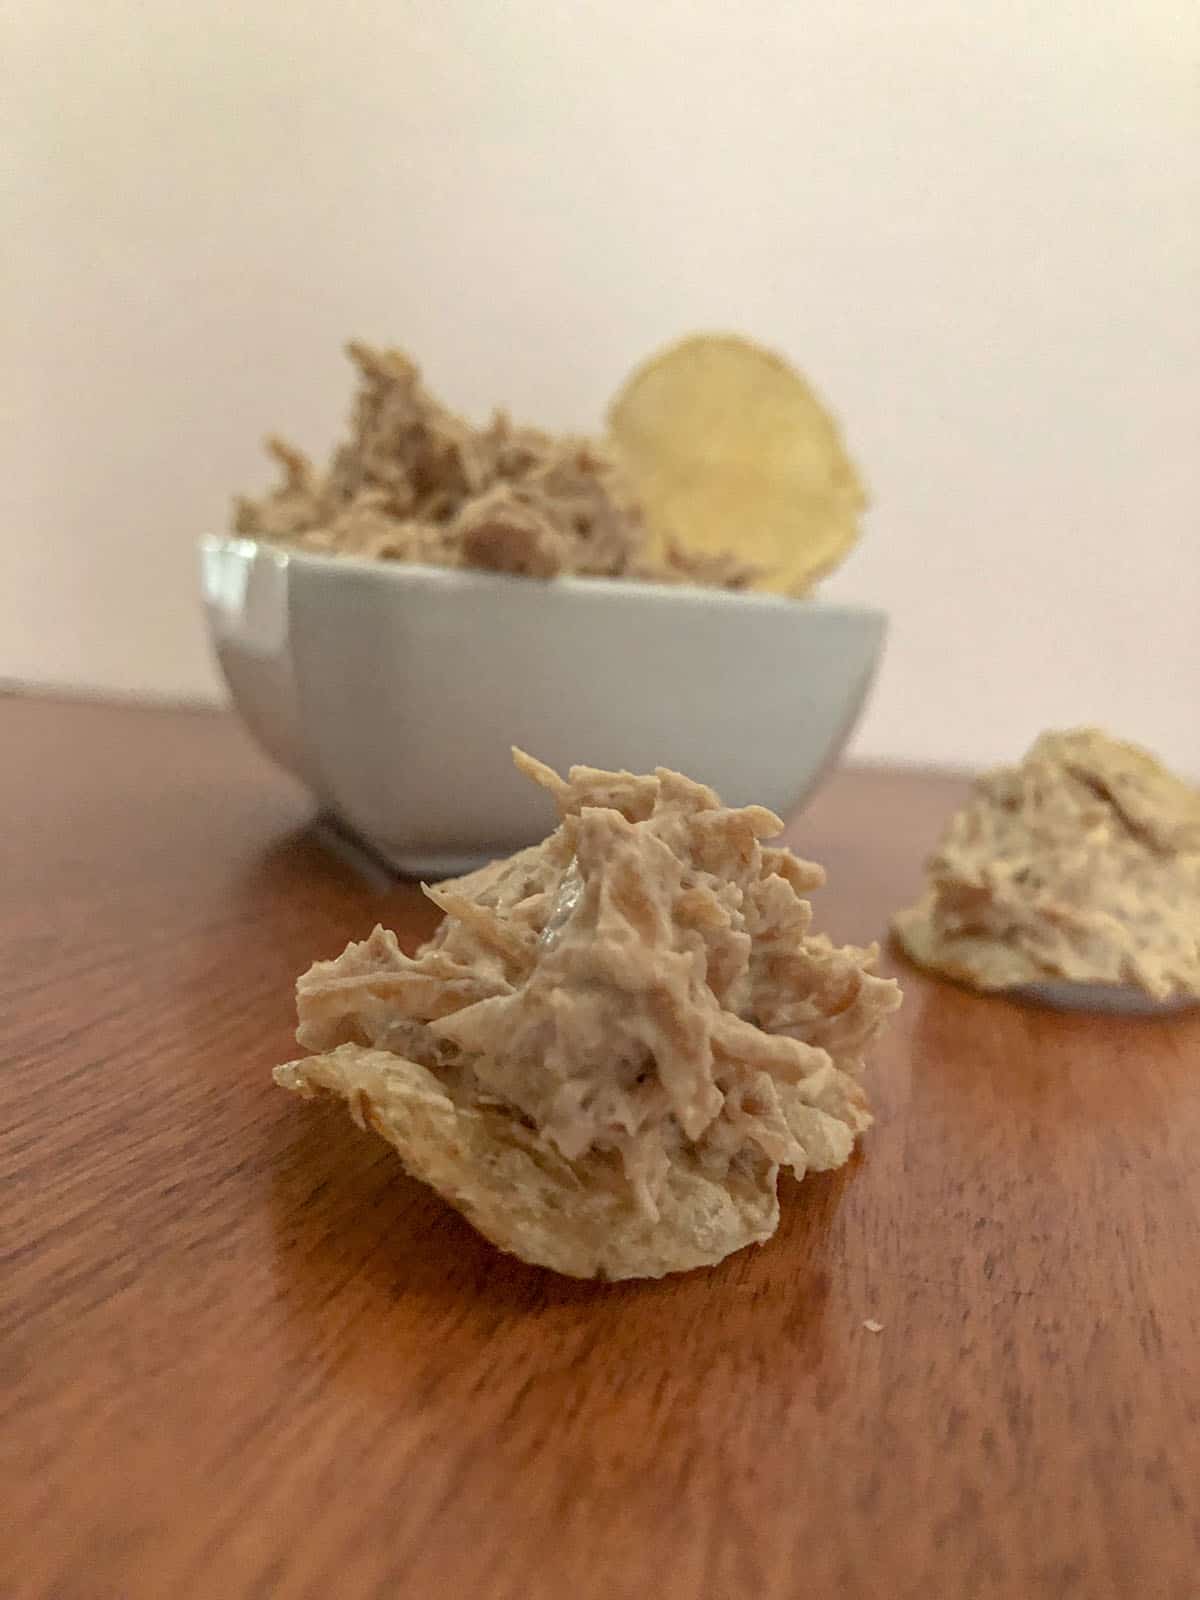
Serve these jalapeño mac and cheese bites while hot with some Blue Cheese Dip for an extra bit of deliciousness.
Equipment
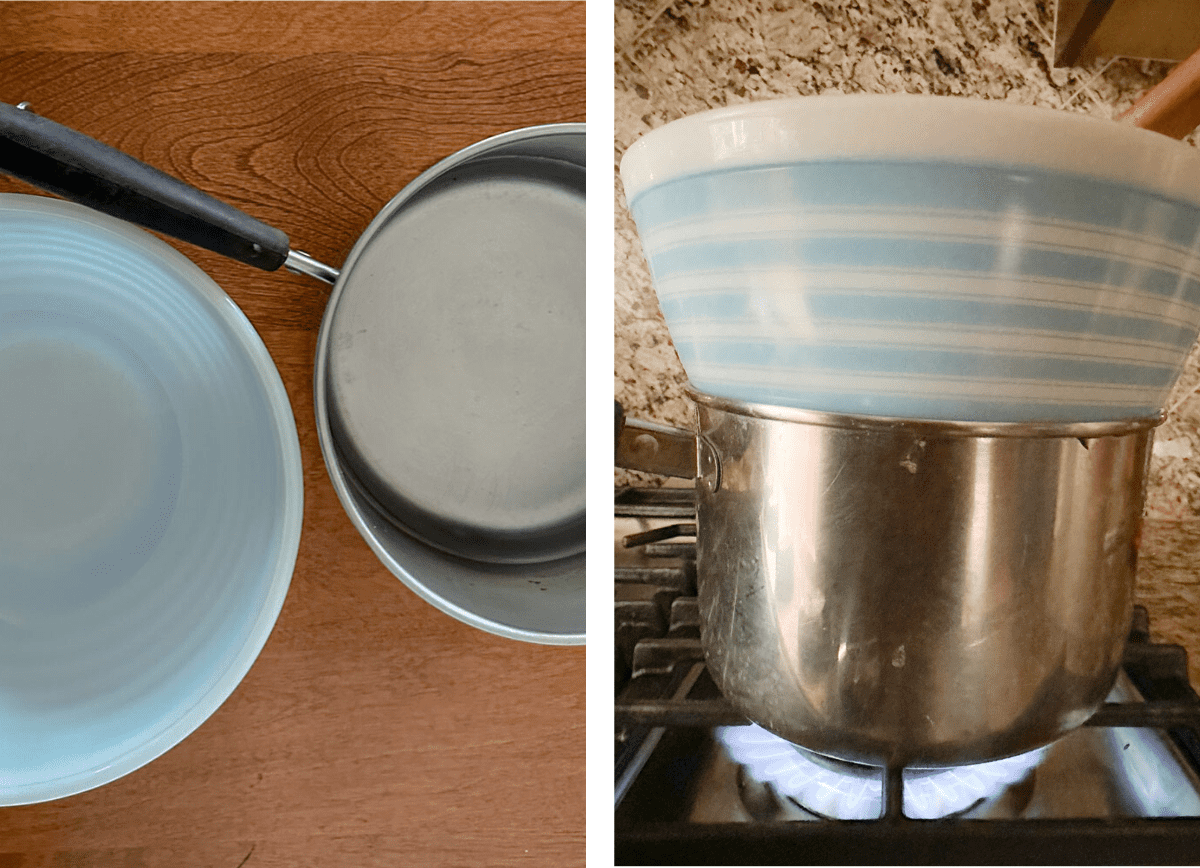
We want these to be a bite-sized treat, so we used a mini muffin tin when baking these to get the perfect size. We tested this with mini silicone muffin pan and a mini metal muffin pan, and both yielded excellent jalapeño popper mac & cheese cups. Silicone pans may take an 5 minutes longer than the metal pans to get the same crispy outside we love.
To prevent sticking, remove the bites from the pan while they're still hot. Simply glide a spoon around the edges of each muffin cup and use it to gently lift the bite out. If you're not serving these immediately, transfer them to a cooling rack, cool completely, transfer to an airtight container, and store in the refrigerator for up to 4 days.
NOTE: If you remove them from the pan while hot, you don't need to butter the metal pan. There is enough oil from the butter and cheese in the bites to keep them from sticking.
Substitutions
It is easy to adjust the heat of these bites. Use additional jalapeños for more heat or fewer for less heat. Substitute hatch, Pueblo, or Anaheim chilis in place of the jalapeño peppers.
For a more thorough discussion of the Scoville Heat Scale, which tells you how hot a pepper is, see our Jalapeño Breakfast Casserole post.
We recommend leaving the cream cheese as a binder for this dish, but substitute your favorite cheese for some or all of the cheddar cheese. Try some white cheddar, goat cheese, gruyere, smokey cheddar, or smokey gruyere to mix things up a little.
Top these with crispy bacon crumbles or blue cheese crumbles instead of (or in addition to) the jalapeño slice. Top the baked bites with a dollop of Blue Cheese Dip. Each variation is AMAZING! Sample some of each and discover your favorite.
Time saver and make ahead tips
Make ahead and bake later. Follow the recipe through step 16, let mixture cool, and store in the refrigerator in an airtight container for up to 4 days. When ready to bake, simply fill your muffin pans and bake according to recipe directions. If baking the bites straight from the fridge, it may take a few extra minutes to reach that delicious crispiness.
Bake ahead of time and reheat later: To save time on the day of your party, you can also bake these bites ahead of time. Let them cool completely, and then store in the refrigerator in an airtight container for up to 4 days. Remove from the refrigerator and place on a baking sheet while the oven preheats to 300°F. Once the oven is hot, place the bites into the oven until warmed through, usually 5-10 minutes.

Saving Leftovers
The FDA recommends discarding any perishable food that has been out at room temperature for more than 2 hours.
If you are within the FDA recommendations, these jalapeño popper mac and cheese bites will last in an airtight container in the refrigerator for up to 4 days. Remove and reheat in a 300°F oven until hot through.
Other favorite appetizer bites


Some common questions
These bites are perfect for making ahead of time. Prepare the bites through step 16 above and store the unbaked, cooled pasta mixture in the refrigerator for up to 4 days. Place in mini muffin tins and bake as needed. You can also bake them in advance and let cool. Refrigerate in an airtight container for up to 4 days. Reheat baked bites in a 300°F oven until warmed through.
We like to serve these jalapeño mac & cheese cups when they are hot with a side of Blue Cheese Dip. The dip helps bring even more of the jalapeño popper flavor and feel to these bites!
Yes! While this is a jalapeño dish, it is absolutely okay to use a different kind of hot pepper. These would also be great with hatch chili peppers, Pueblo chili peppers, Anaheim chili peppers, or even Serrano peppers. For more information about peppers and the Scoville Heat Units, see our Jalapeño Breakfast Casserole post.