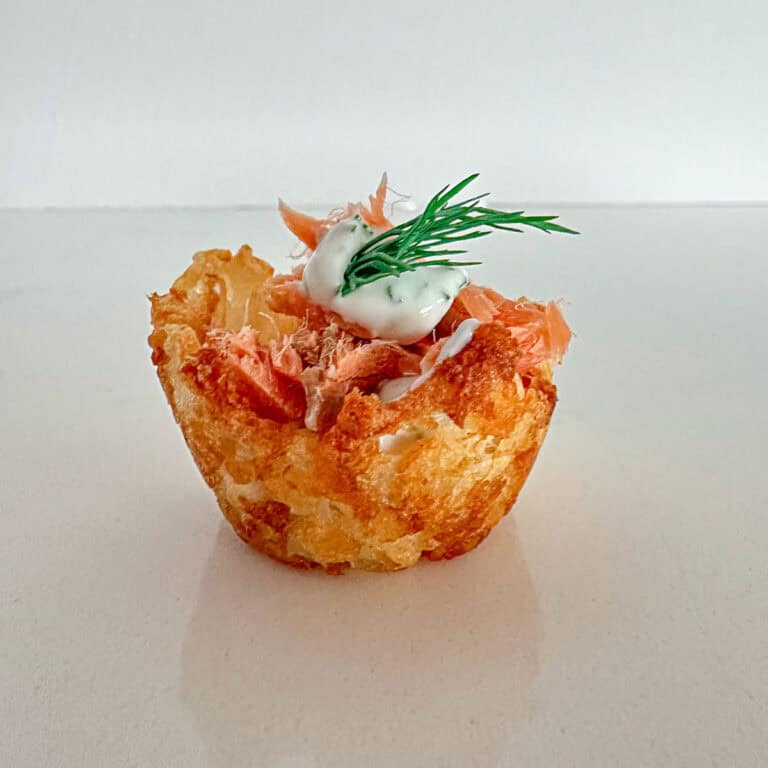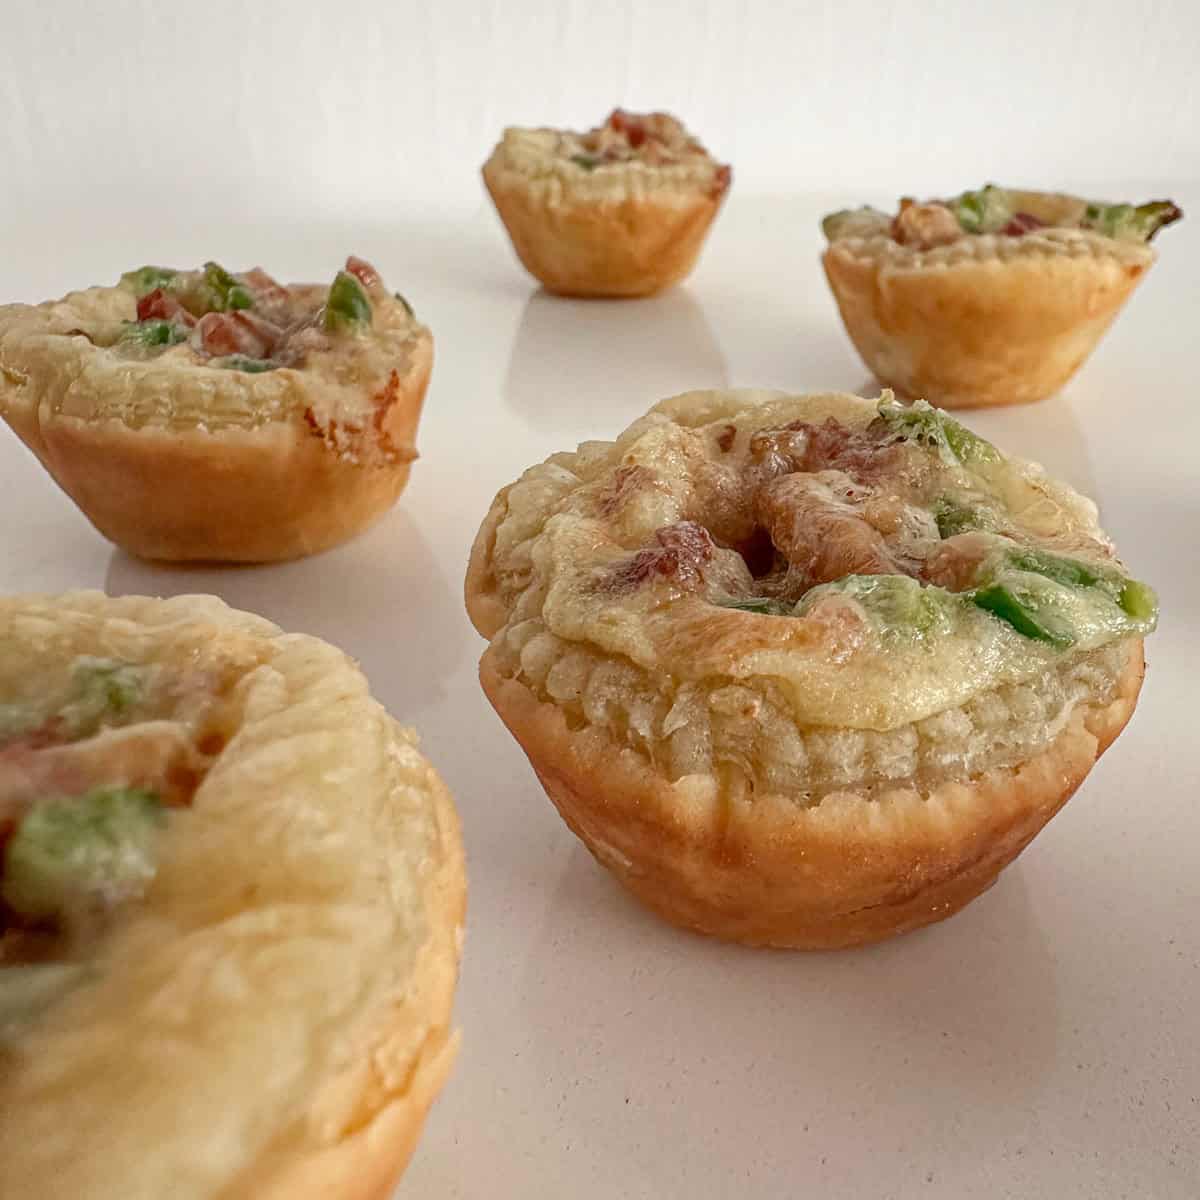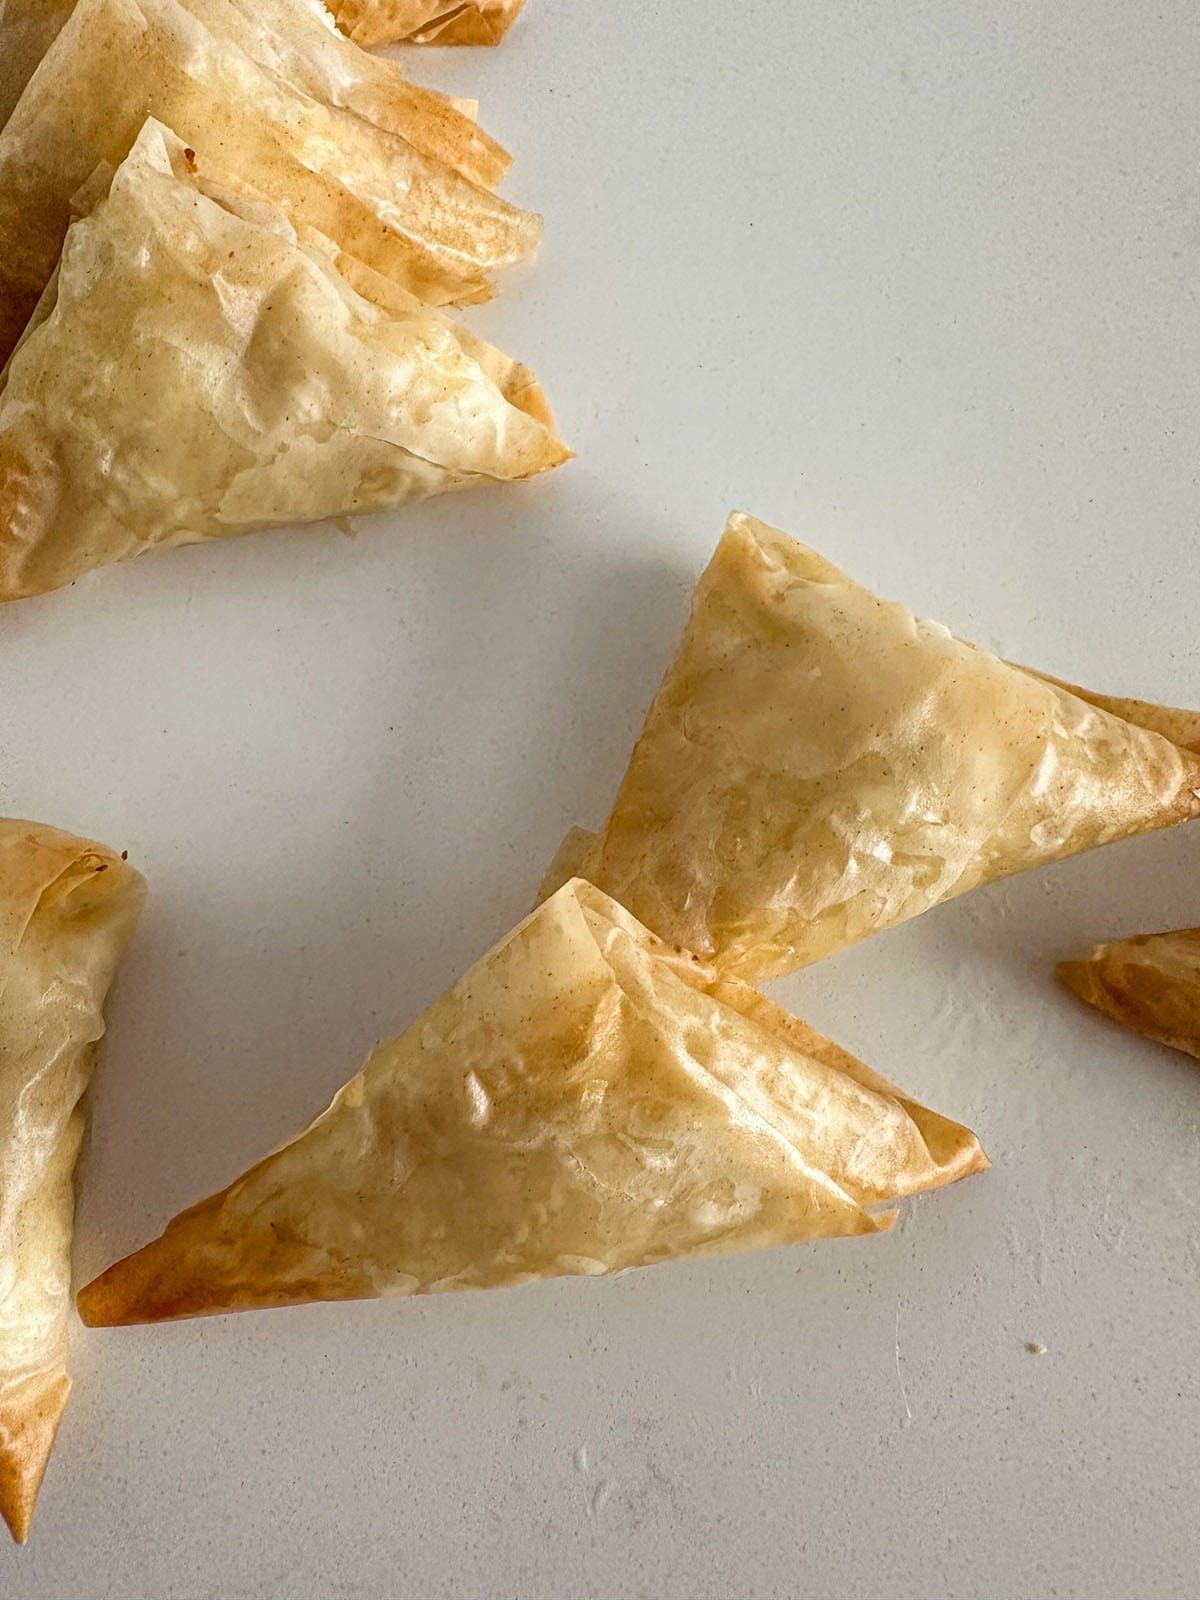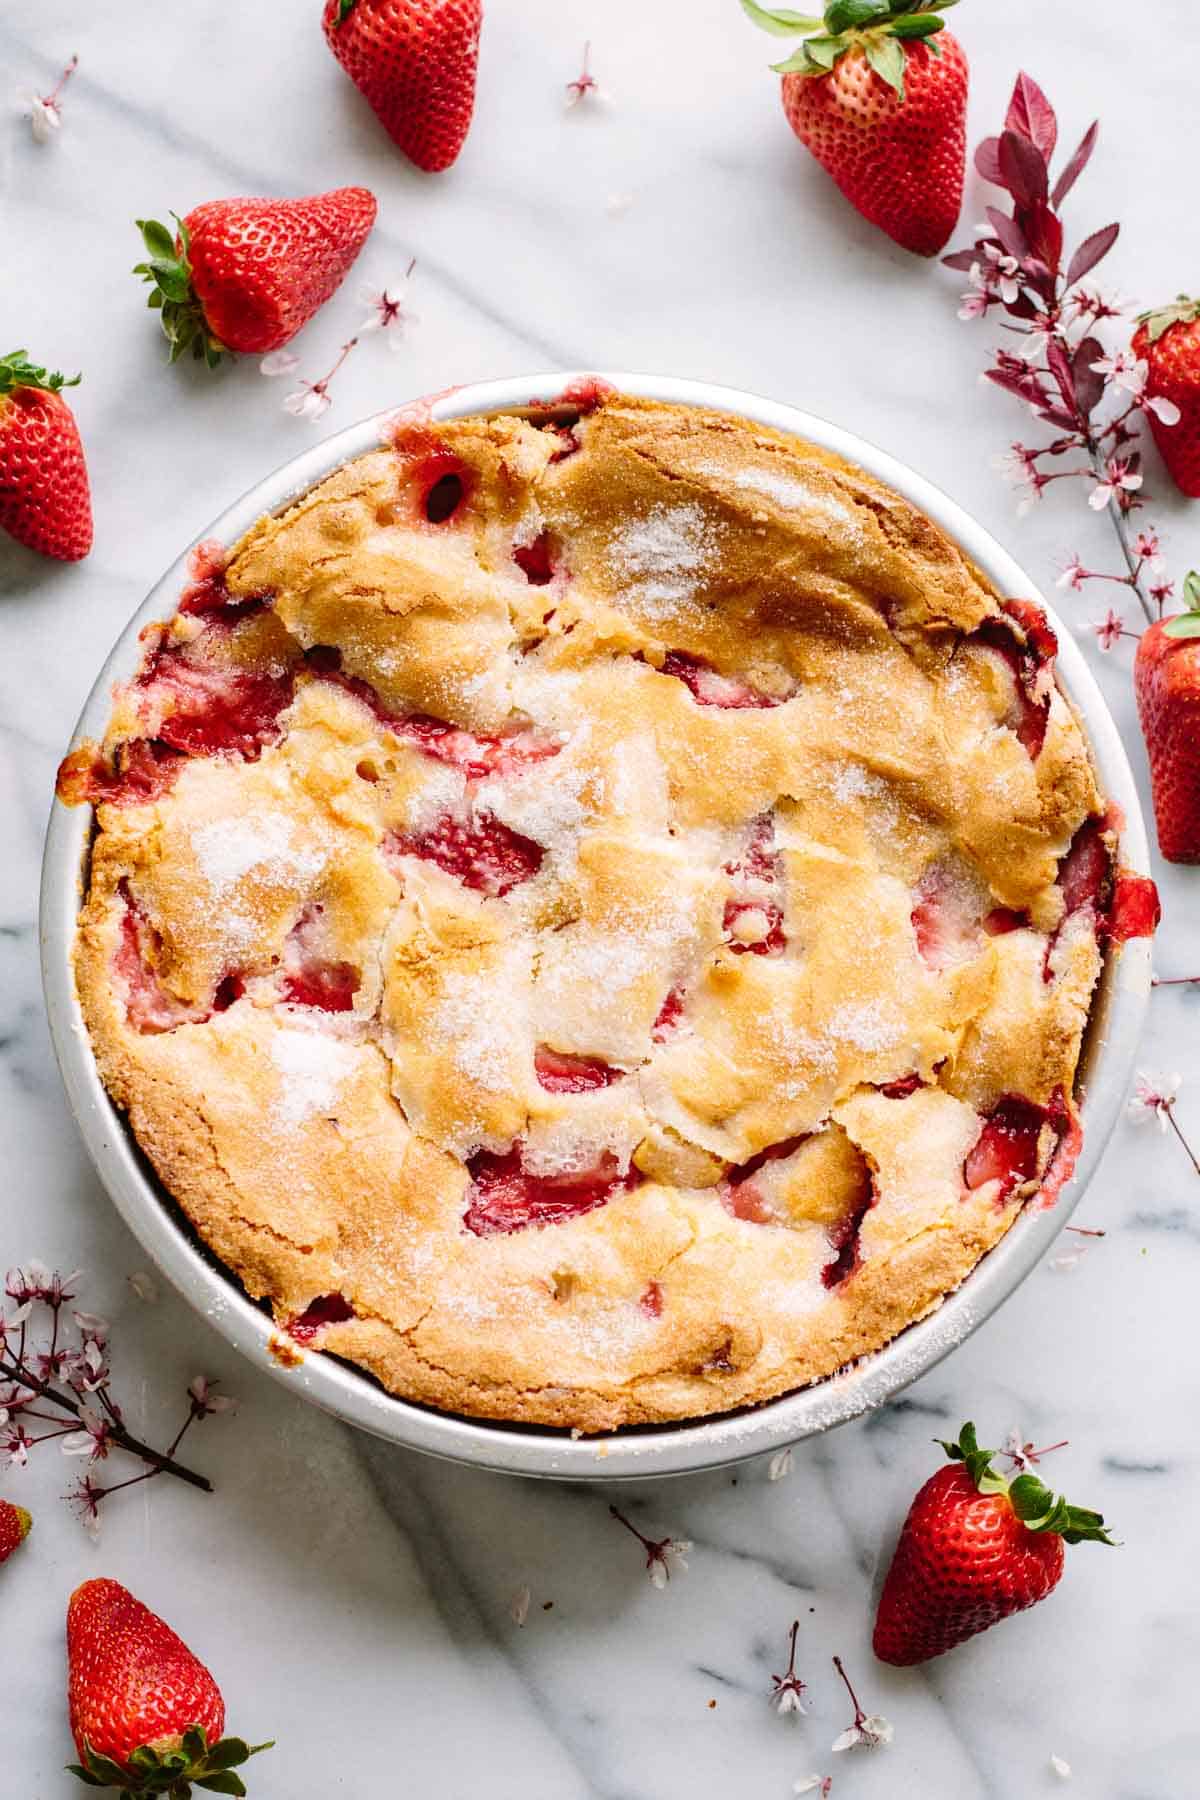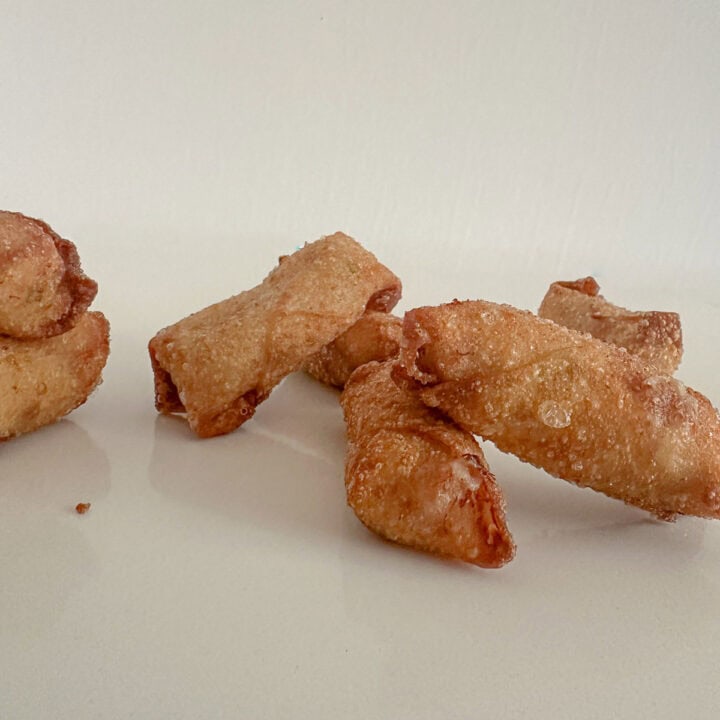
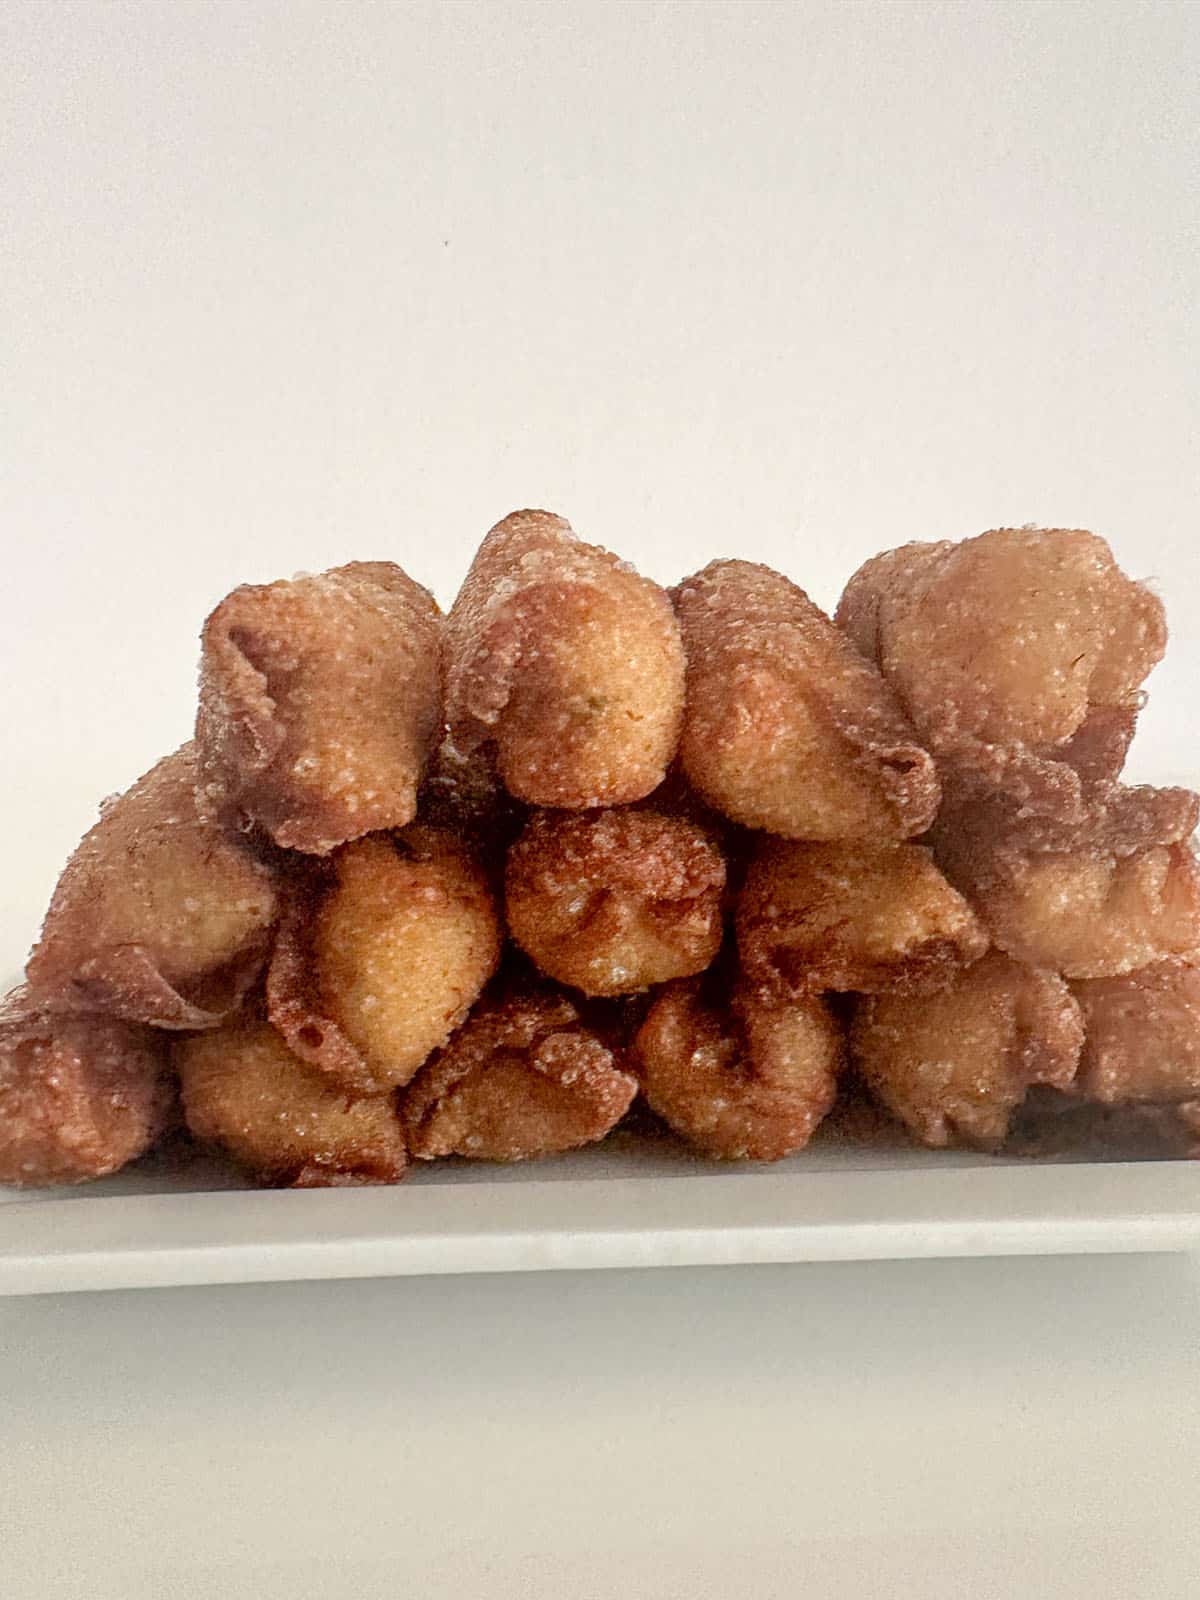
Mini crab egg rolls are the appetizers that disappear the second they hit the table. These crispy bites pack big seafood flavor and are ready in under an hour. They're not only adorable but also delicious - a sure hit at your next party!
We're wrapping creamy, cheesy crab filling in wonton wrappers to cook up this light, crunchy, and totally irresistible mini egg roll. They're savory, a little indulgent, and just fancy enough to feel special without a lot of fuss - basically the ultimate "one more, please" appetizer!
If you've ever felt unsure about working with crab or rolling egg rolls, don't worry - we've got you covered! This recipe breaks everything down in a totally doable way, from choosing the right crab to mixing the filling and rolling the egg rolls. You'll get simple step-by-step instructions, make ahead tips, and serving ideas so the whole process feels easy, doable, and honestly, pretty satisfying. And when your egg rolls disappear, you'll get full bragging rights.
[feast_advanced_jump_to]Some Crab Basics

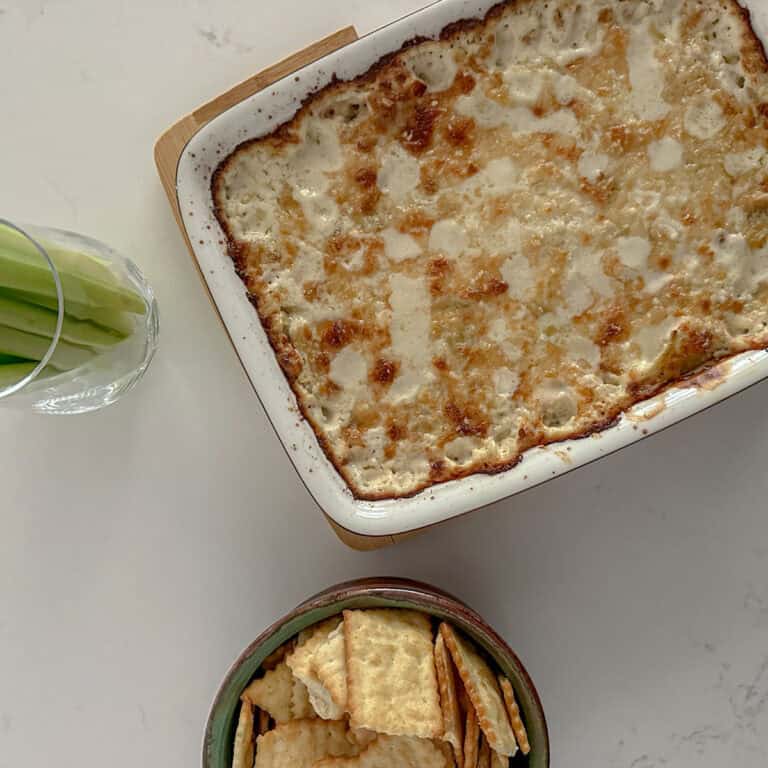
See our Crab Artichoke Dip post for more information about crab.
The United States has two common crab species: Dungeness on the West Coast and blue crab on the East and Gulf Coasts. Crab meat is usually sold in two forms.
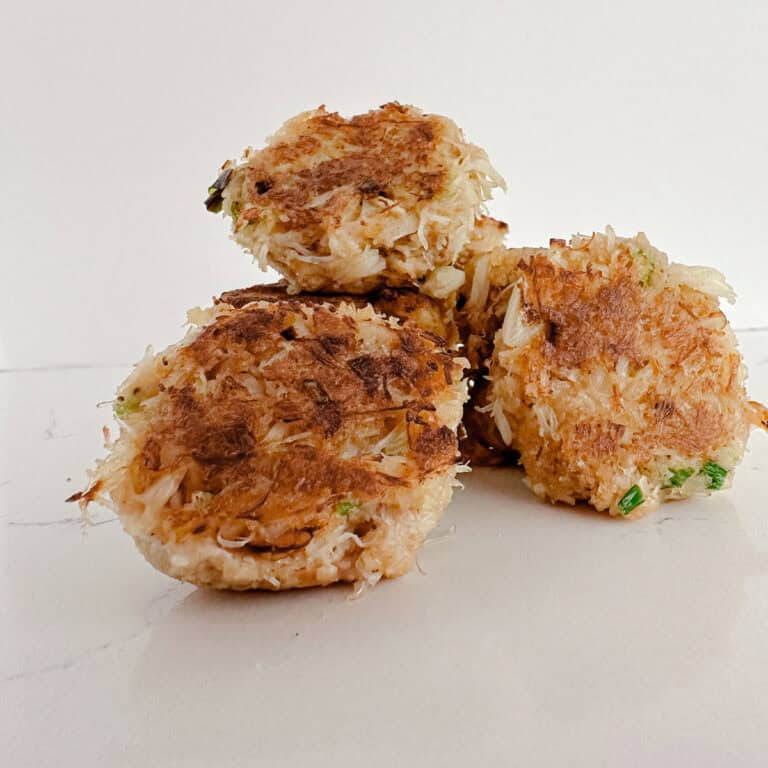
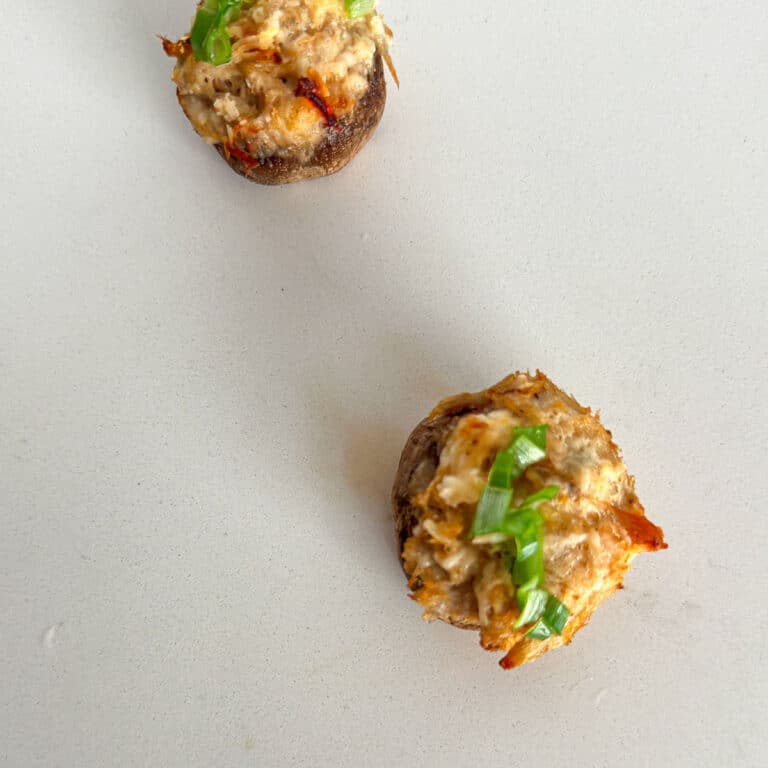
- Lump crab meat (from the body) is widely available and budget-friendly. It holds its shape well when mixed with other ingredients making it great for recipes like crab cakes, crab stuffed mushrooms, and these mini egg rolls .
- Claw meat (from the claws) comes in smaller pieces and can be harder to find, but it's still a delicious option. If using claw meat, add it last, as the smaller pieces may break down more easily when mixing.
We always recommend fresh crab meat and avoiding imitation crab, which is made from processed fish meat rather than true crab. Look for pasteurized crab meat in the refrigerated seafood section of your store - your butcher can help you find it. It should always be refrigerated and labeled as fresh.
NOTE: King crab legs are also available in the U.S., and you can use them in place of Dungeness crab, but keep in mind the texture and flavor are noticeably different. They're also usually far more expensive than other crab options.
SHELLING YOUR OWN CRAB
If you have never shelled a crab, it's worth trying at least once - just be ready to work for that sweet, tender crab meat! On average, experienced shellers get about 26% yield by weight (meat to whole crab), while beginners can expect 18% to 22%. You'll need about 5 pounds of crab in the shell to end up with one pound of fresh crab meat. Shelling your own crab doesn't always save money, definitely doesn't save time, and creates a mess, but it's kind of fun to do with friends or family!
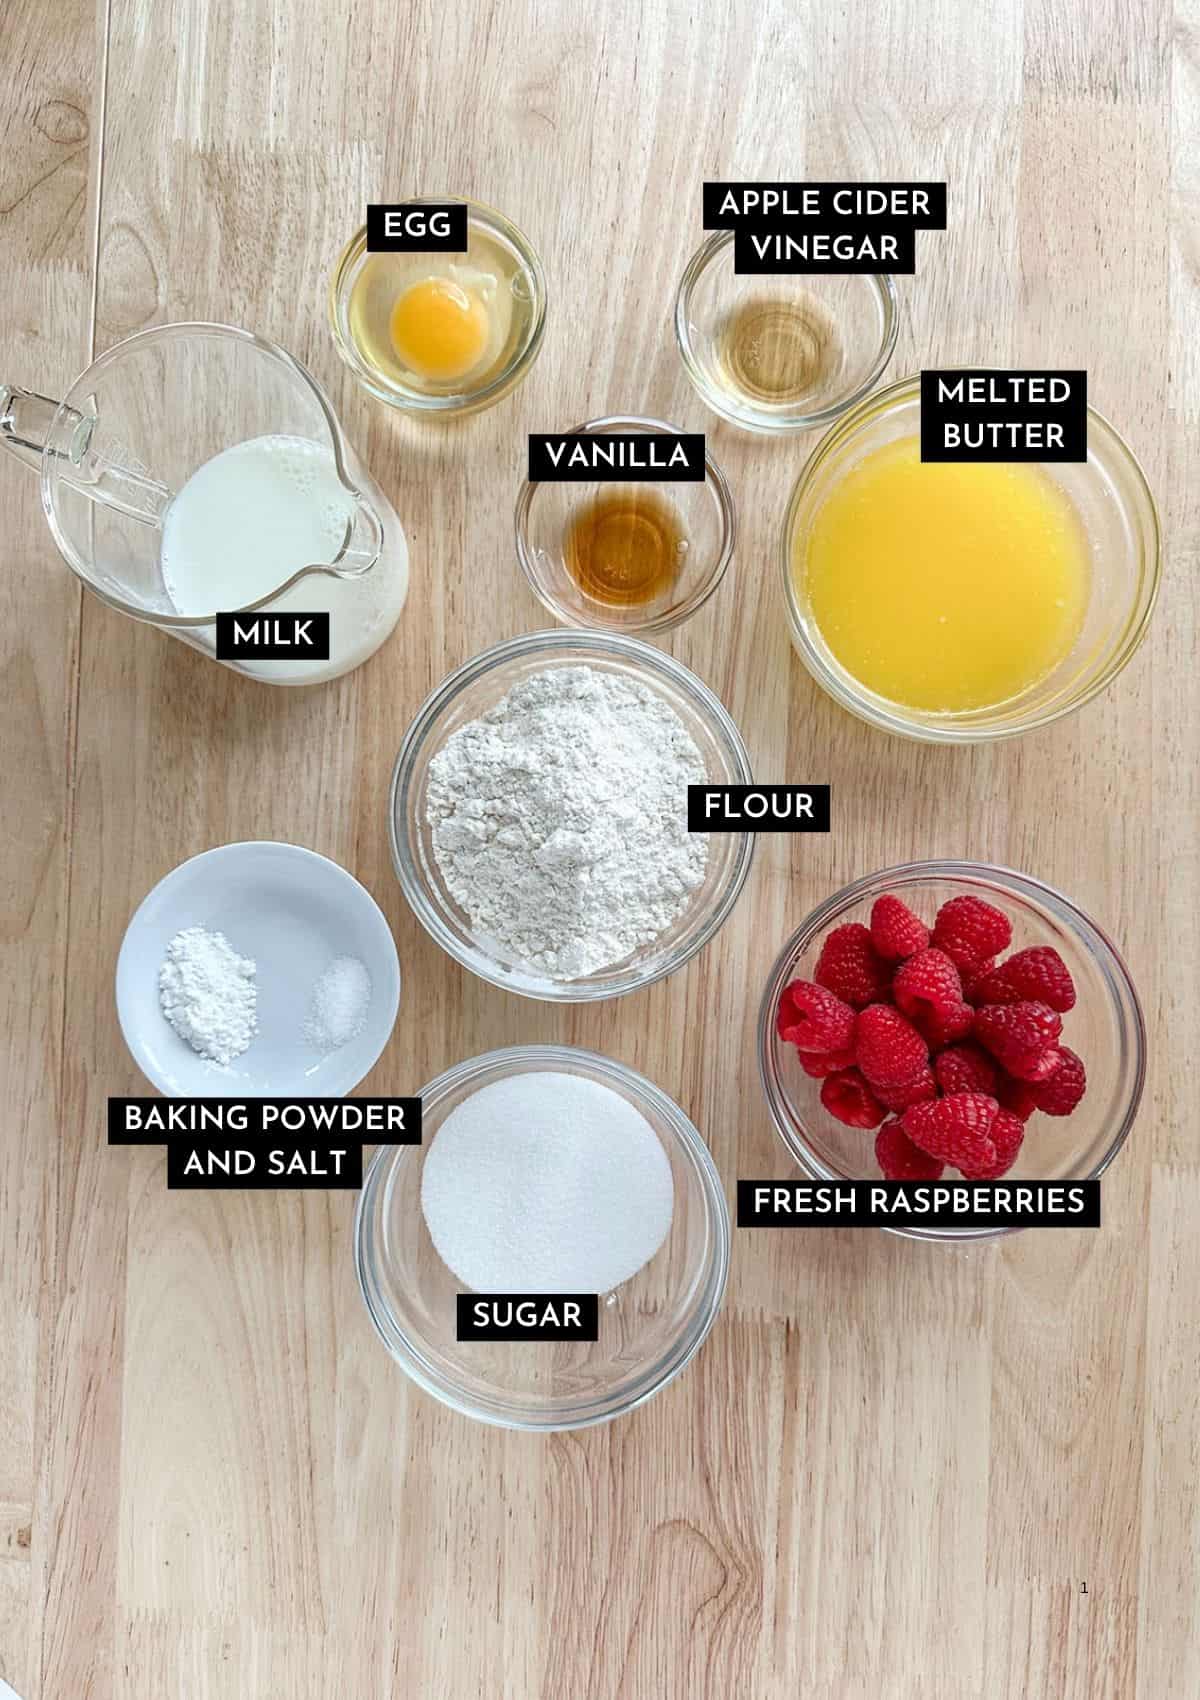
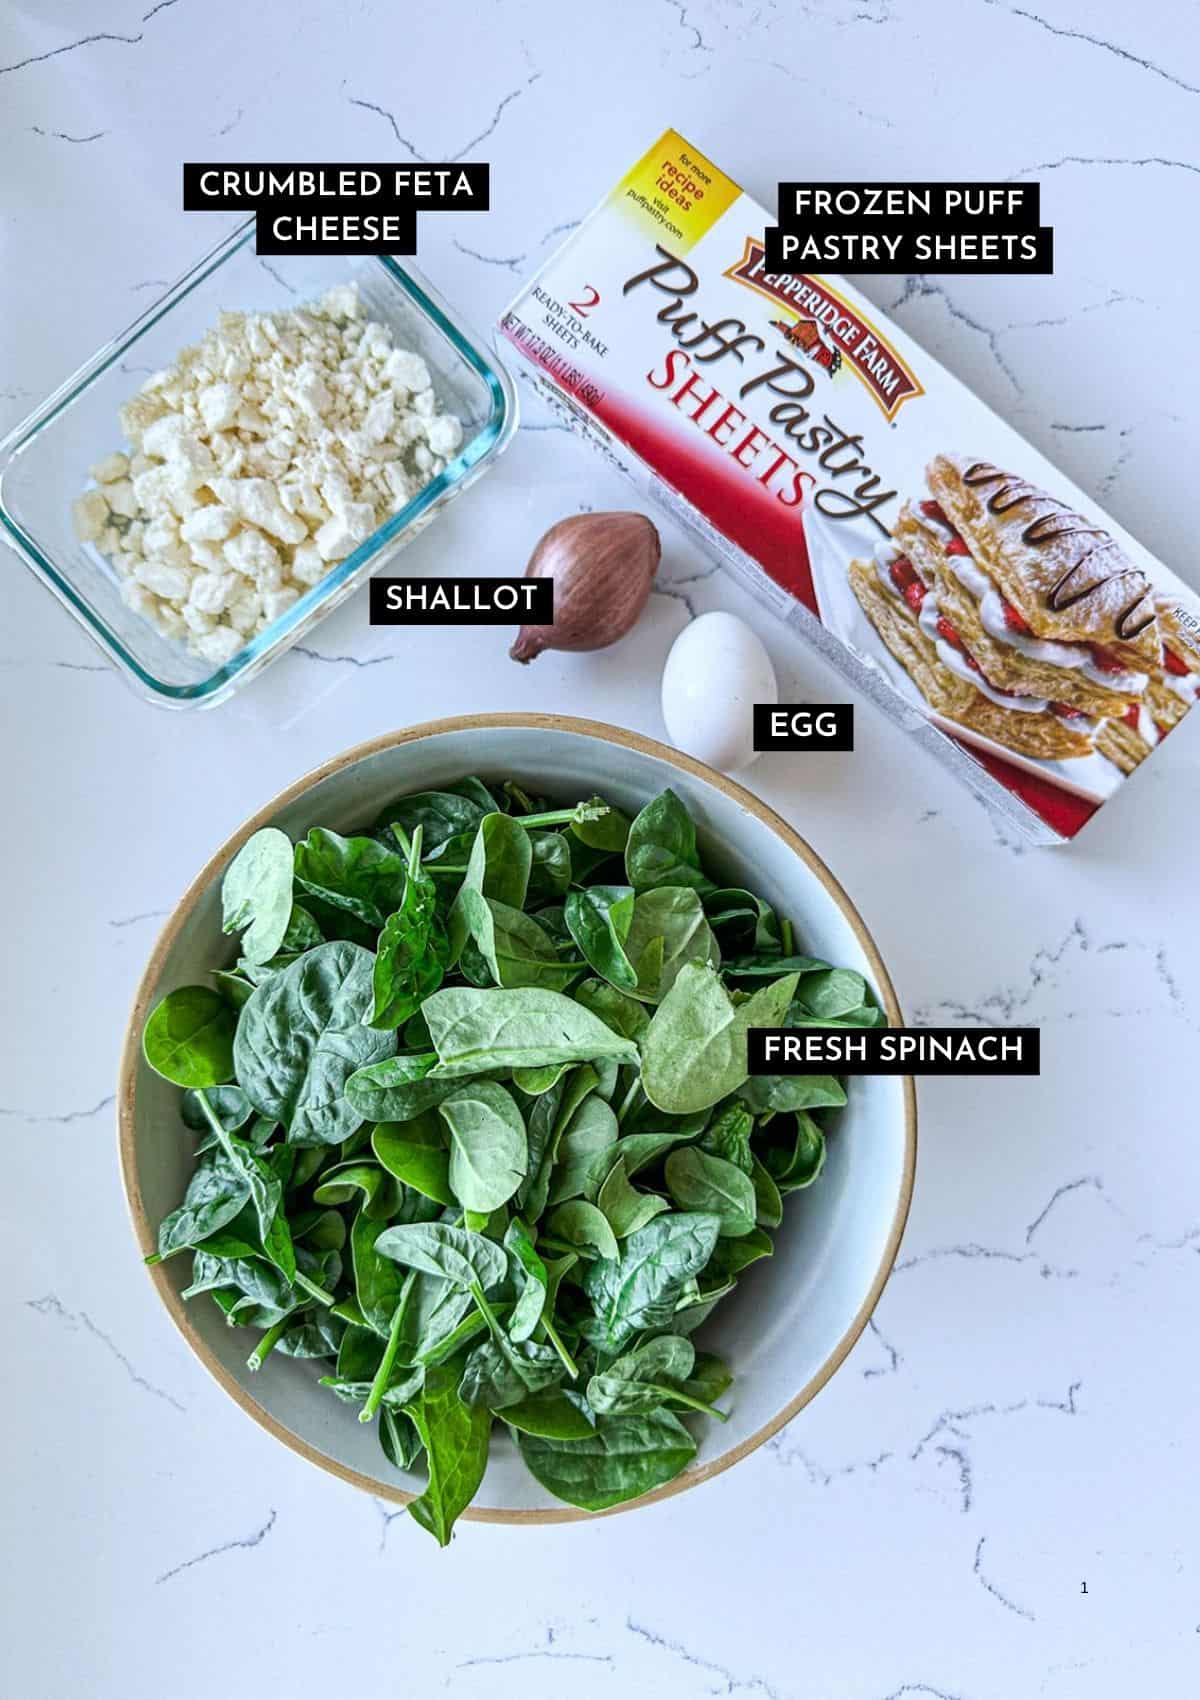
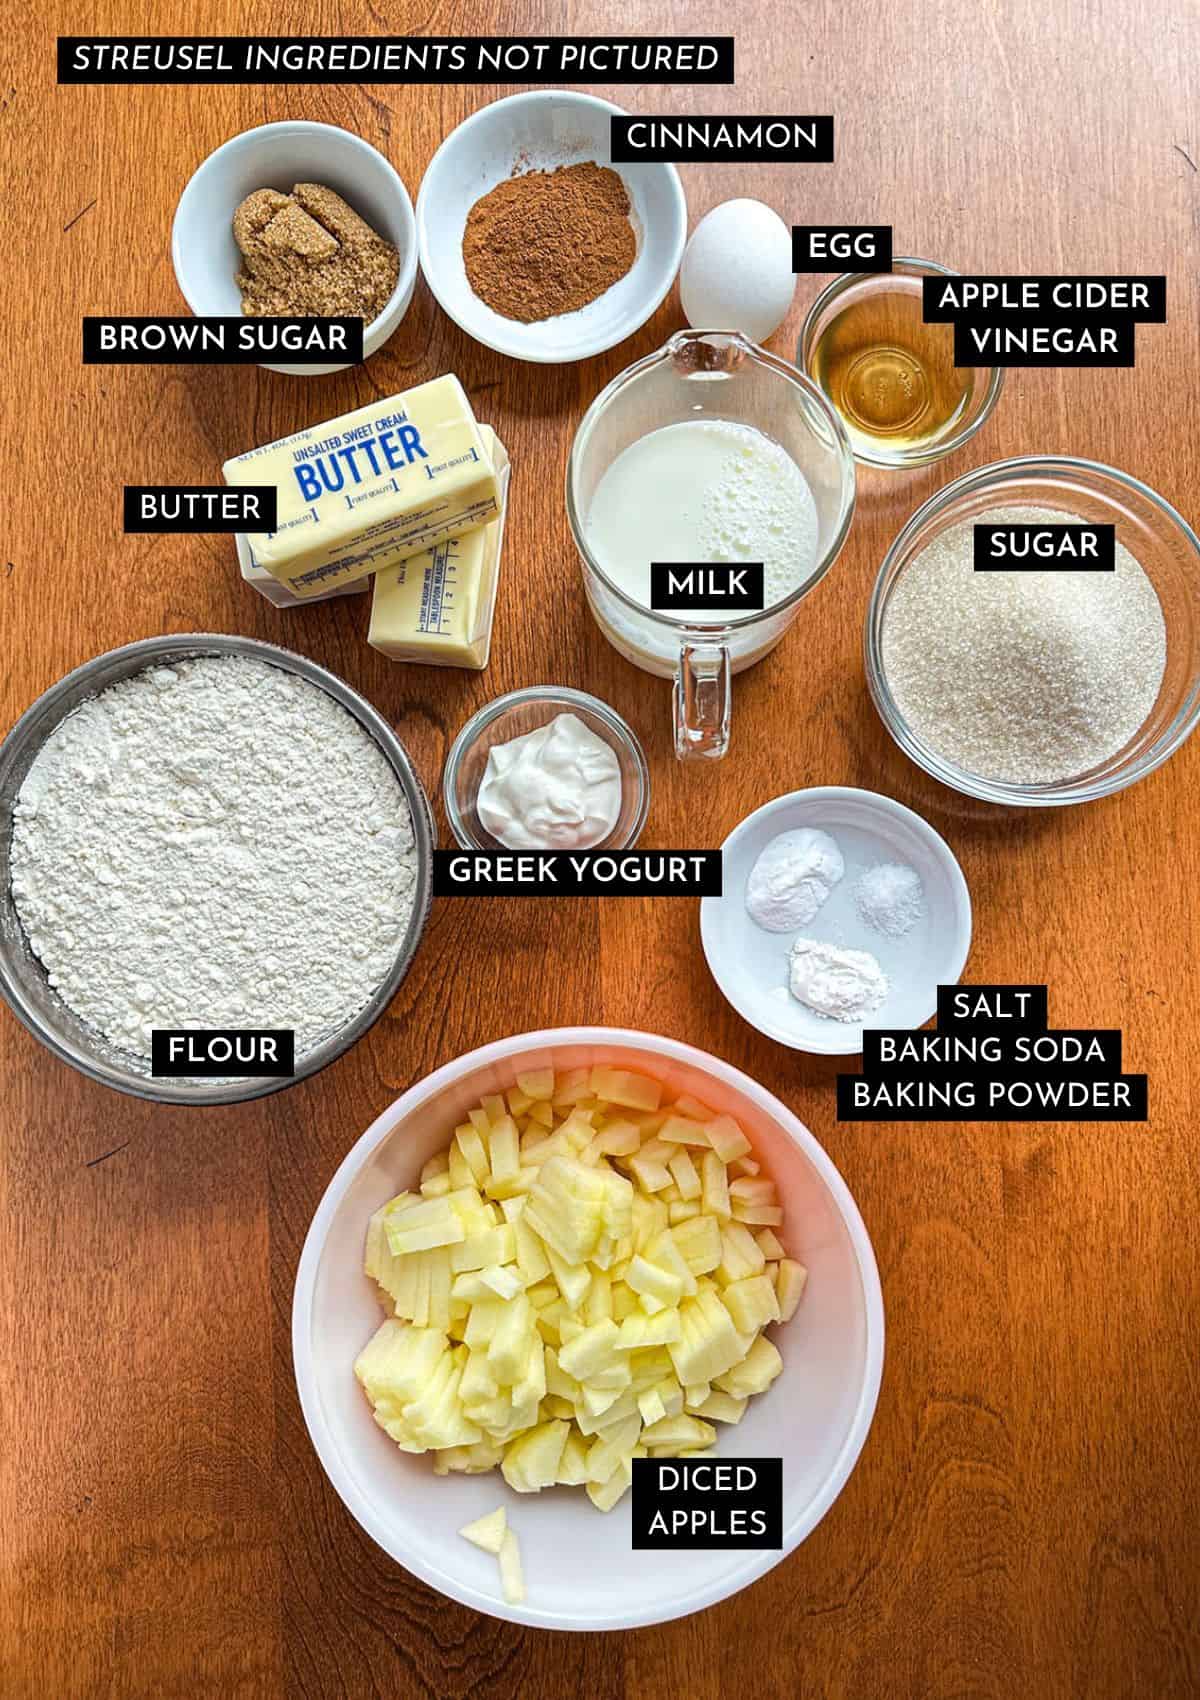
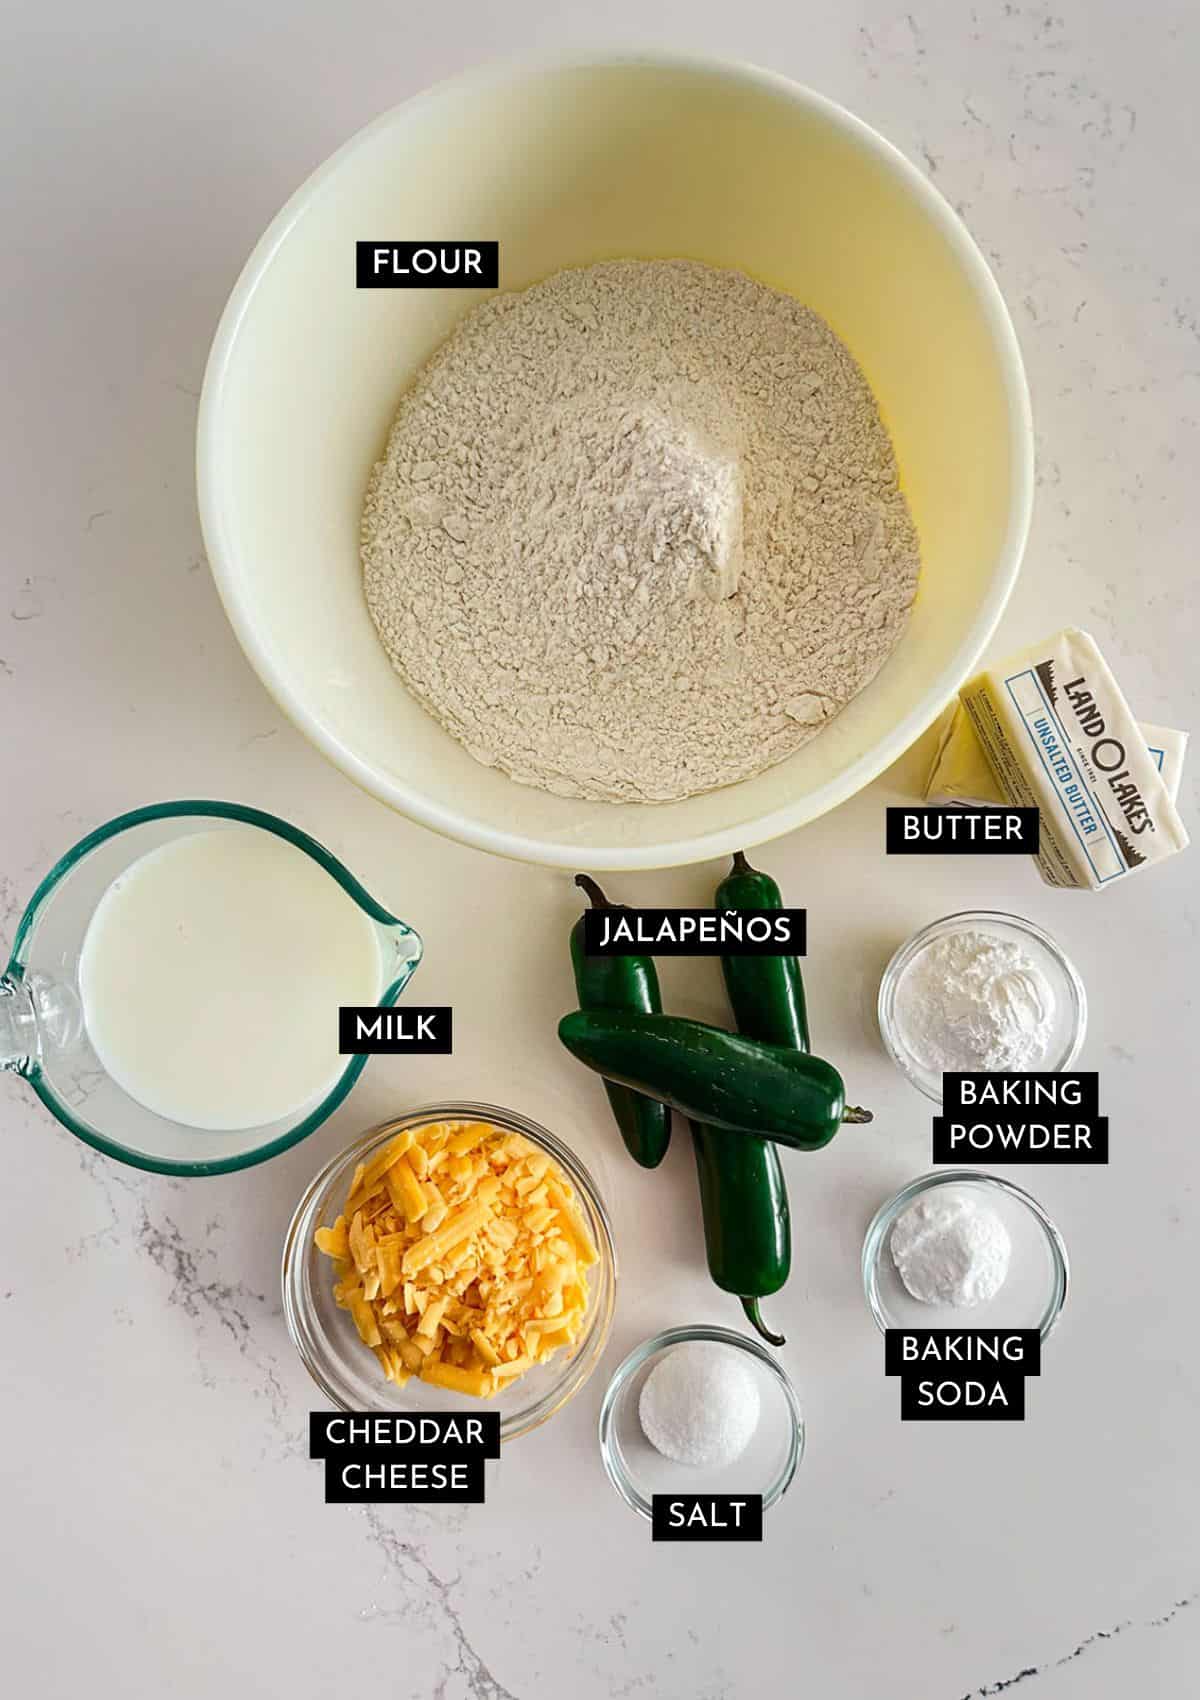
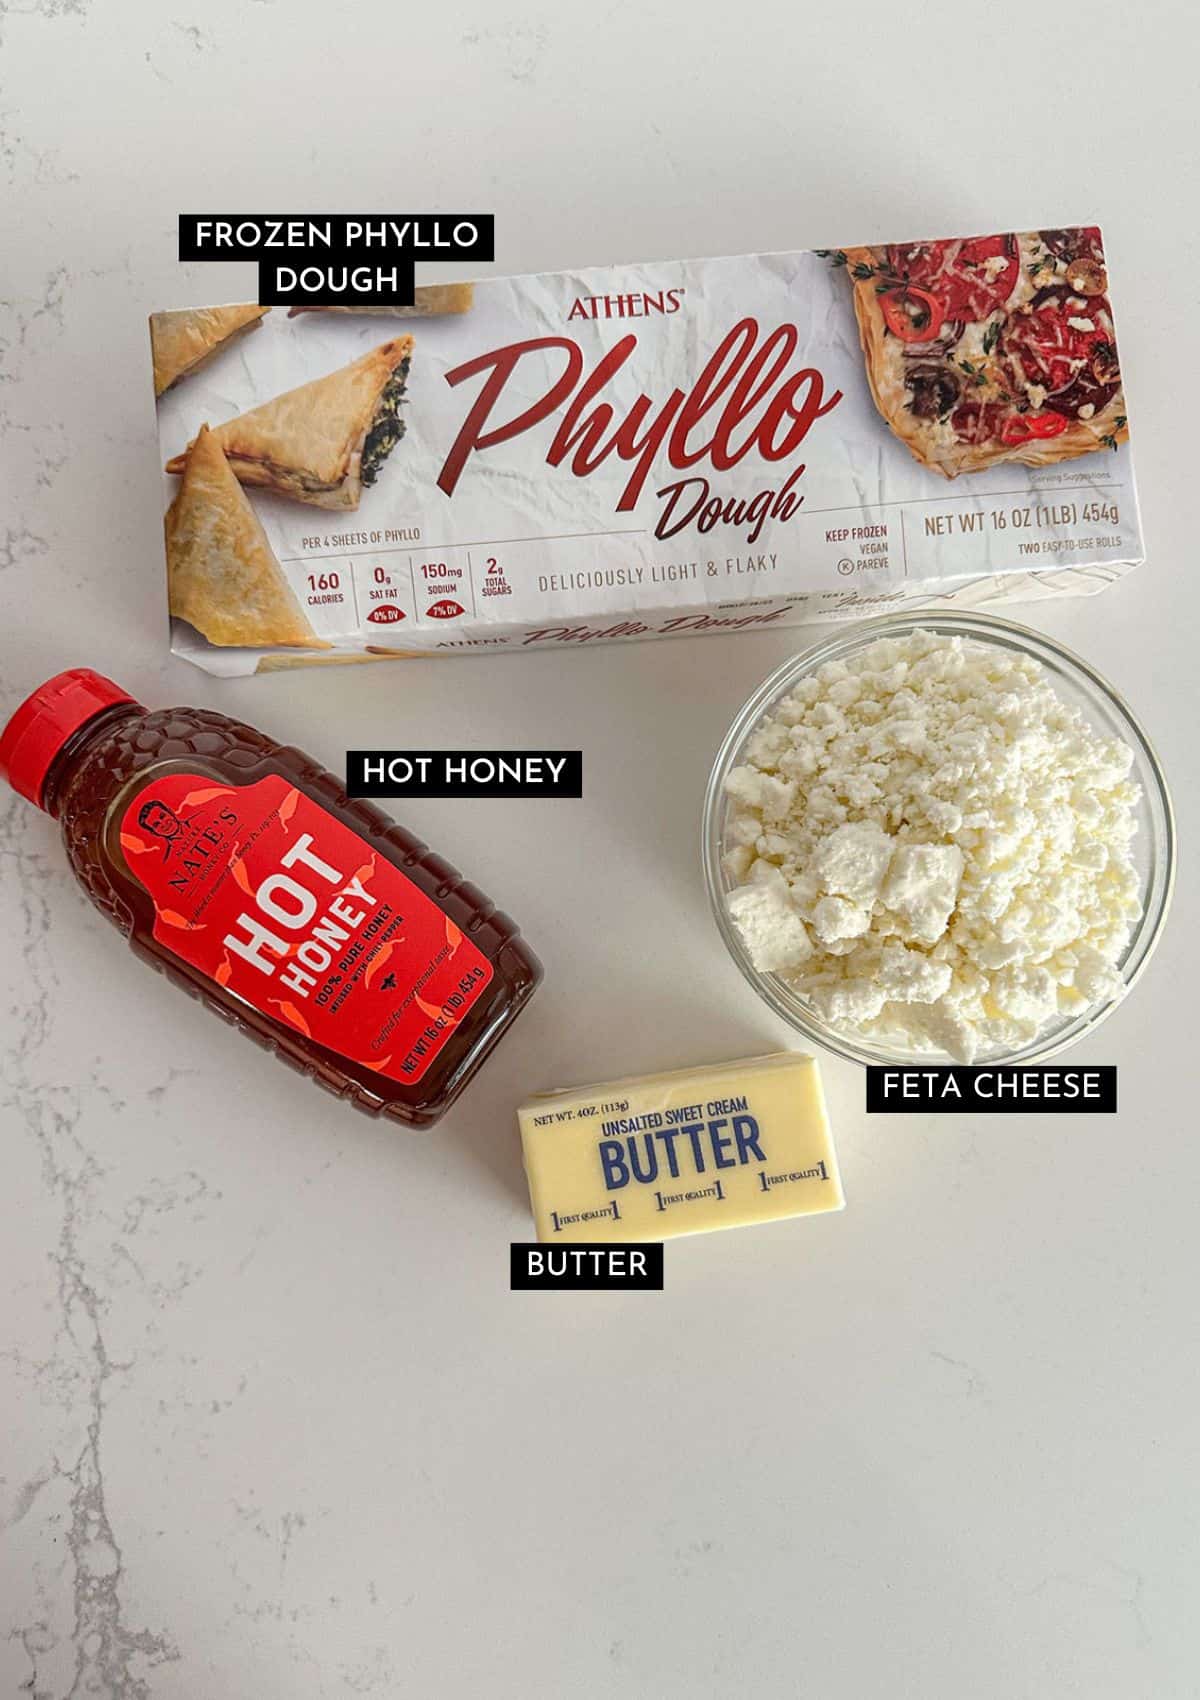
Ingredients
See the recipe card below for a full list of ingredients and quantities.
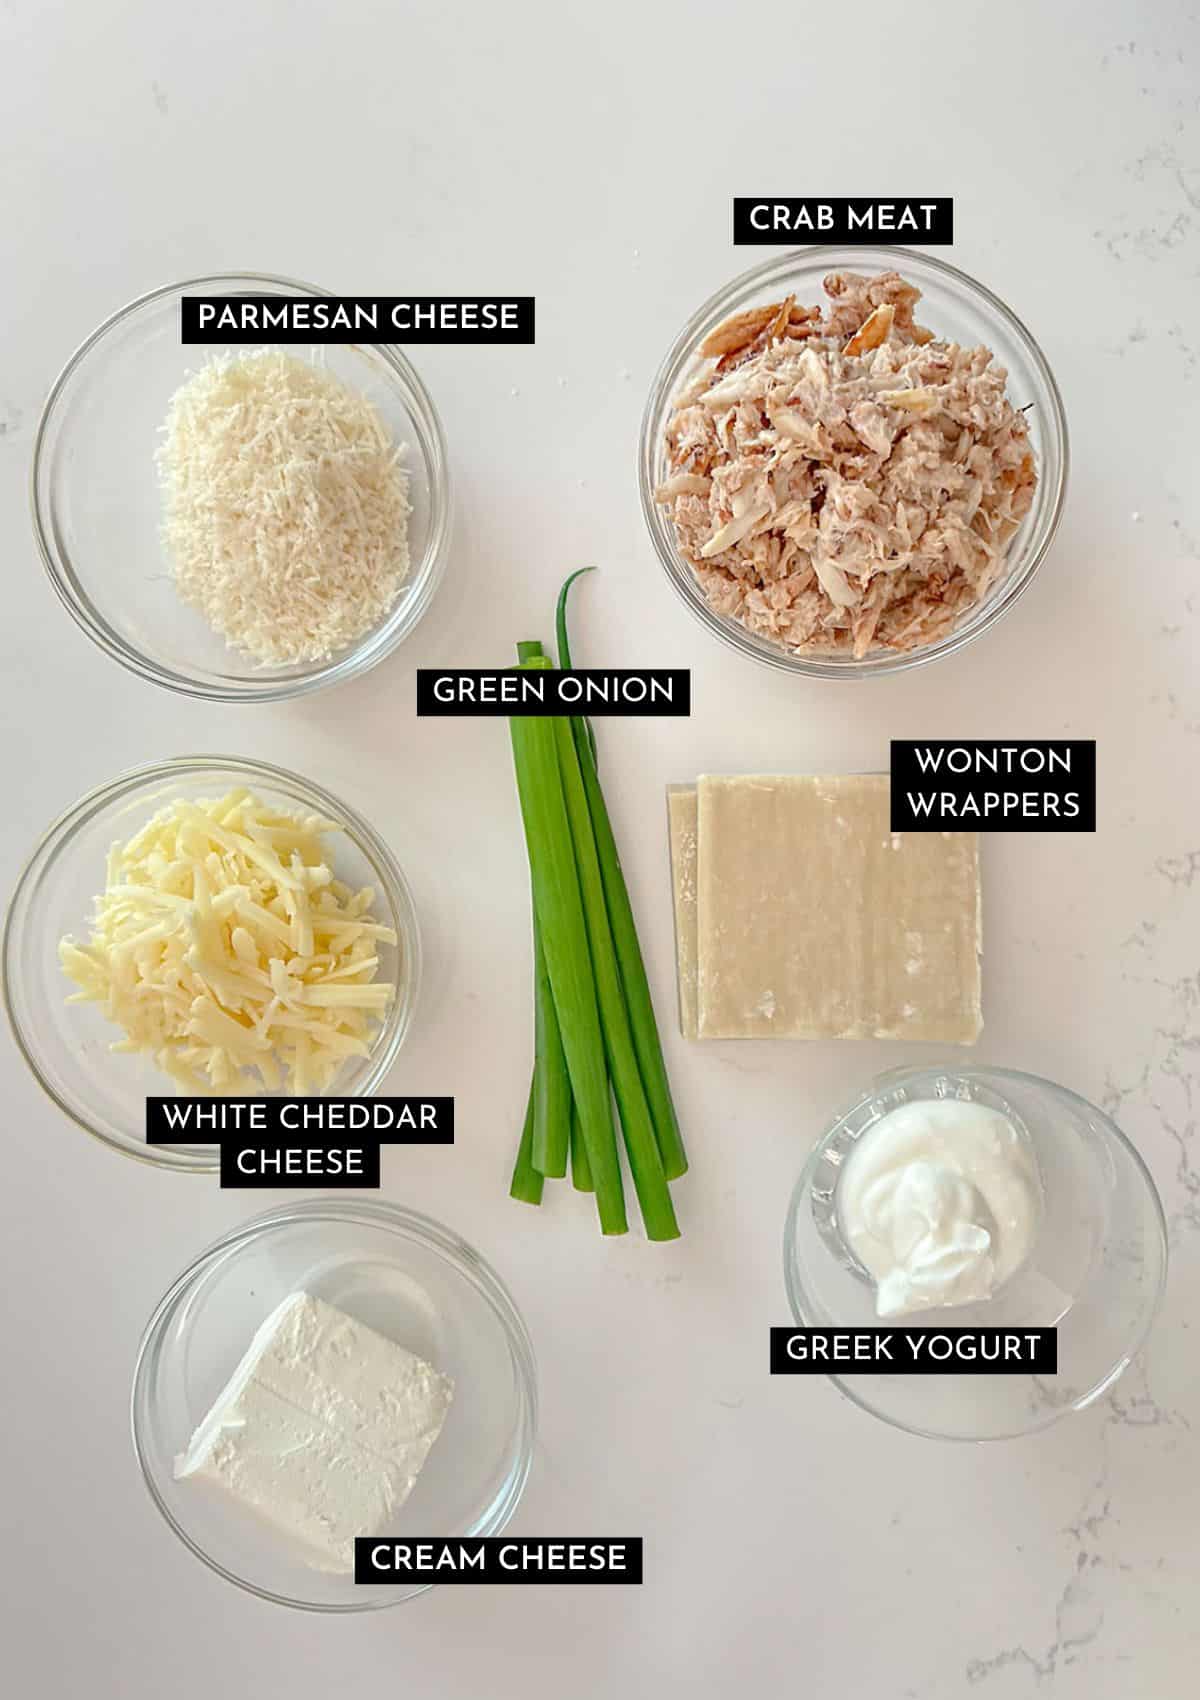
- Crab is the star of this egg roll recipe. In the Pacific Northwest, we use Dungeness crab whenever we can. When we lived on the East coast, we reached for blue crab. Lump meat or claw meat - Dungeness or blue - any of them will work great here.
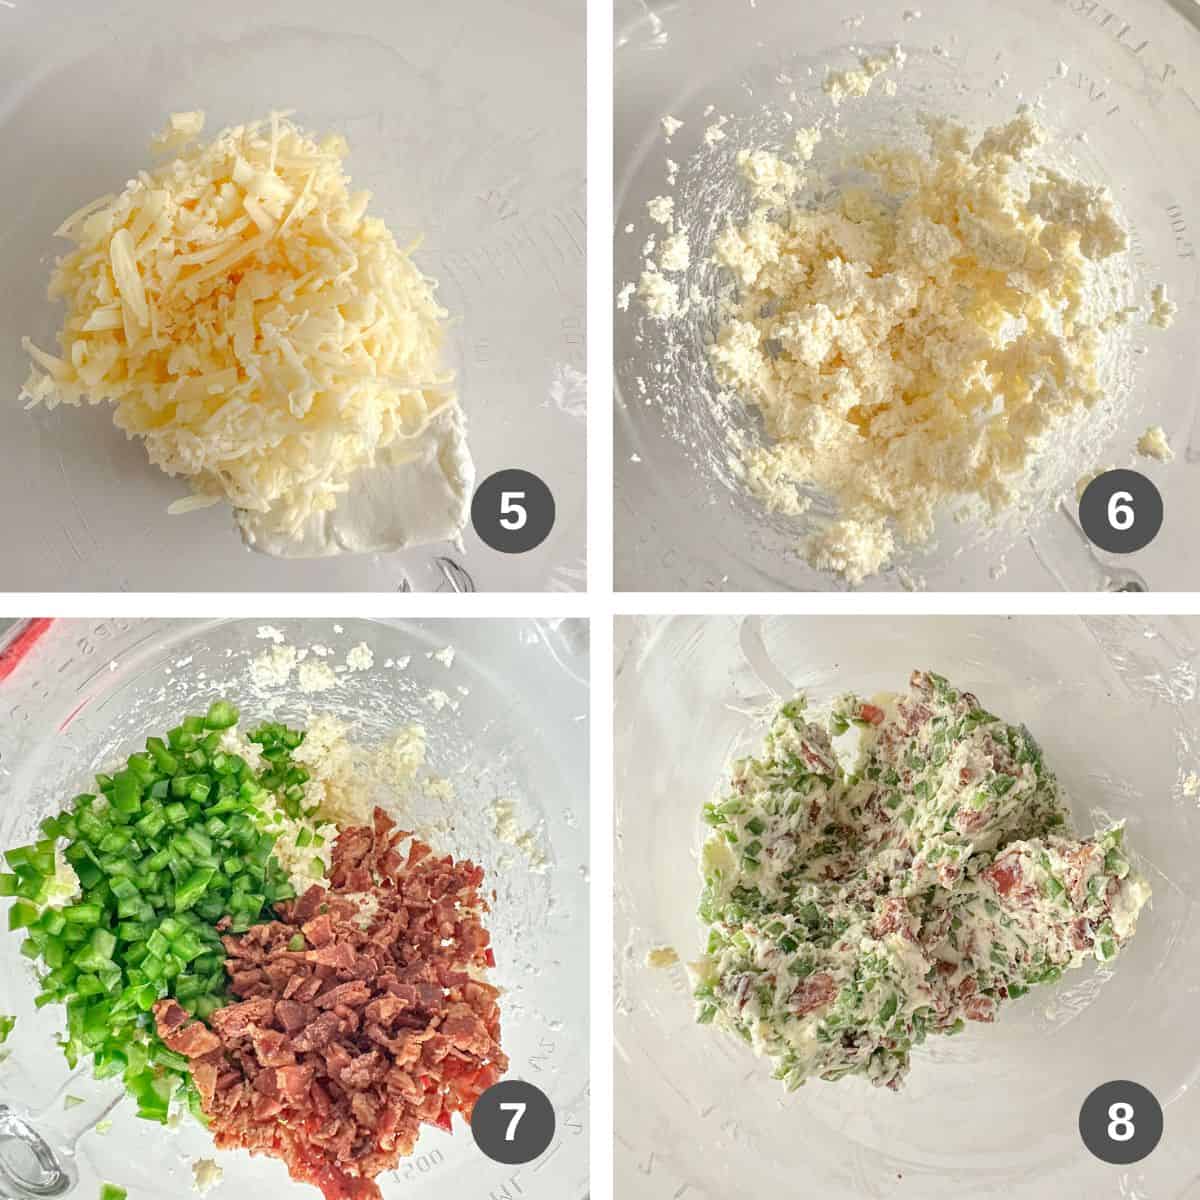
- Cheese and Greek yogurt. Parmesan, white cheddar, cream cheese, and Greek yogurt create a rich, creamy filling that holds everything together. This combo gives the egg rolls their luscious texture.
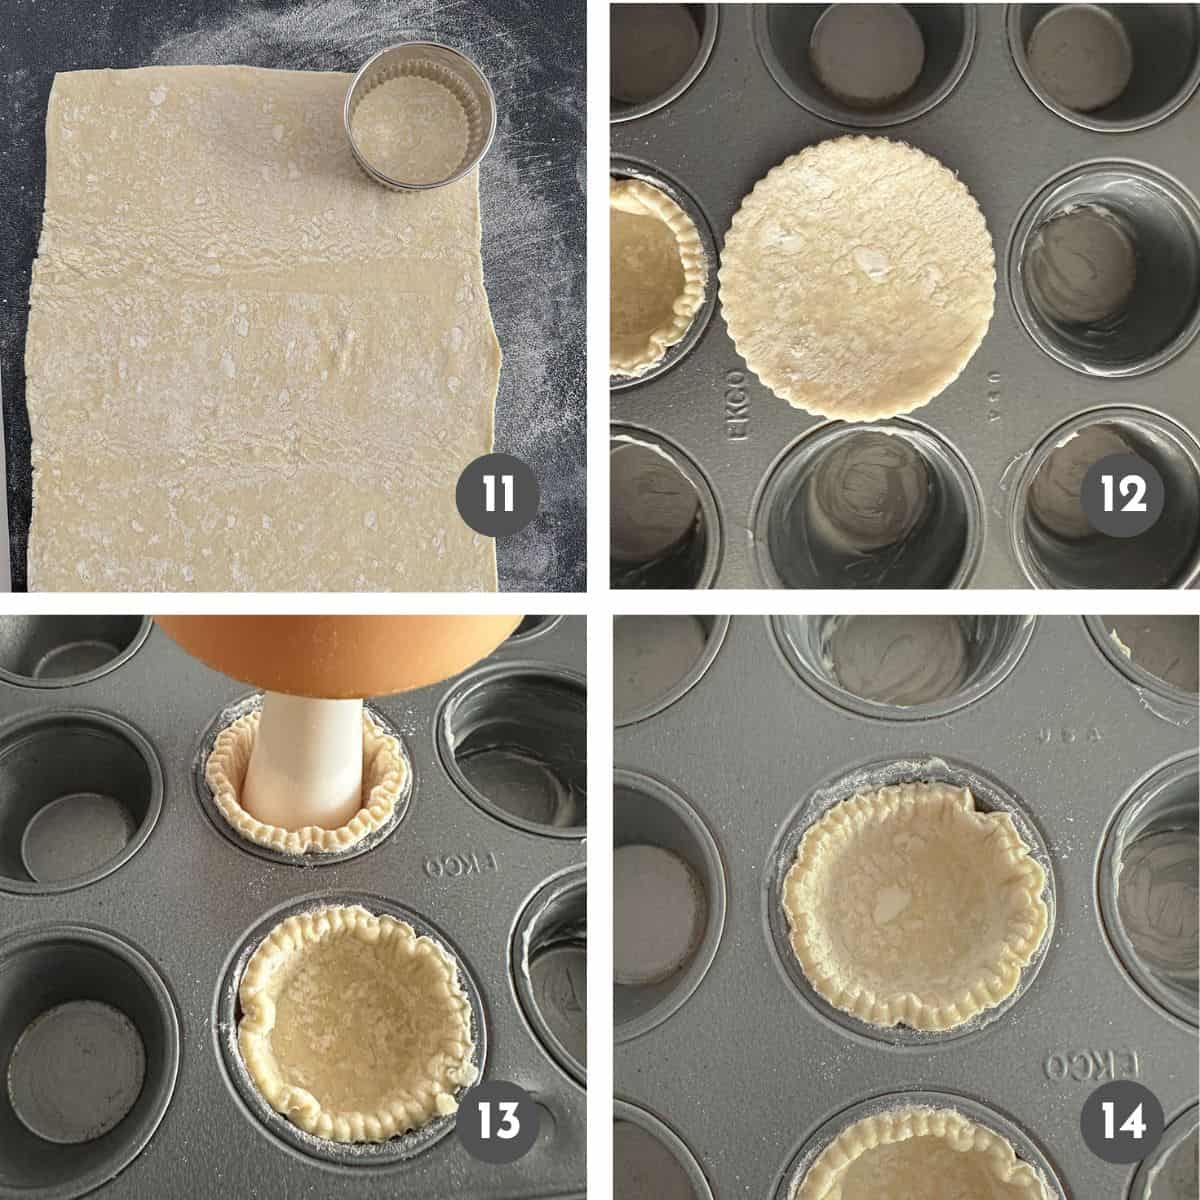
Shred your own cheese for the best results. Pre-shredded cheese often contains anti-caking agents that keep them from melting smooth. - Wonton wrappers make the perfect mini egg roll wrappers - thin, crisp, and easy to work with.
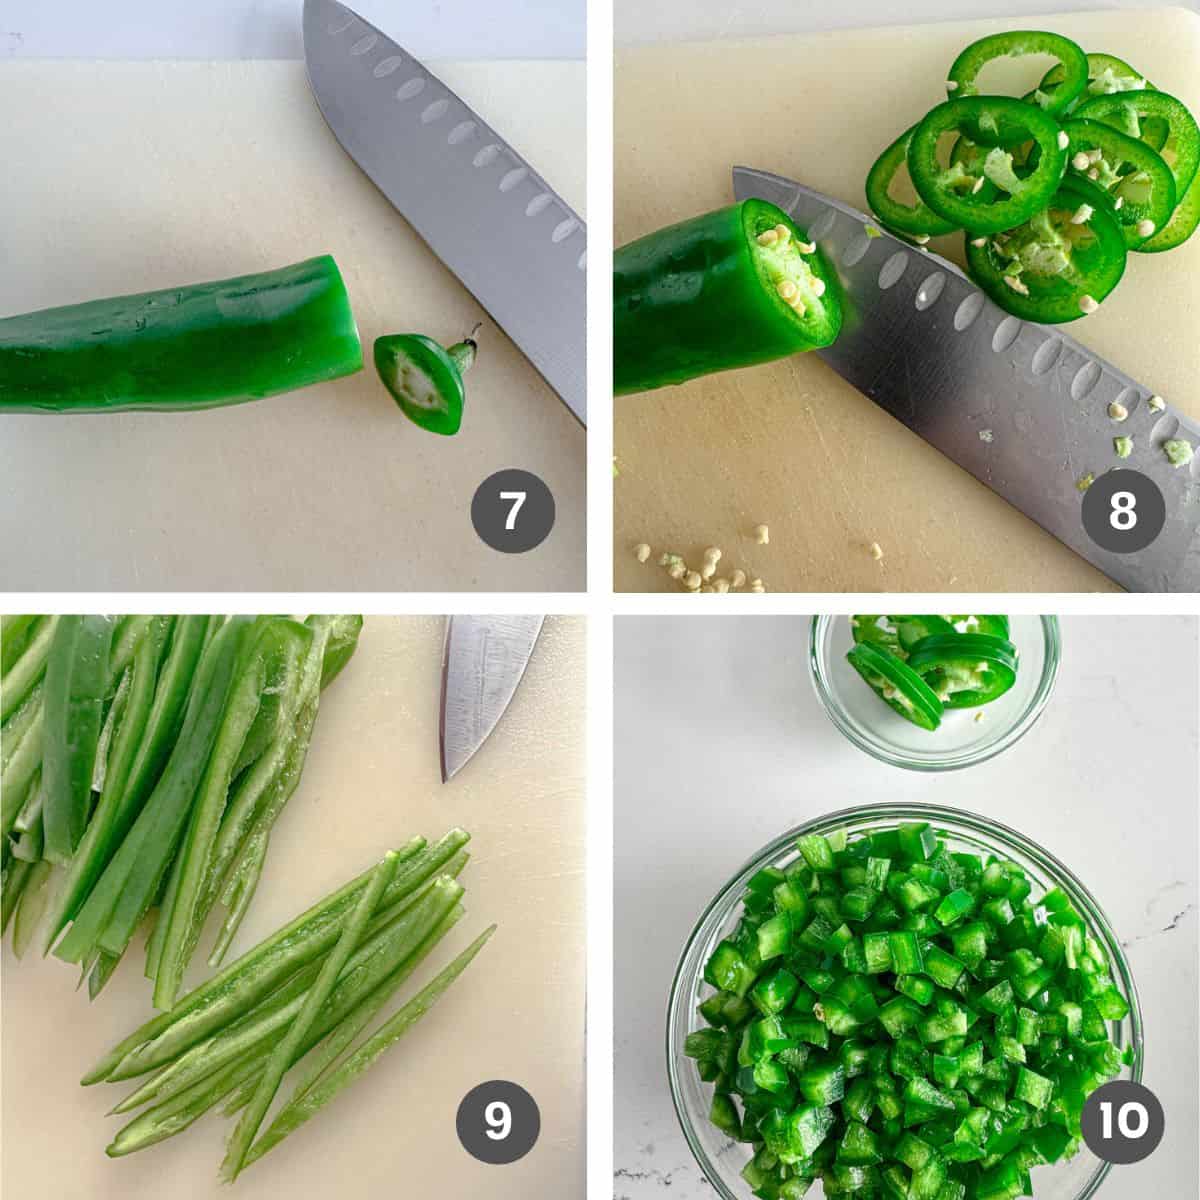
- Green onions add a mild, fresh flavor that brightens the filling and balances the richness.
Favorite Riffs
Swap in diced shallot for the green onions. While we like the tanginess of Greek yogurt in this recipe, you can substitute any yogurt or sour cream. Use an egg wash (1 egg + 1 Tablespoon water) instead of plain water to seal the wonton wrapper.
We love the flavor combination of these three cheeses, but you could use Gruyère, Gouda or mozzarella instead of the parmesan cheese or white cheddar cheese. The flavor will change, but the filling stays creamy - just keep the cream cheese as your base.
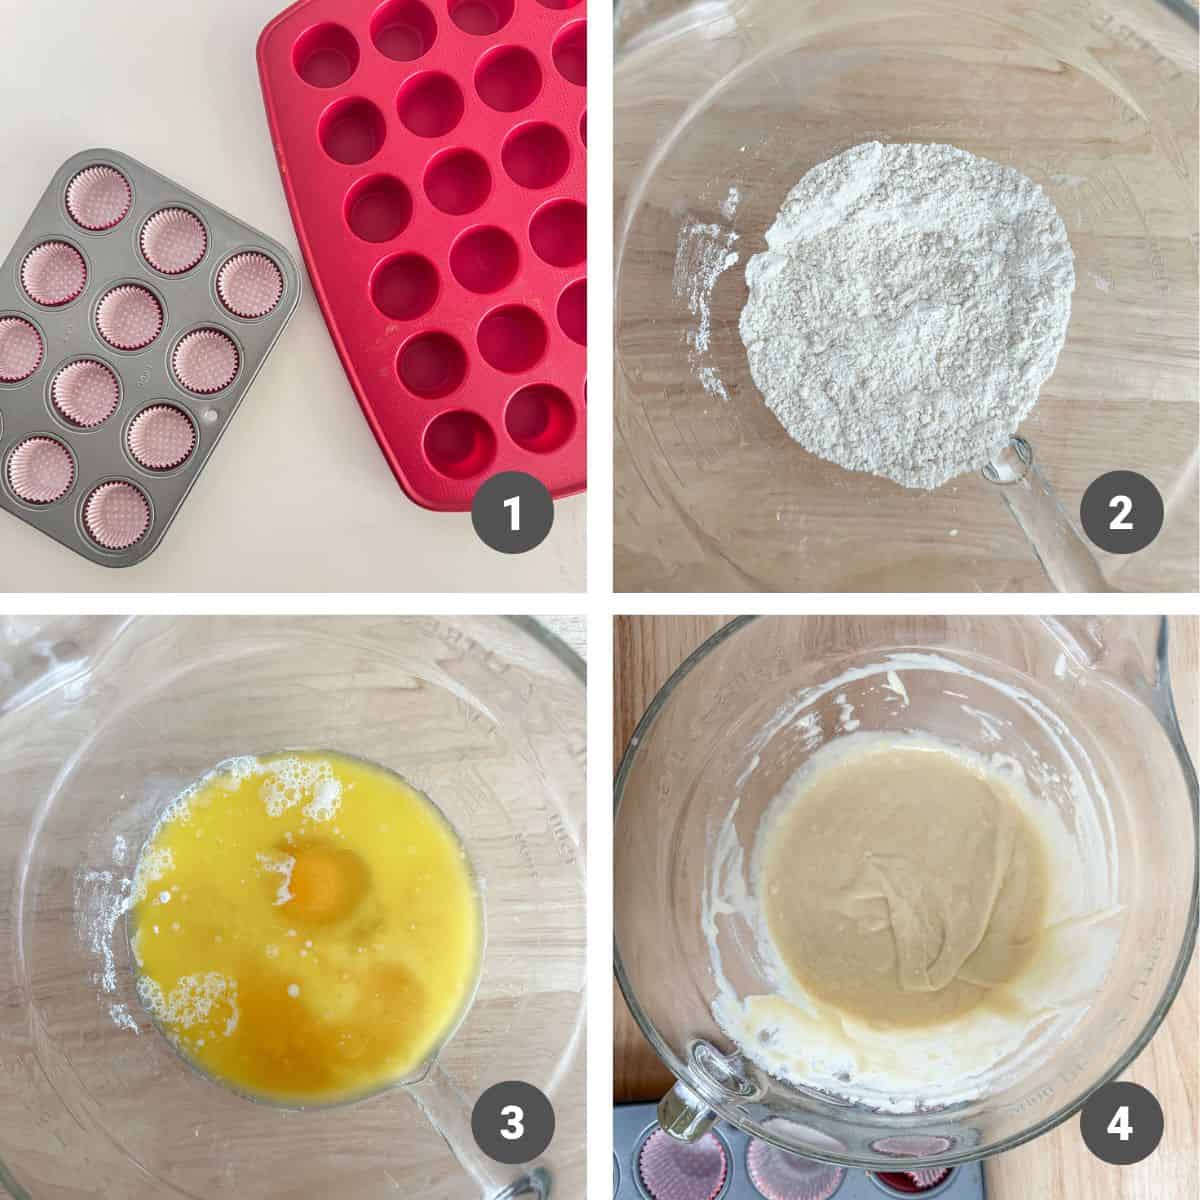
How To Make Mini Crab Egg Rolls
See the recipe card below for the complete instructions.
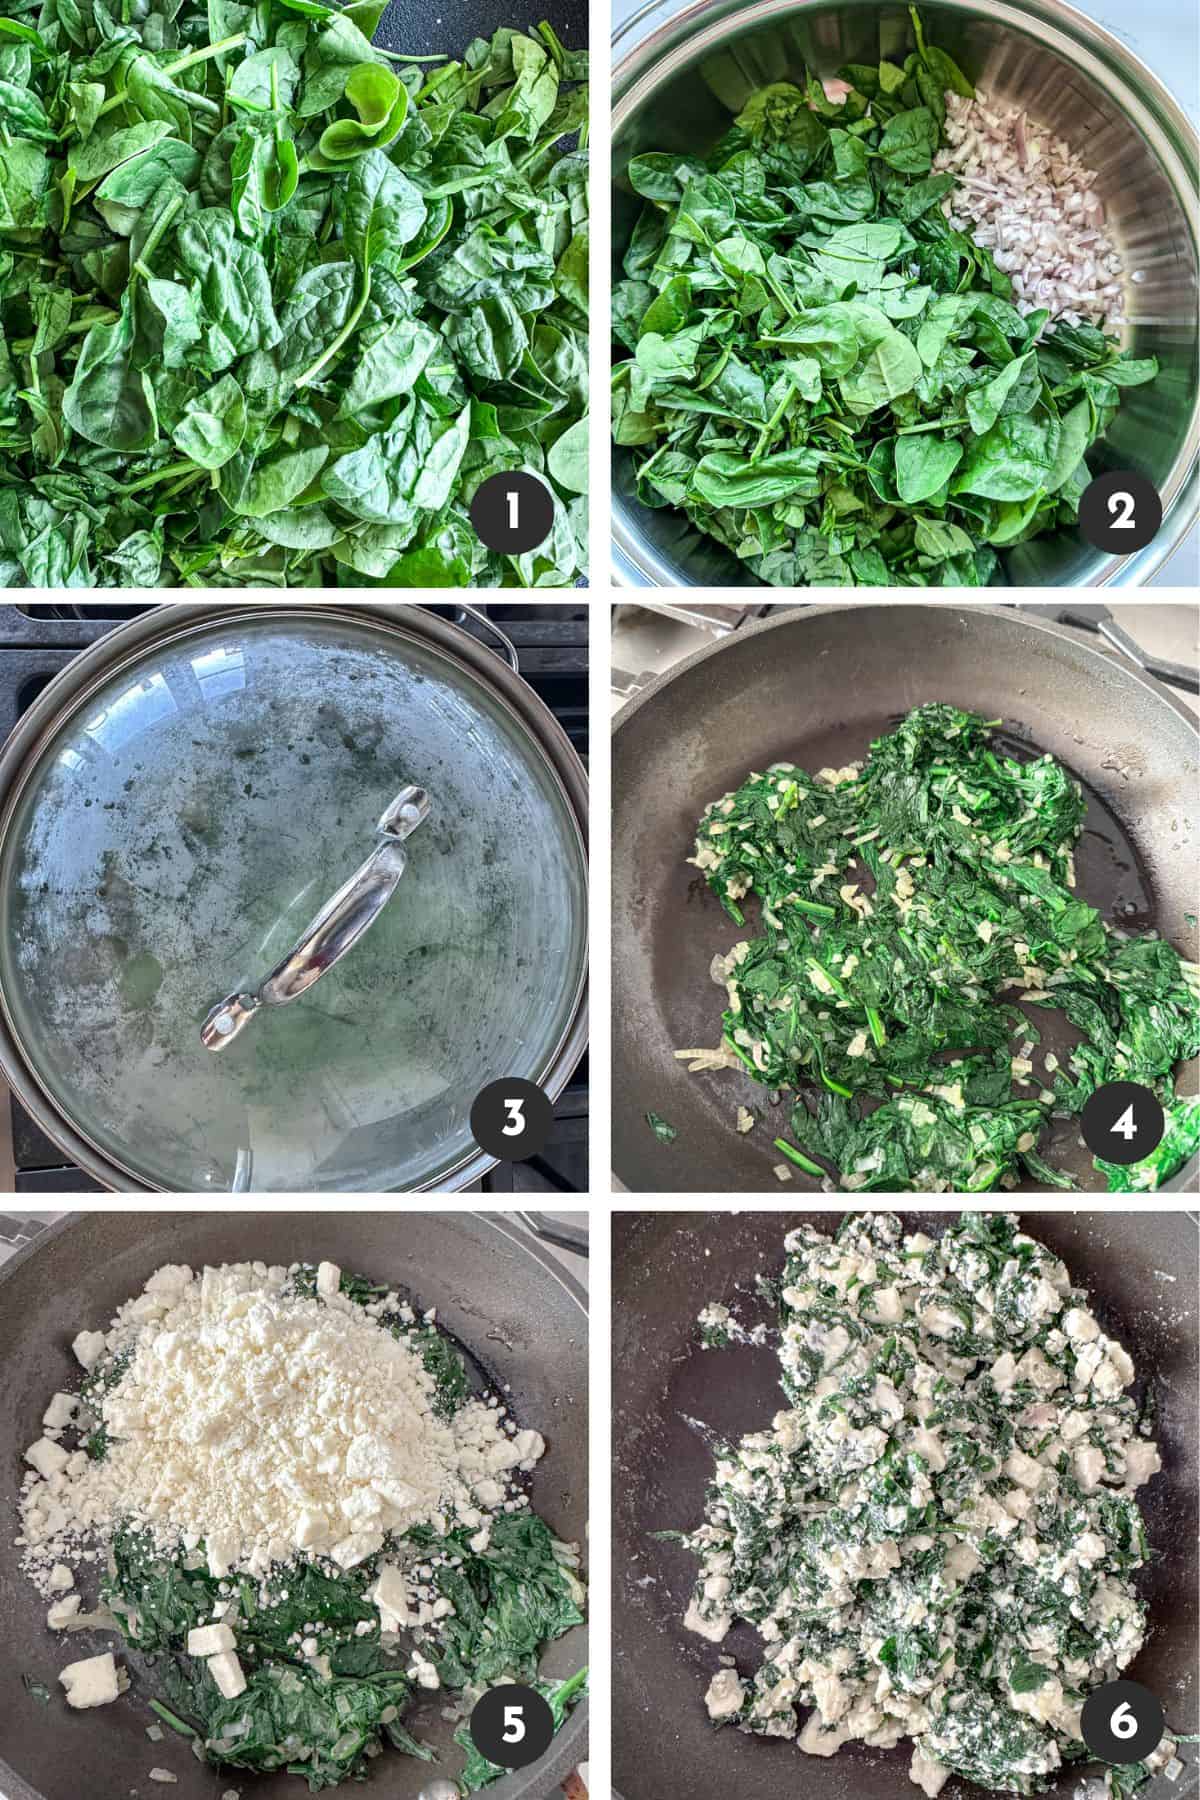
Mix the Filling
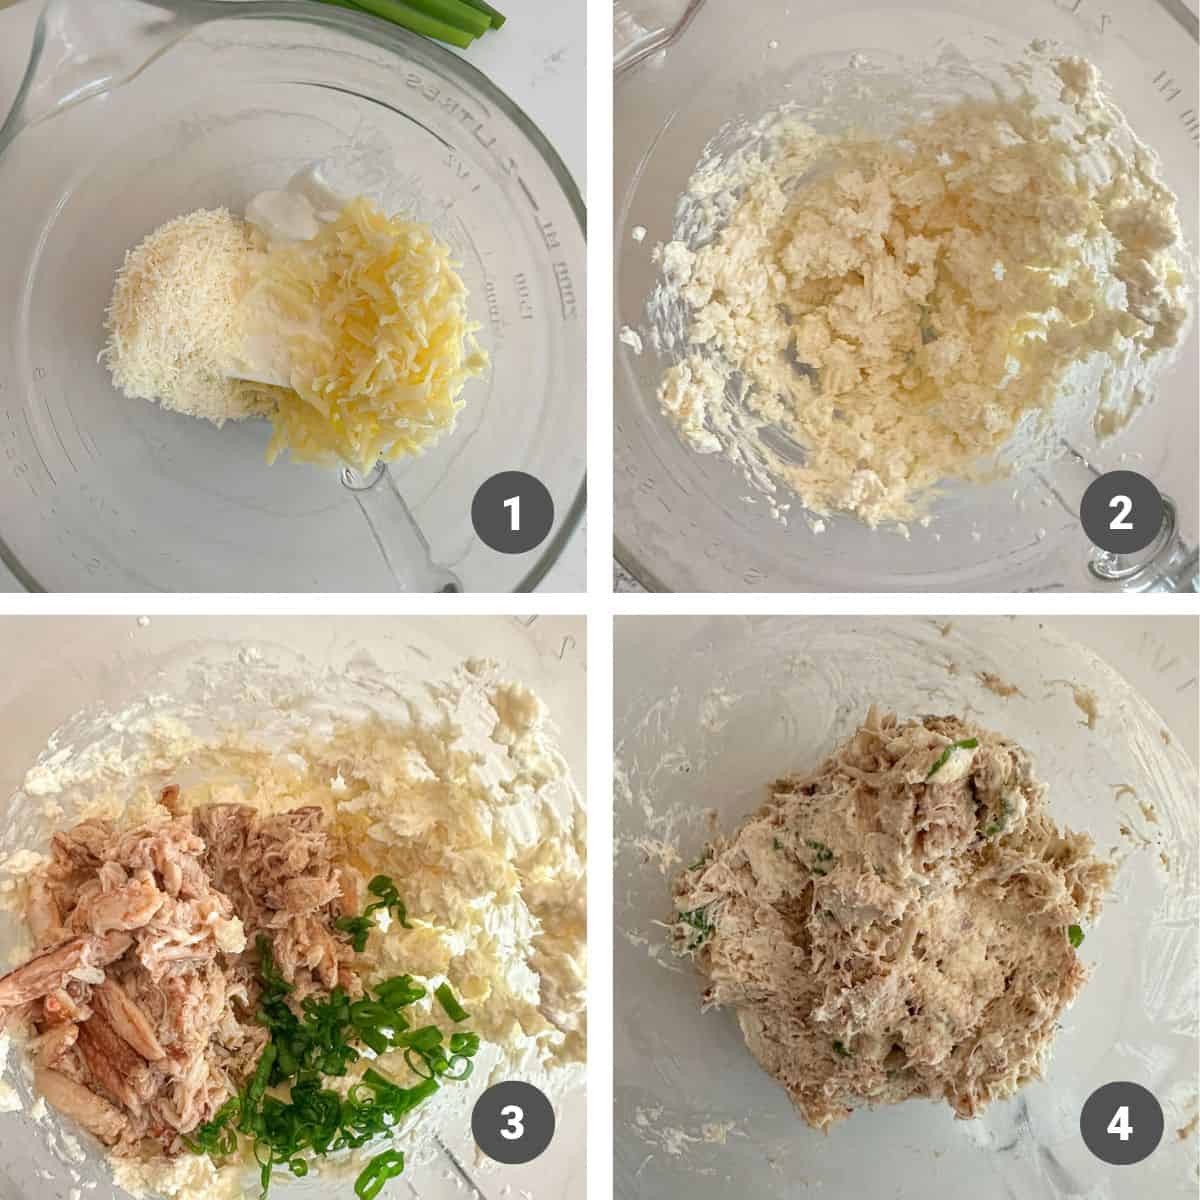
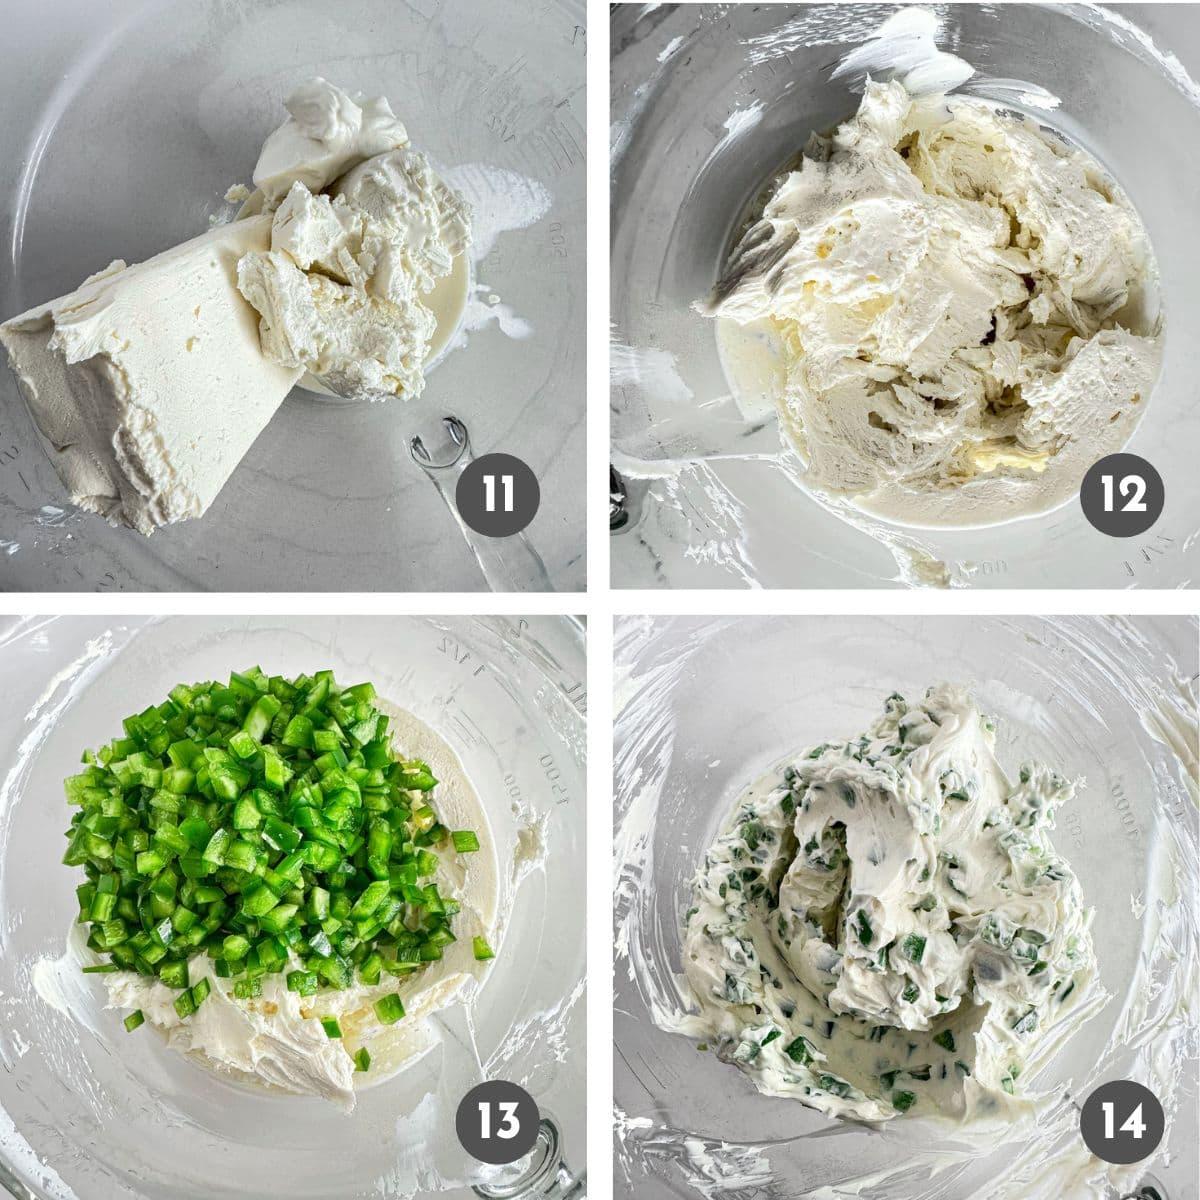
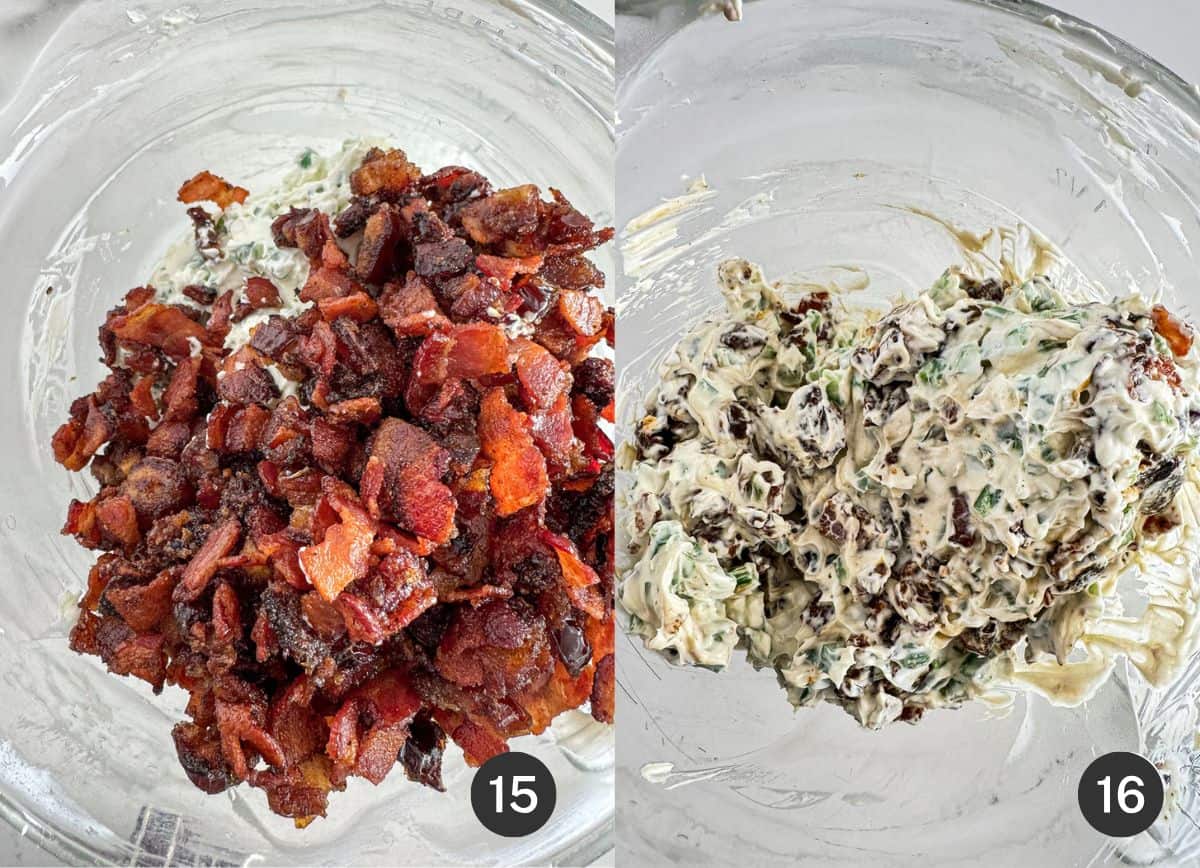
Mix all of the cheese and Greek yogurt in a mixing bowl until well combined. We use a hand mixer to make sure everything is completely mixed together and smooth. Add the crab and chopped green onions, folding gently so the crab breaks into small pieces but doesn't turn mushy.
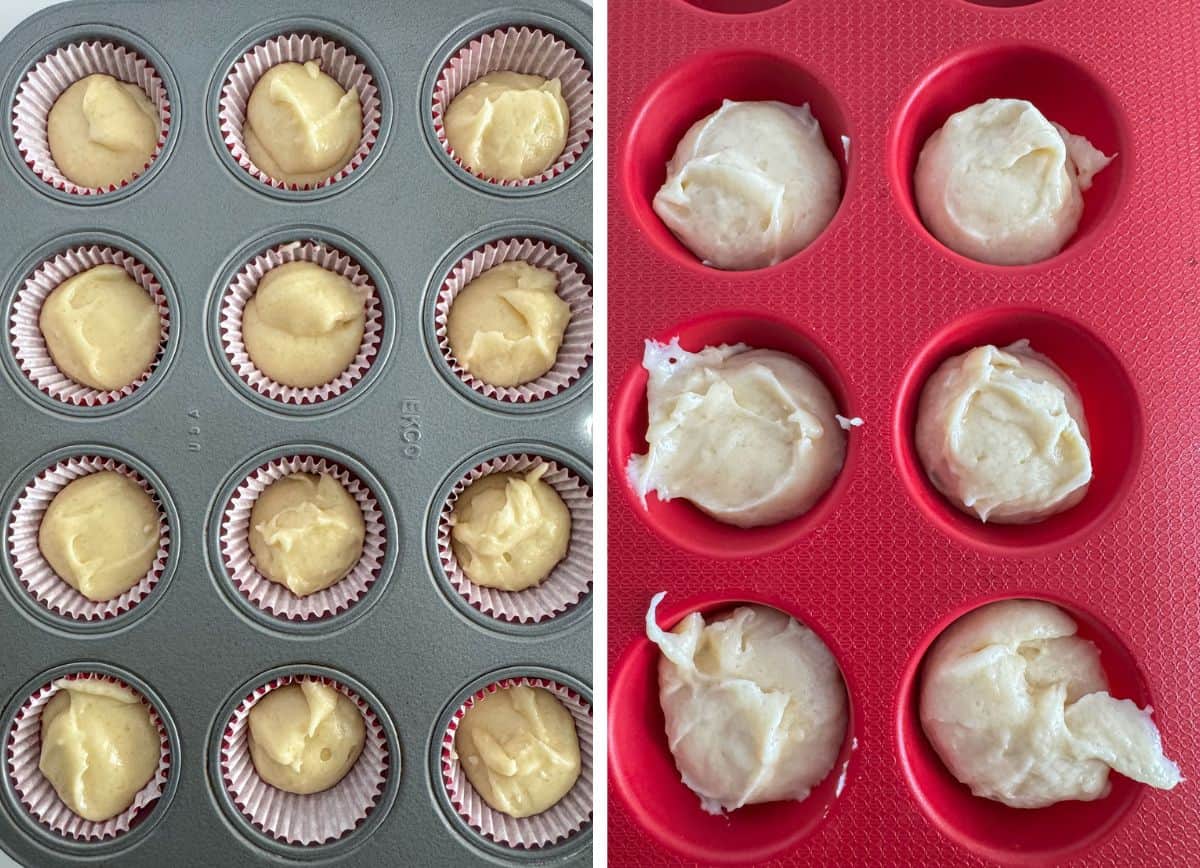
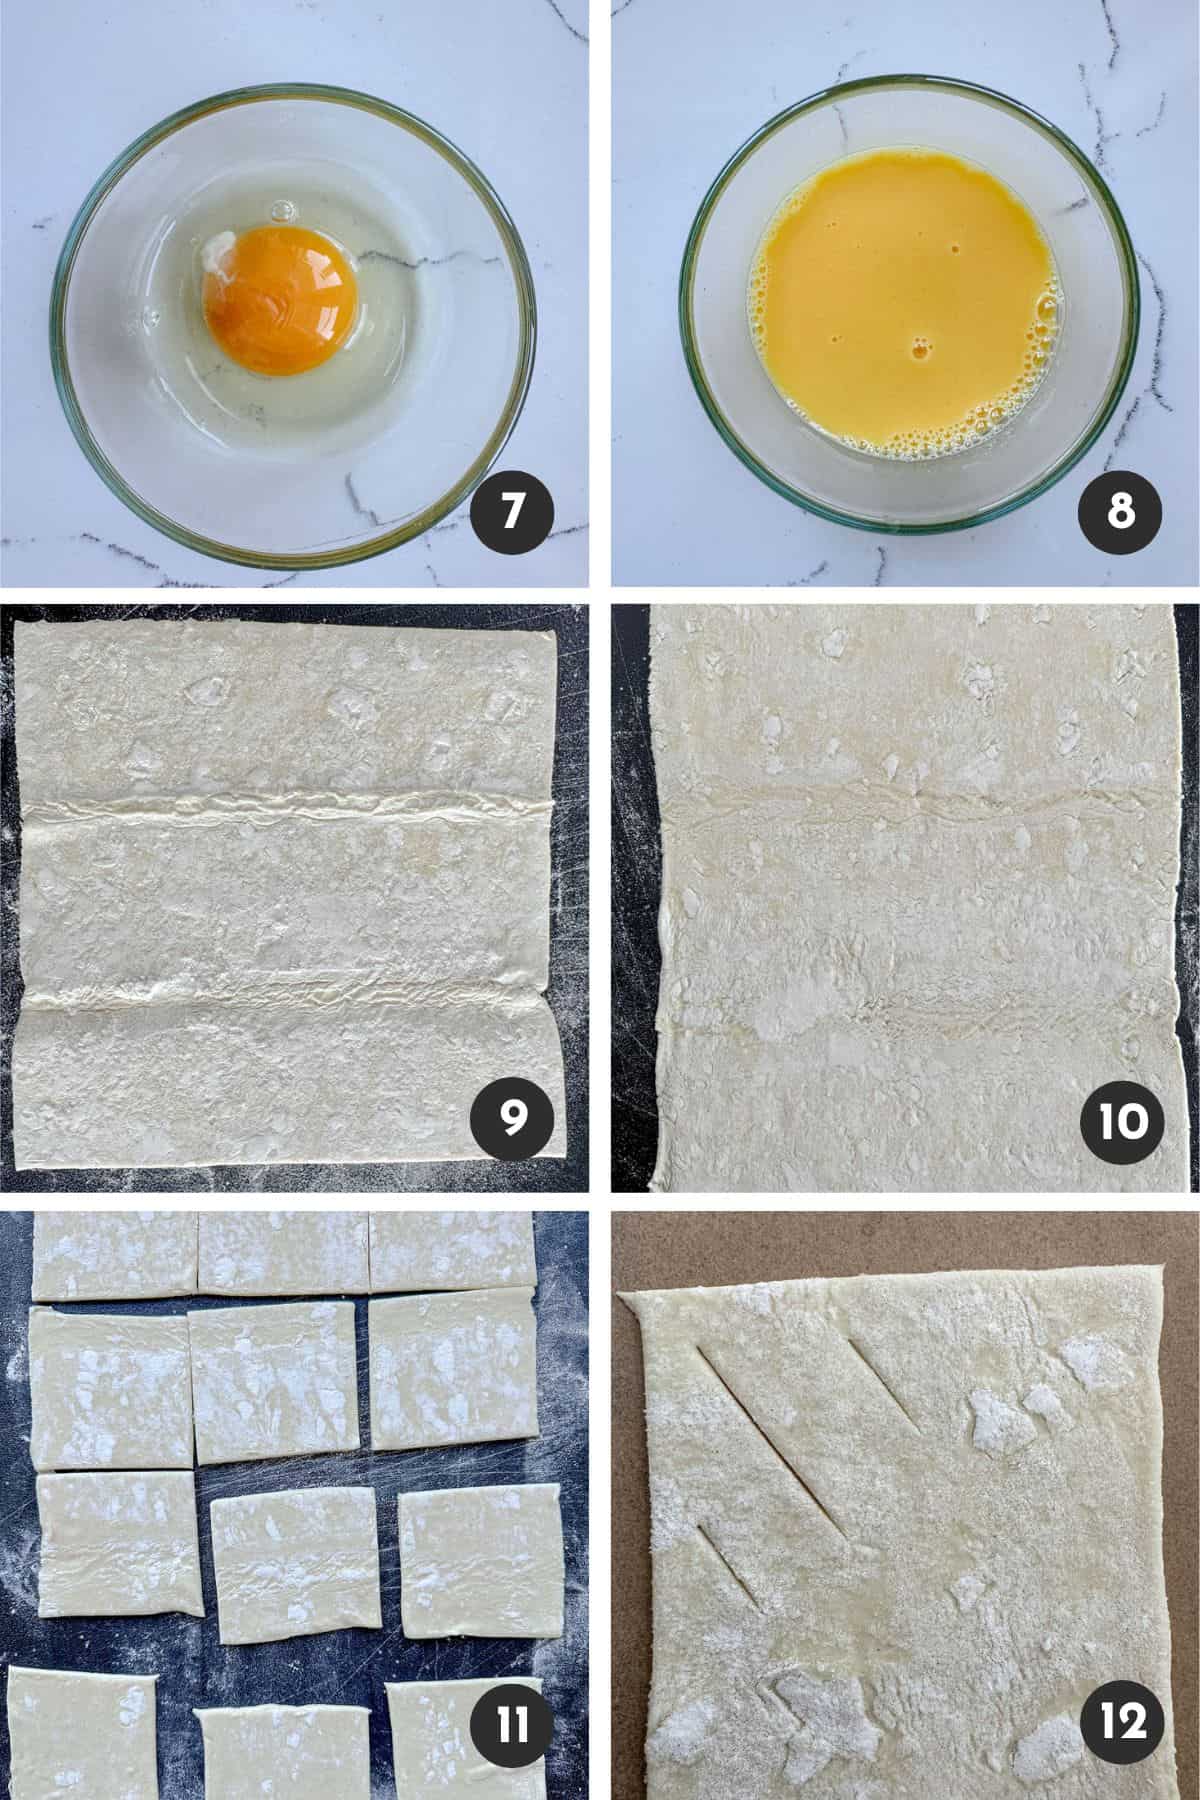
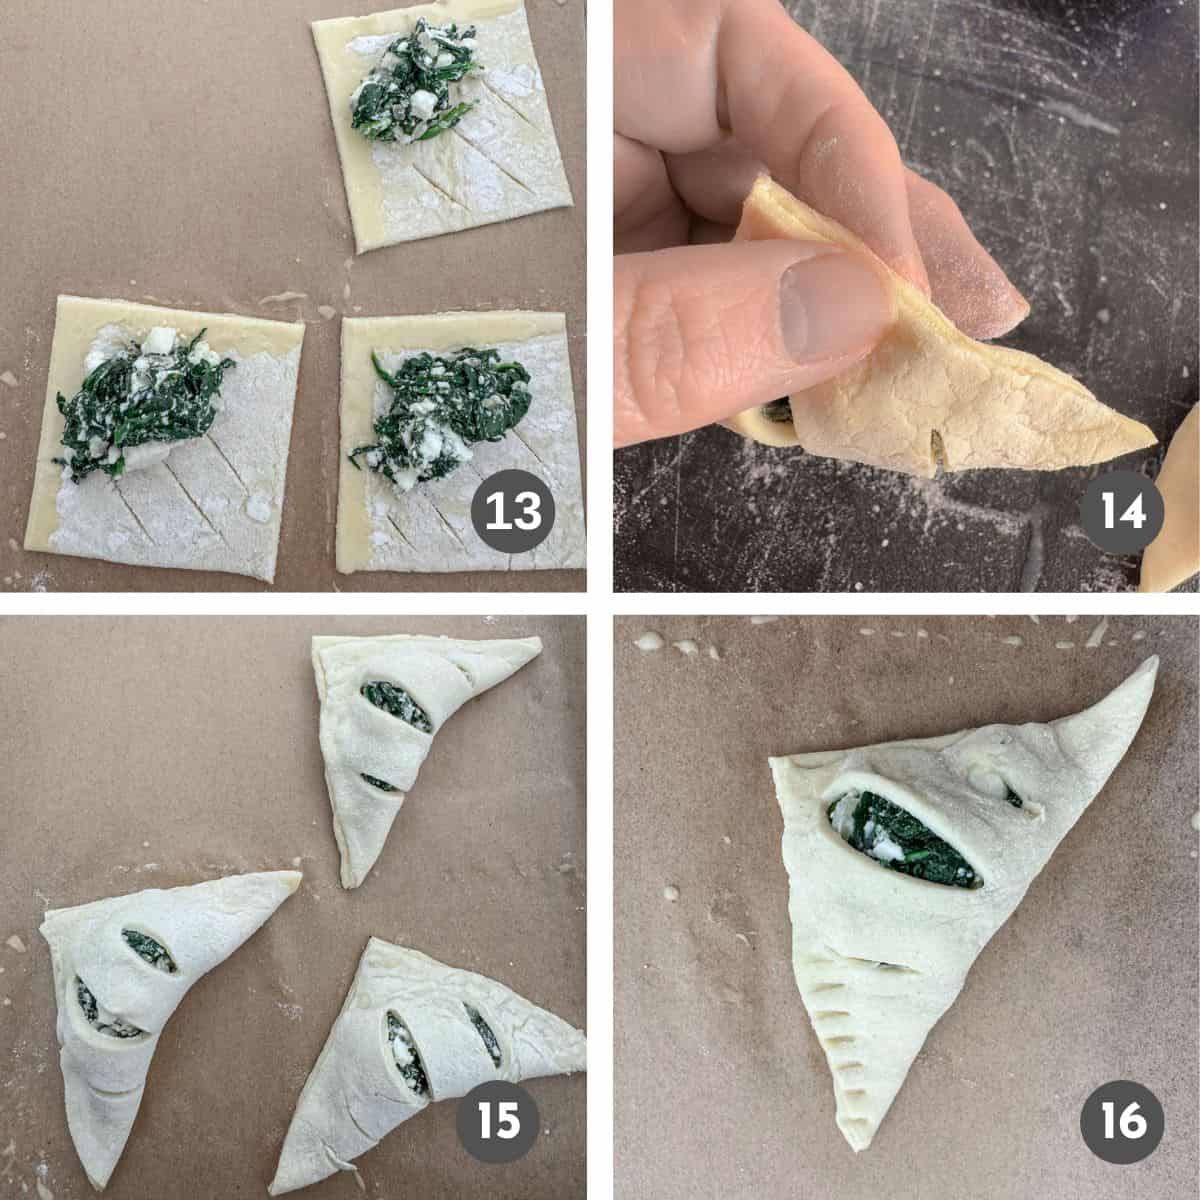
Roll the Mini Egg Rolls
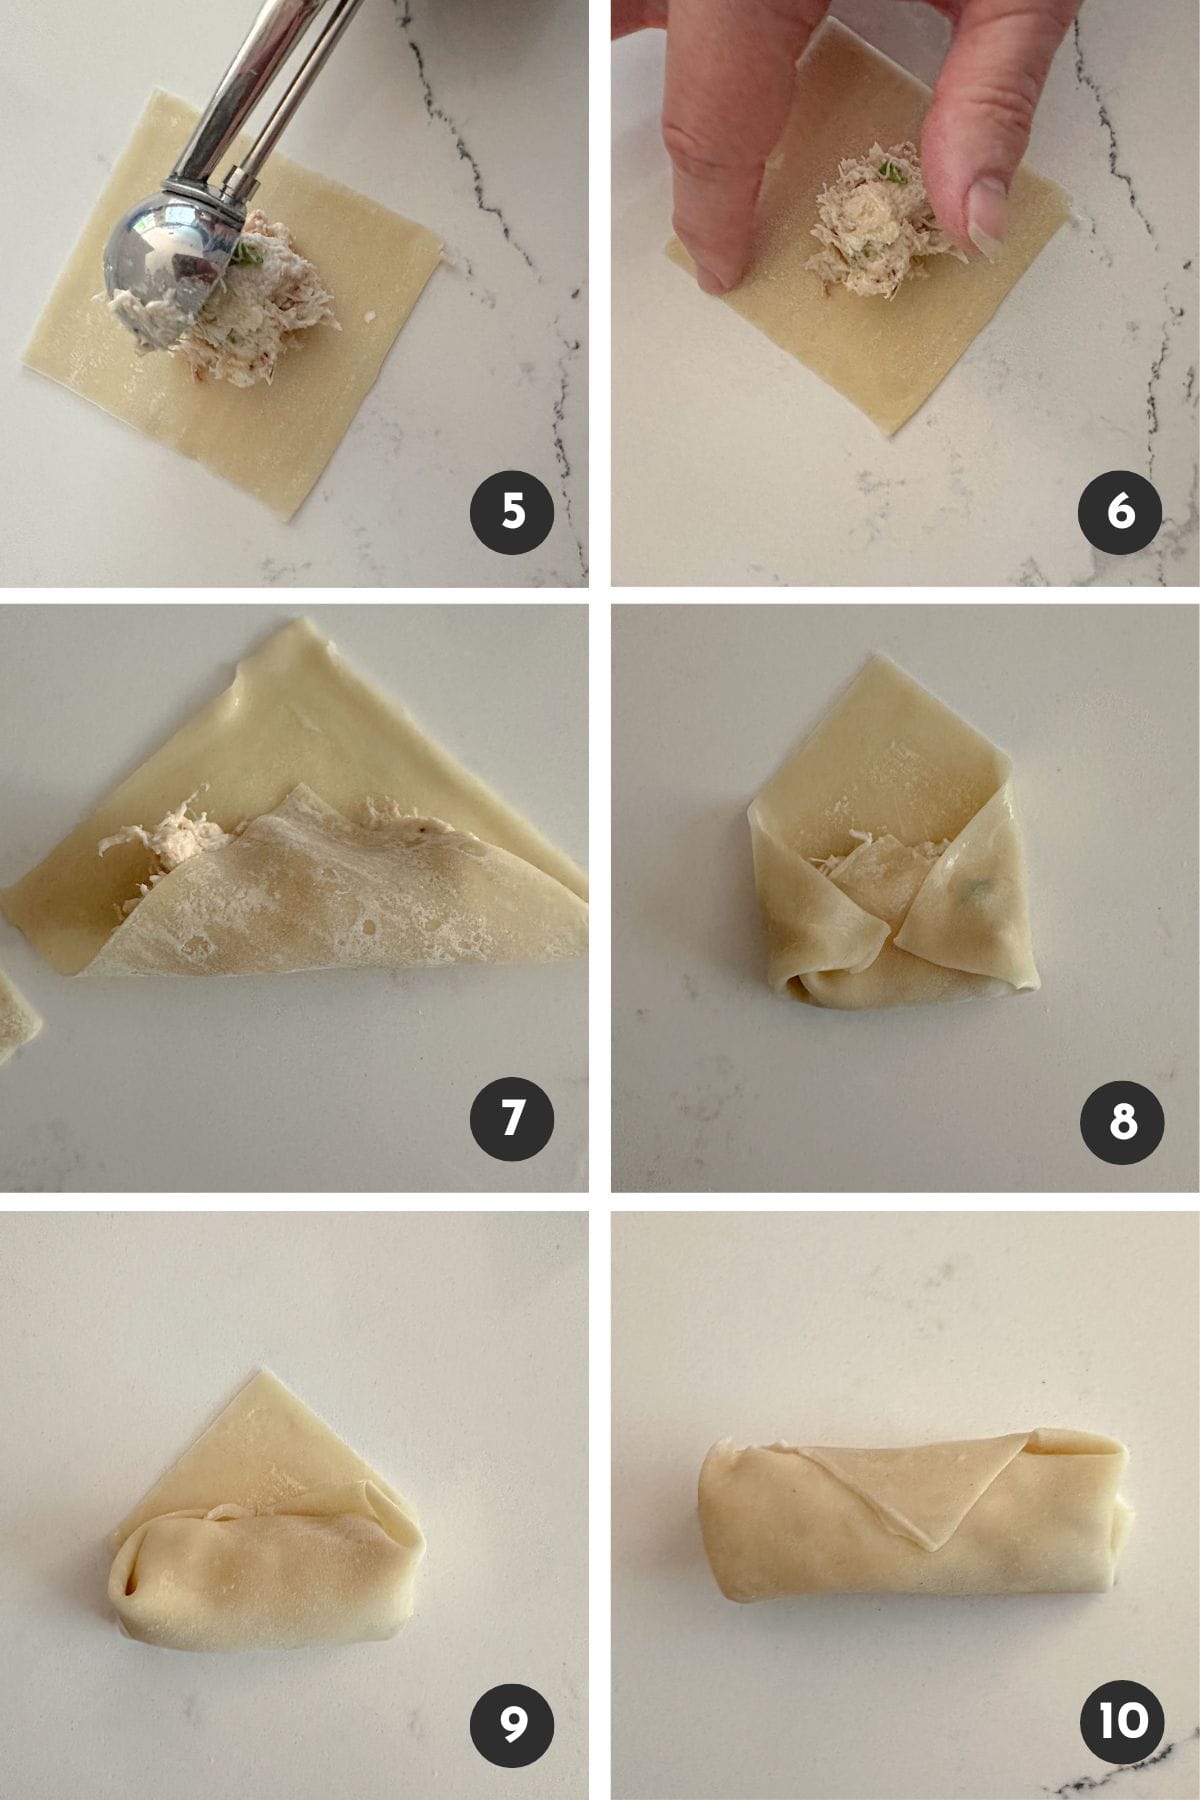
Place a small bowl of room temperature water next to your work area. Work with just a few wrappers at a time so they don't dry out - keep the remaining wrappers covered until needed.
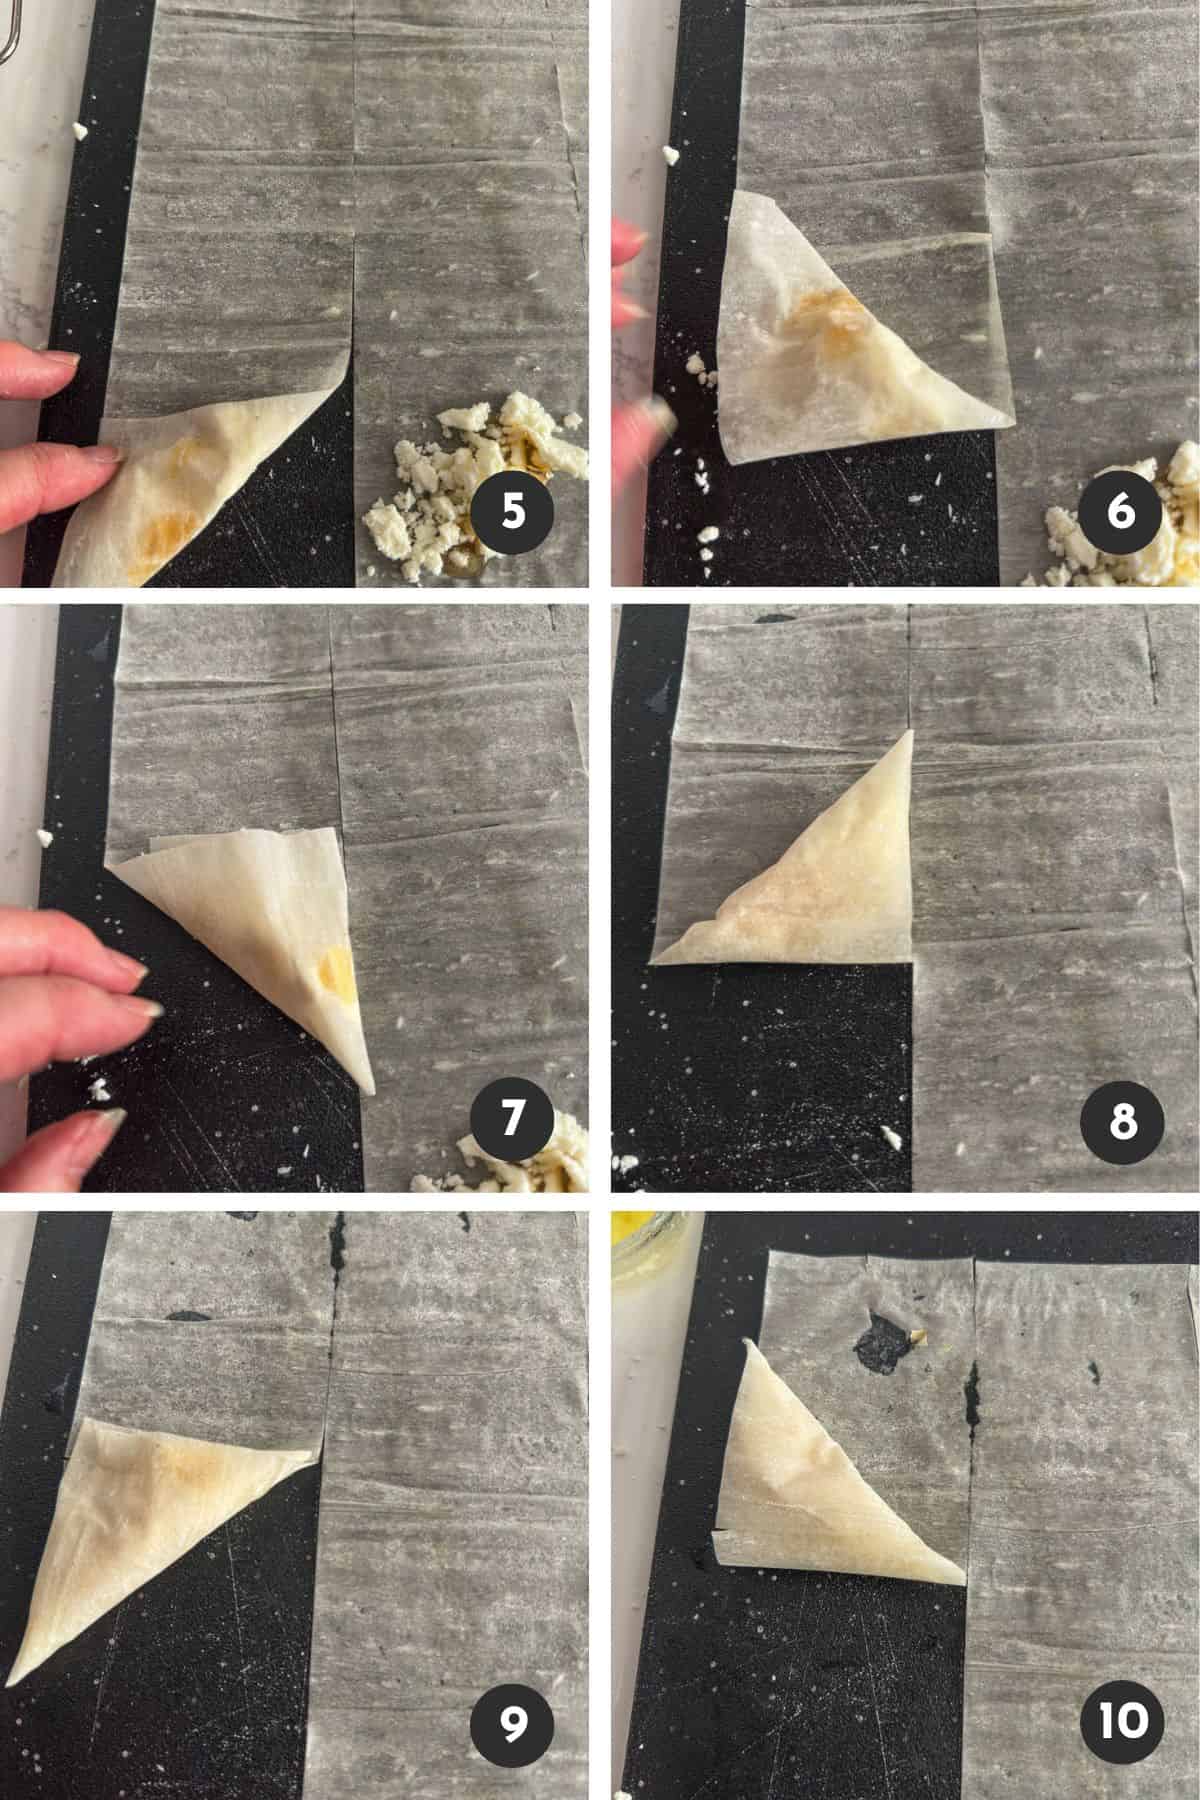
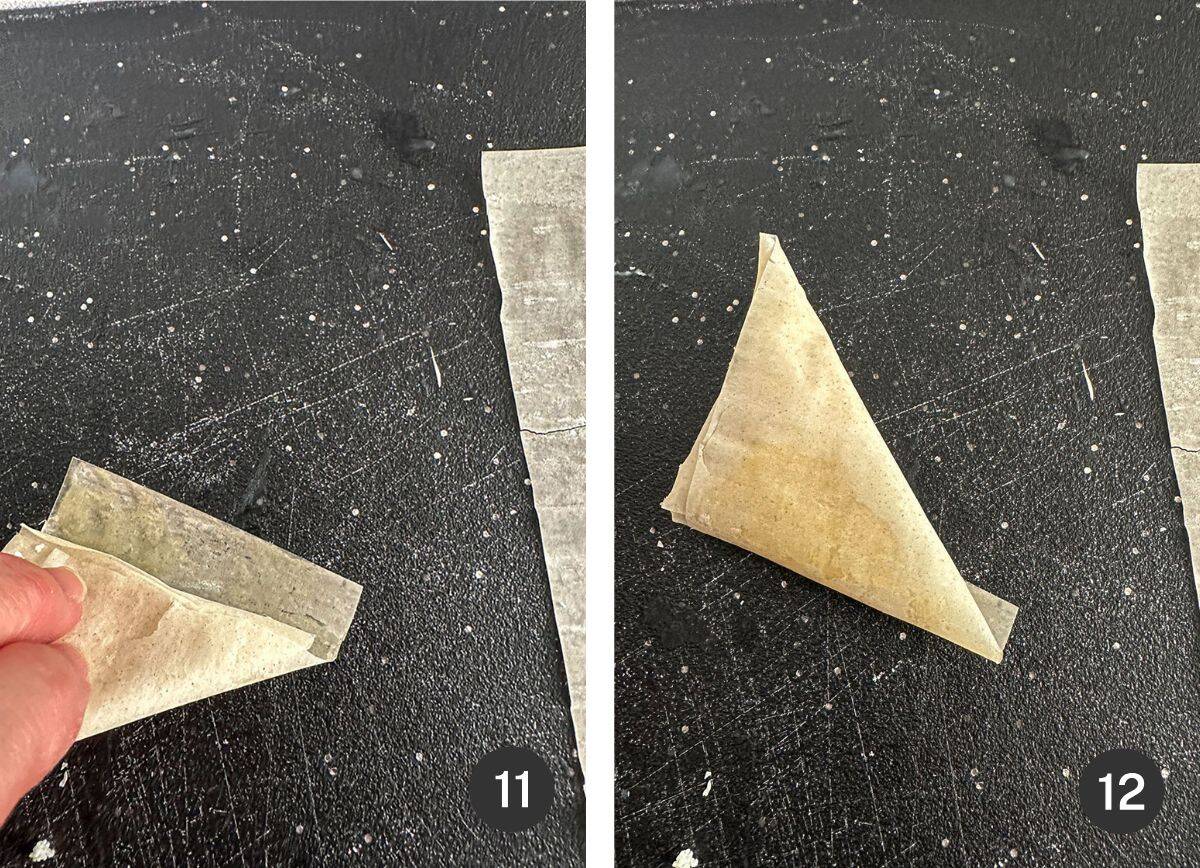
Lay a wonton wrapper out and place 2-3 teaspoons of crab-cheese near one end. Dip your finger in the water and lightly wet the edges of the wonton wrapper. Fold the bottom corner up and over the filling, pulling it snug. Fold in the two side corners - they should almost meet in the middle. (If they aren't close to touching you might've overfilled; if they overlap too much, you need a little more filling.) Roll the wonton wrapper toward the top corner and press to seal. Make the roll as tight as possible by pulling the wrapper against the filling at each wrap. NOTE: The water helps the end of the wrapper stay attached.
Cook the Egg Rolls
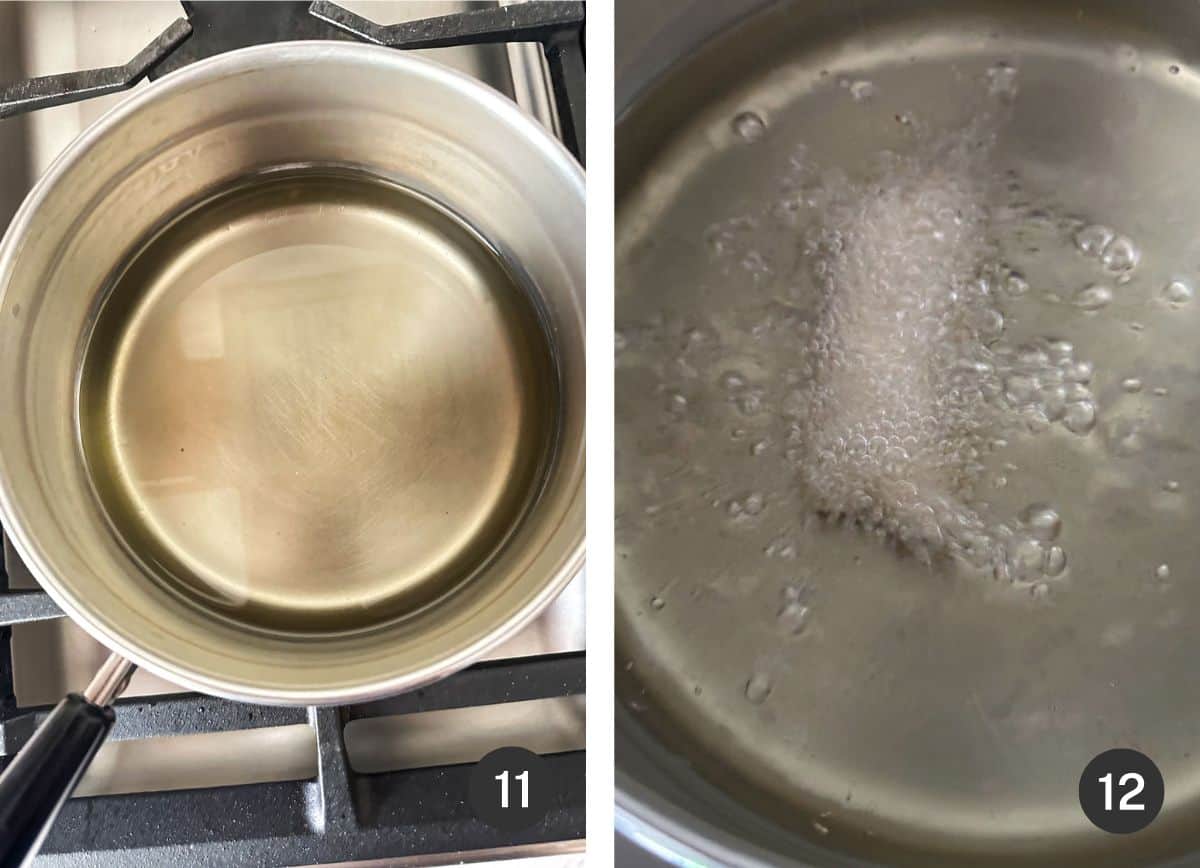
Heat about 2 inches of cooking oil in a deep pan or use a deep fryer. Once the oil is hot, between 350°F and 400°F, carefully place 5-6 rolled wonton egg rolls into the hot oil. This oil is HOT! Use a slotted spoon if necessary, to help prevent hot oil from splattering on your hands.
PRO TIP: The most accurate way to see if your oil is the right temperature is using a thermometer. If you don't have a thermometer handy, use a wooden spoon. Dip the end of the wooden spoon into the hot oil. If you see bubbles, the oil is hot enough to fry. No bubbles? The oil is not hot enough yet.
If your oil is too hot, the outside will cook before the cheese melts and the wrappers might burn in places but be undercooked where they overlap. If the oil is not hot enough, the egg rolls will take much longer to turn golden brown and absorb oil resulting in a greasy egg roll. Bring the oil back up to temp by reheating between batches.
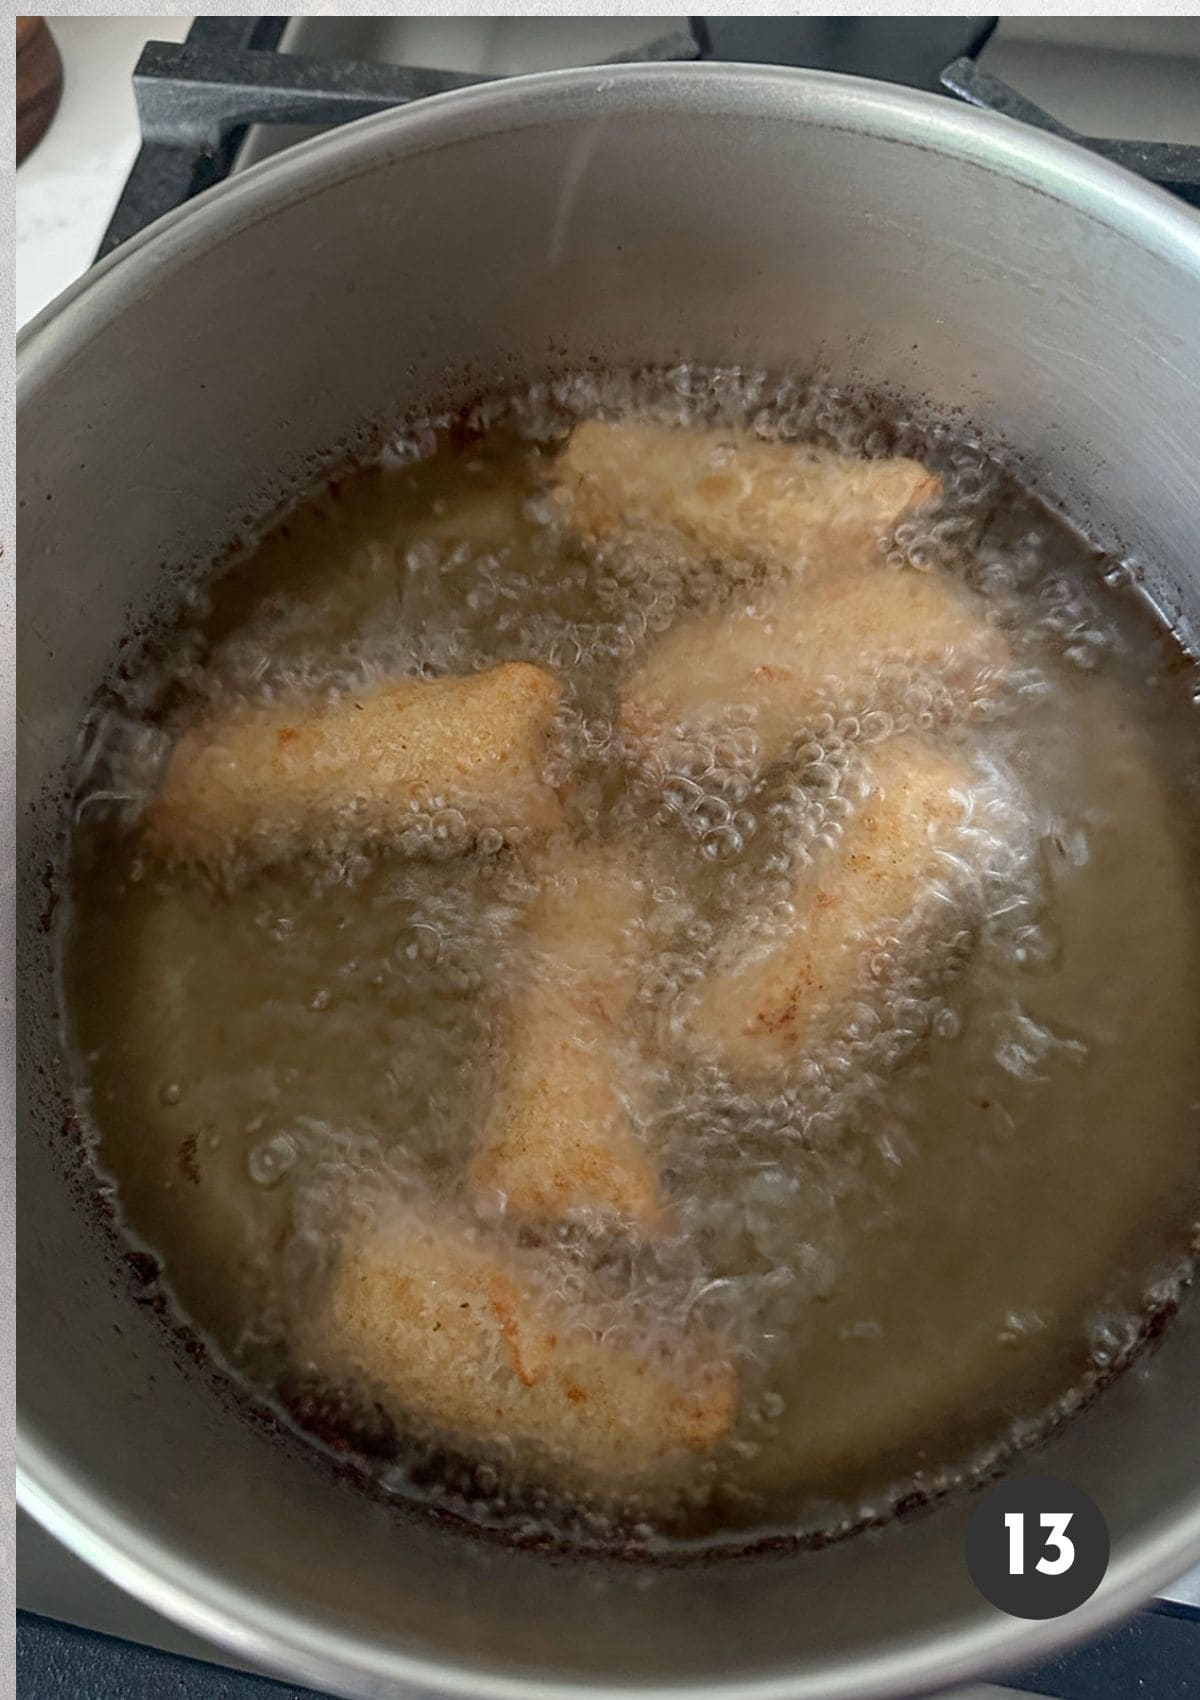
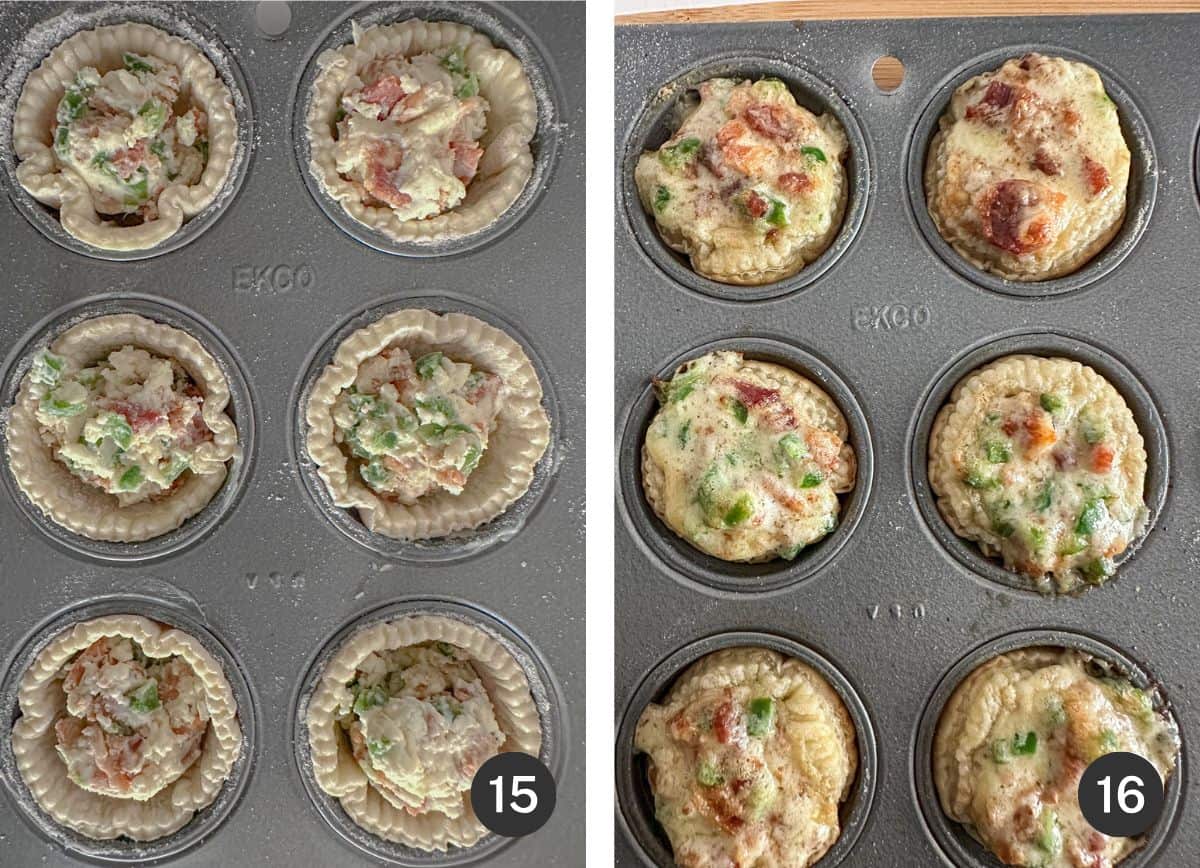
Fry the egg rolls turning periodically in the hot oil until golden brown, this usually takes between 5-9 minutes per batch.
Keep the fried egg rolls warm in a 250°F oven while frying all of the batches.
How to Serve Crab Egg Rolls
These mini egg rolls are delicious on their own while they're hot, but they're also good with a dipping sauce. Try them with a sweet chili sauce, tangy remoulade sauce (mayo, dijon, Creole seasoning), or a ginger lime sauce made with sour cream, grated fresh ginger, and lime juice.
Equipment
Using a hand mixer ensures the different cheeses are completely mixed together. This is quick and easy with an electric mixer but can also be done by hand with a spoon and a lot of elbow grease.
A deep fryer works great for this recipe but it isn't necessary to make a great egg roll. Use a deep pan with 2-3 inches of oil.
We use a wire rack to hold the fried egg rolls when removing from the hot oil. If you don't have a wire rack, use a sheet pan lined with a paper towel.
Use a thermometer to monitor the temperature of the oil when frying. If you don't have a thermometer, dip the end of a wooden spoon into the hot oil. If bubbles appear on the spoon the oil is ready. No bubbles? Not hot enough yet.
Make Ahead Tips
These crab egg rolls are best eaten on the day they are made, but they can be made ahead of time and reheated before serving. Making in advance options:
- Roll the egg rolls but don't fry them - place on a towel in an airtight container in the refrigerator for up to 2 days. If you're stacking them, add a layer of parchment or a clean towel between each layer to prevent sticking. When you're ready to fry, remove the egg rolls from the fridge while the oil heats. Once the oil is hot, fry the egg rolls according to the instructions. Serve warm.
- Fry the egg rolls, let them cool completely and store, covered, in a paper towel lined container in the refrigerator for up to 3 days. Reheat before serving, in a preheated 425°F oven for 8-12 minutes, or until warmed through.
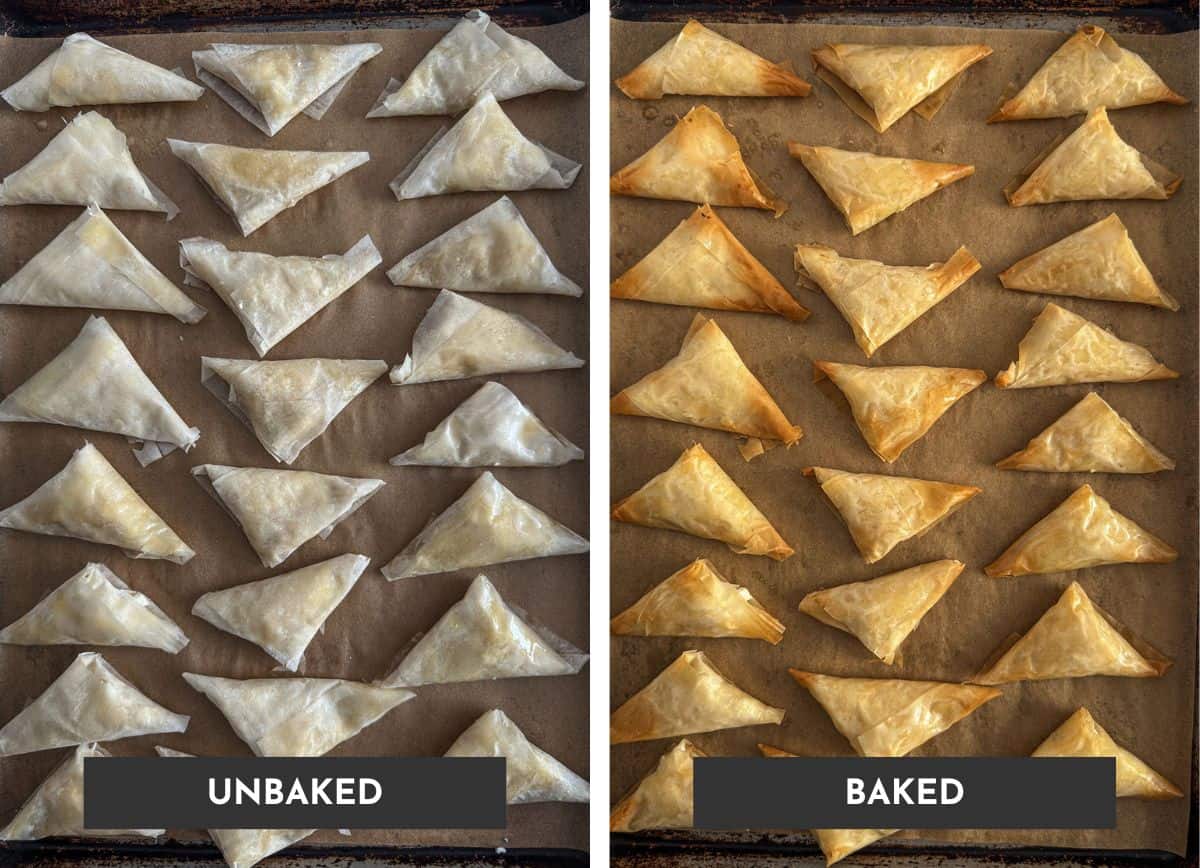
Fried vs. Air fryer vs. Baked
These mini appetizers can also be cooked in an air fryer or oven, but we found these two methods took longer to crisp and didn't develop that same tender-crisp texture. In both the air fryer and a 425°F oven, the wrappers got a little tough instead of truly crispy.
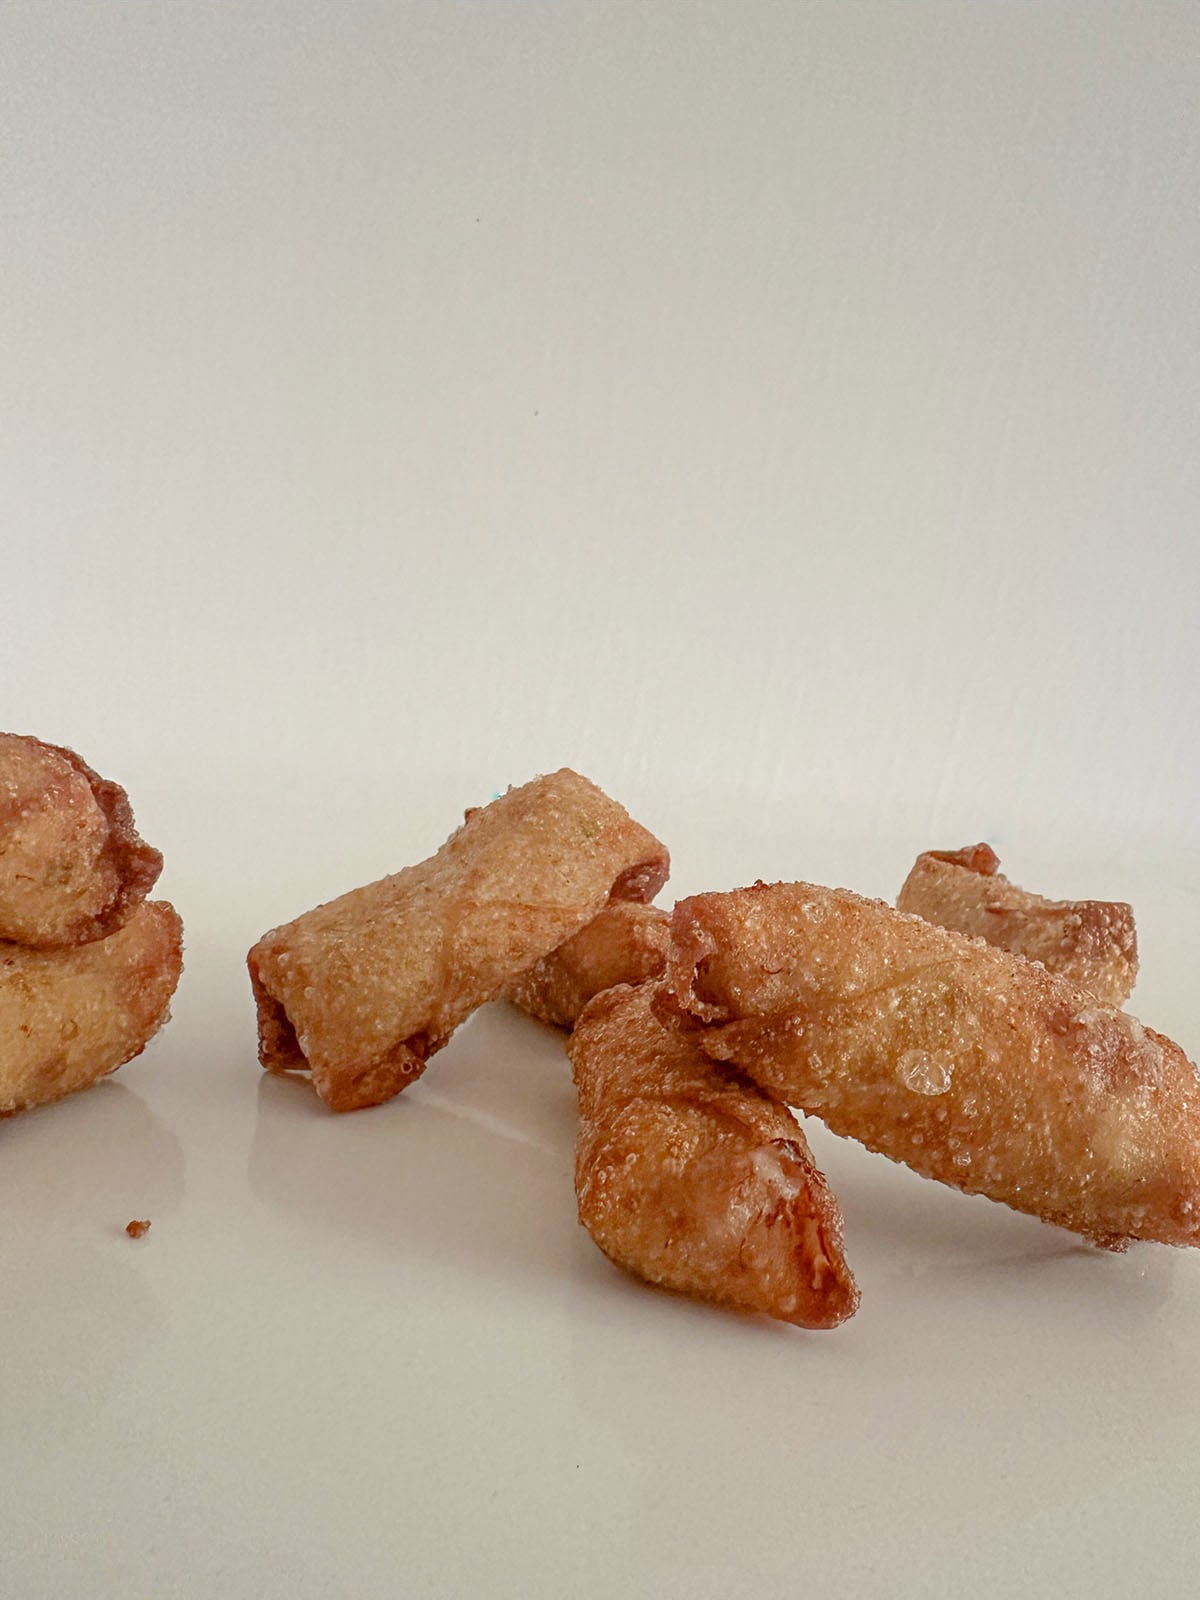
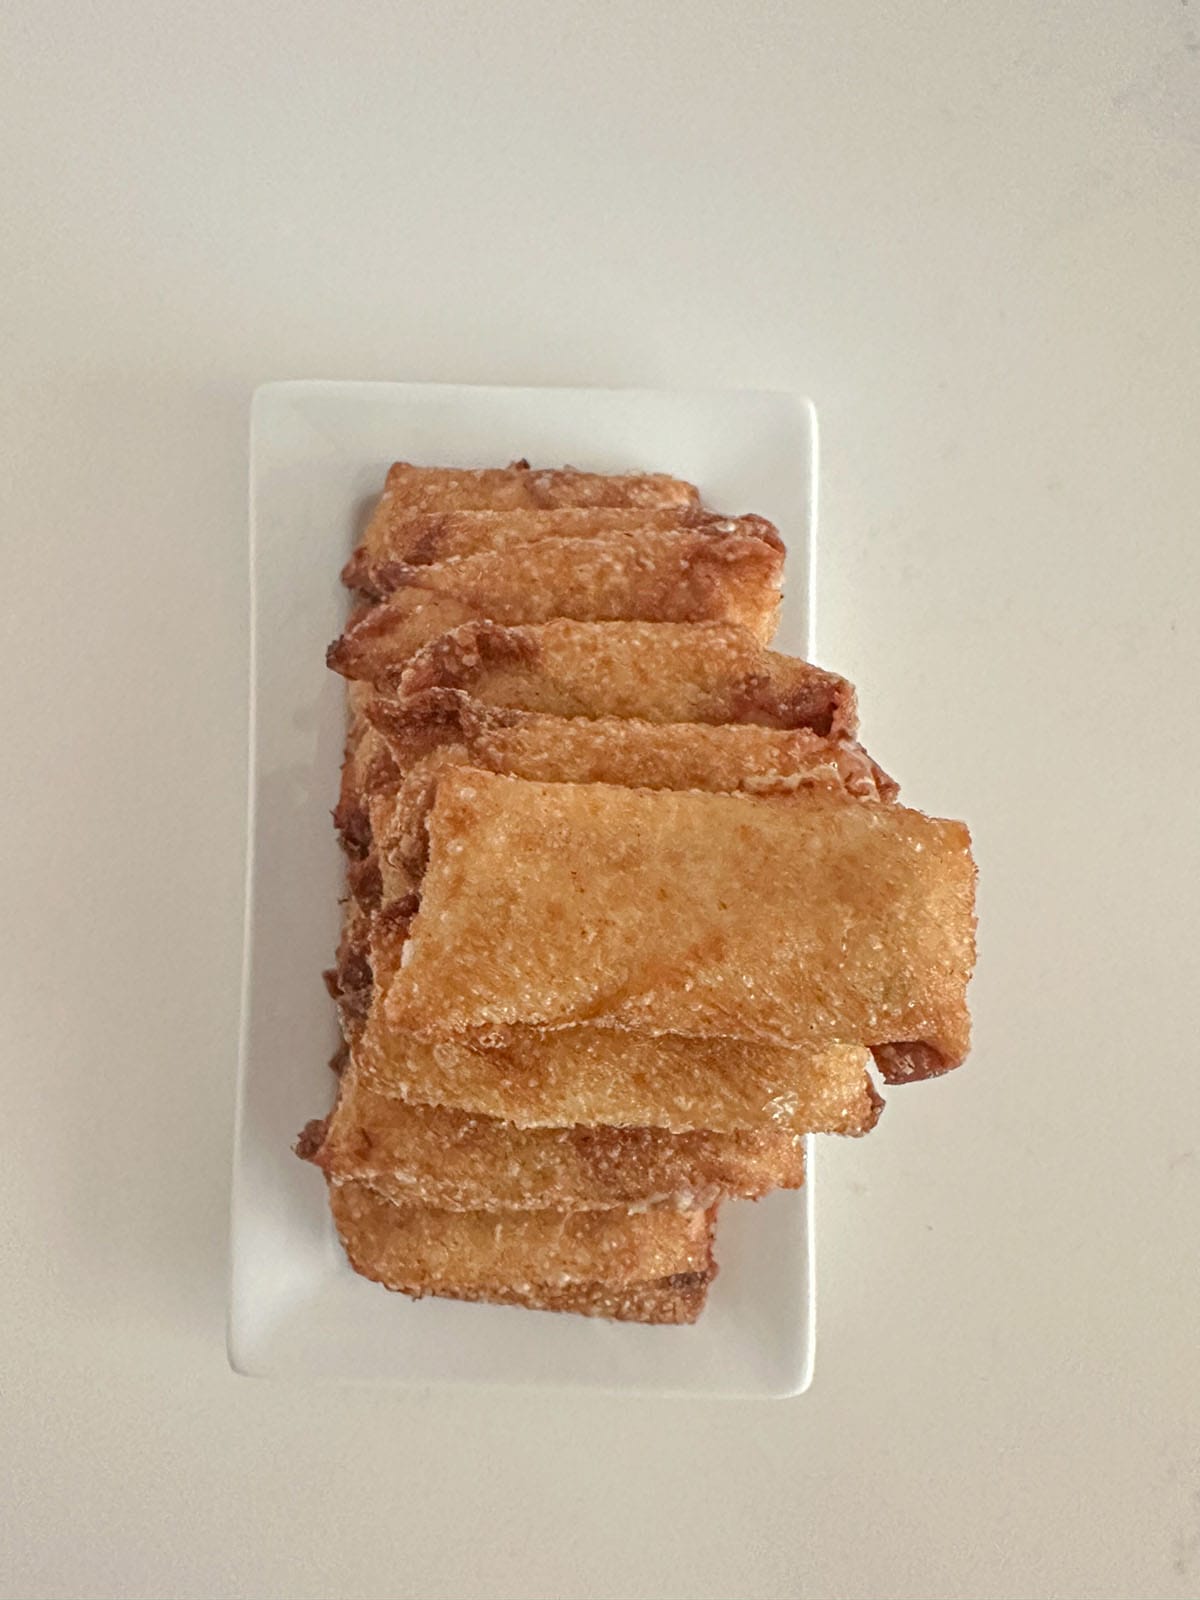
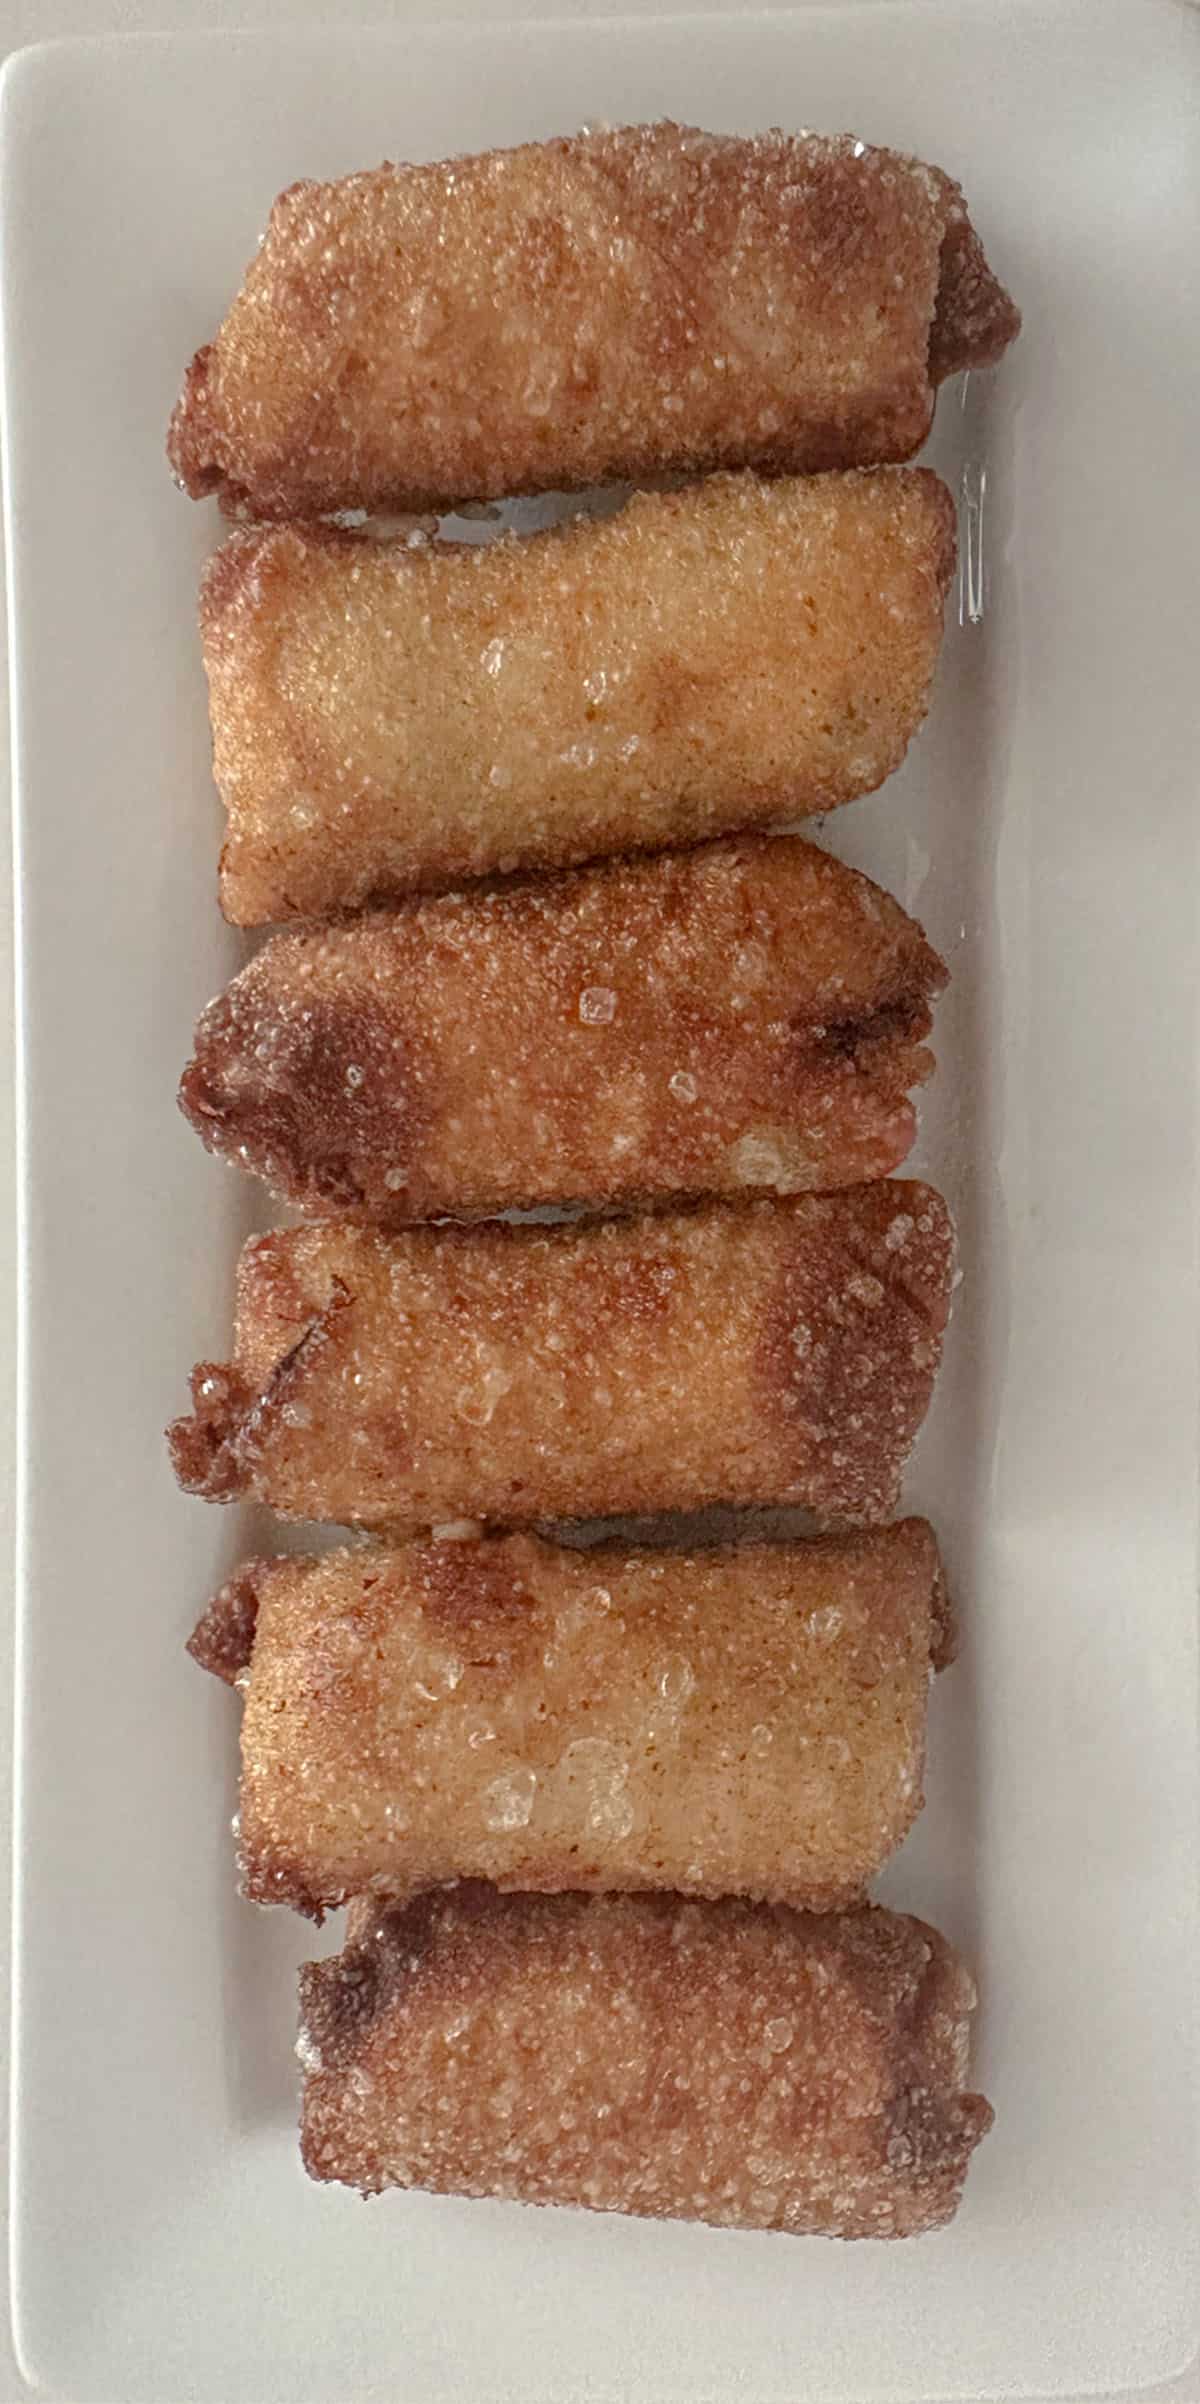
Our favorite method by far is deep frying. The outside turns perfectly golden, tender, and crisp, while the inside melts into a smooth, cheesy crab filling. Plus, they come out looking extra cute and totally irresistible!

Saving Leftovers
The FDA recommends discarding any perishable food that has been out at room temperature for more than 2 hours.
If you are within the FDA recommendations, these mini crab egg rolls will last in an airtight container in the refrigerator for up to 3 days. Reheat before serving.
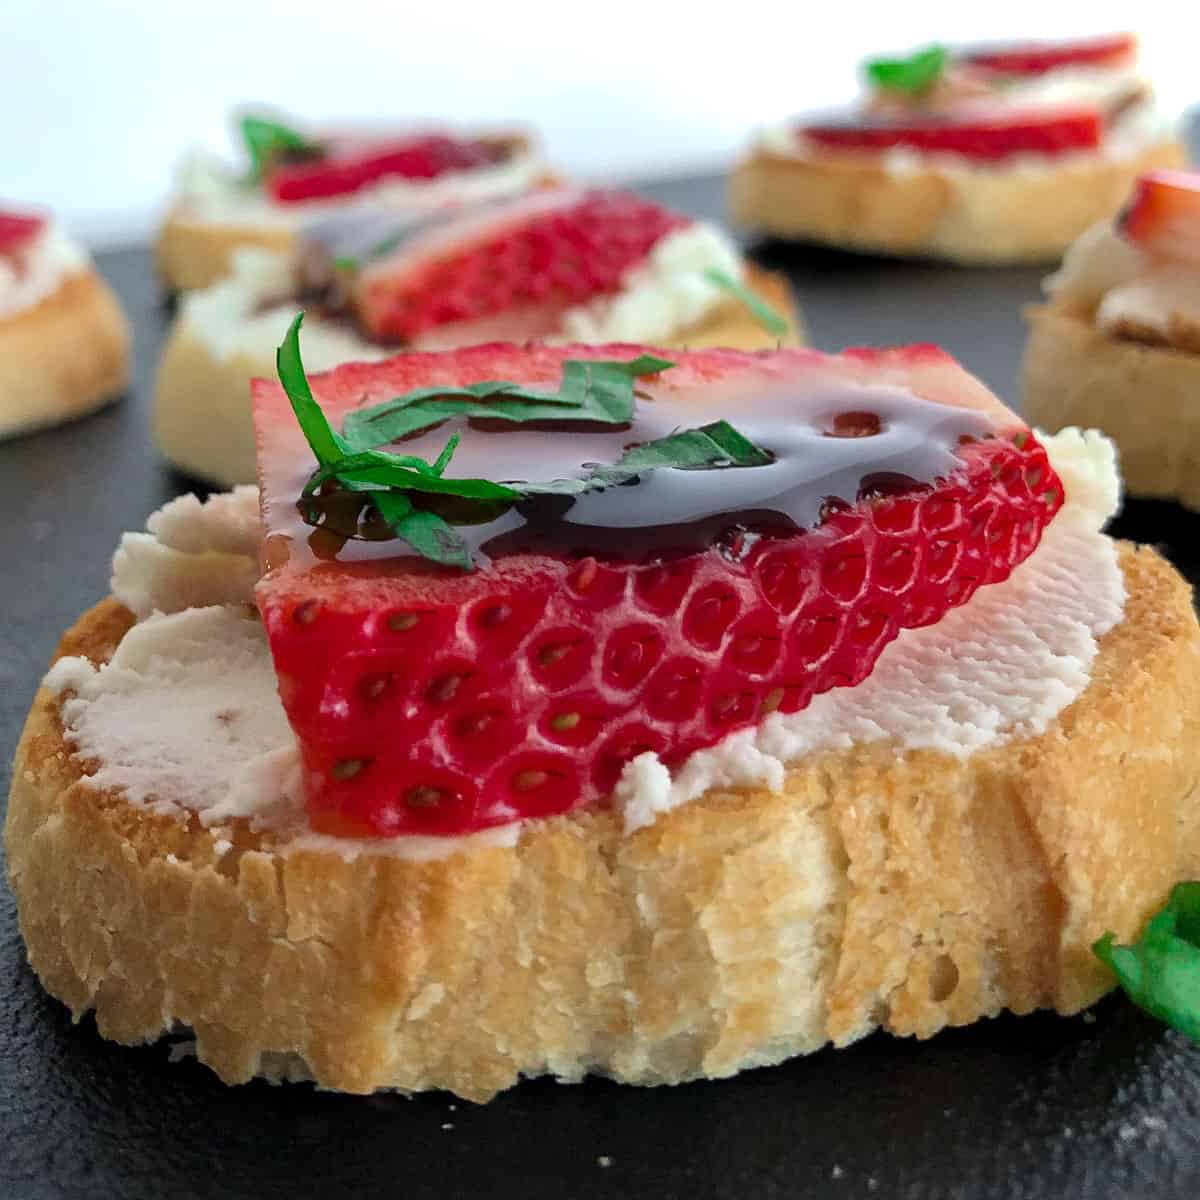
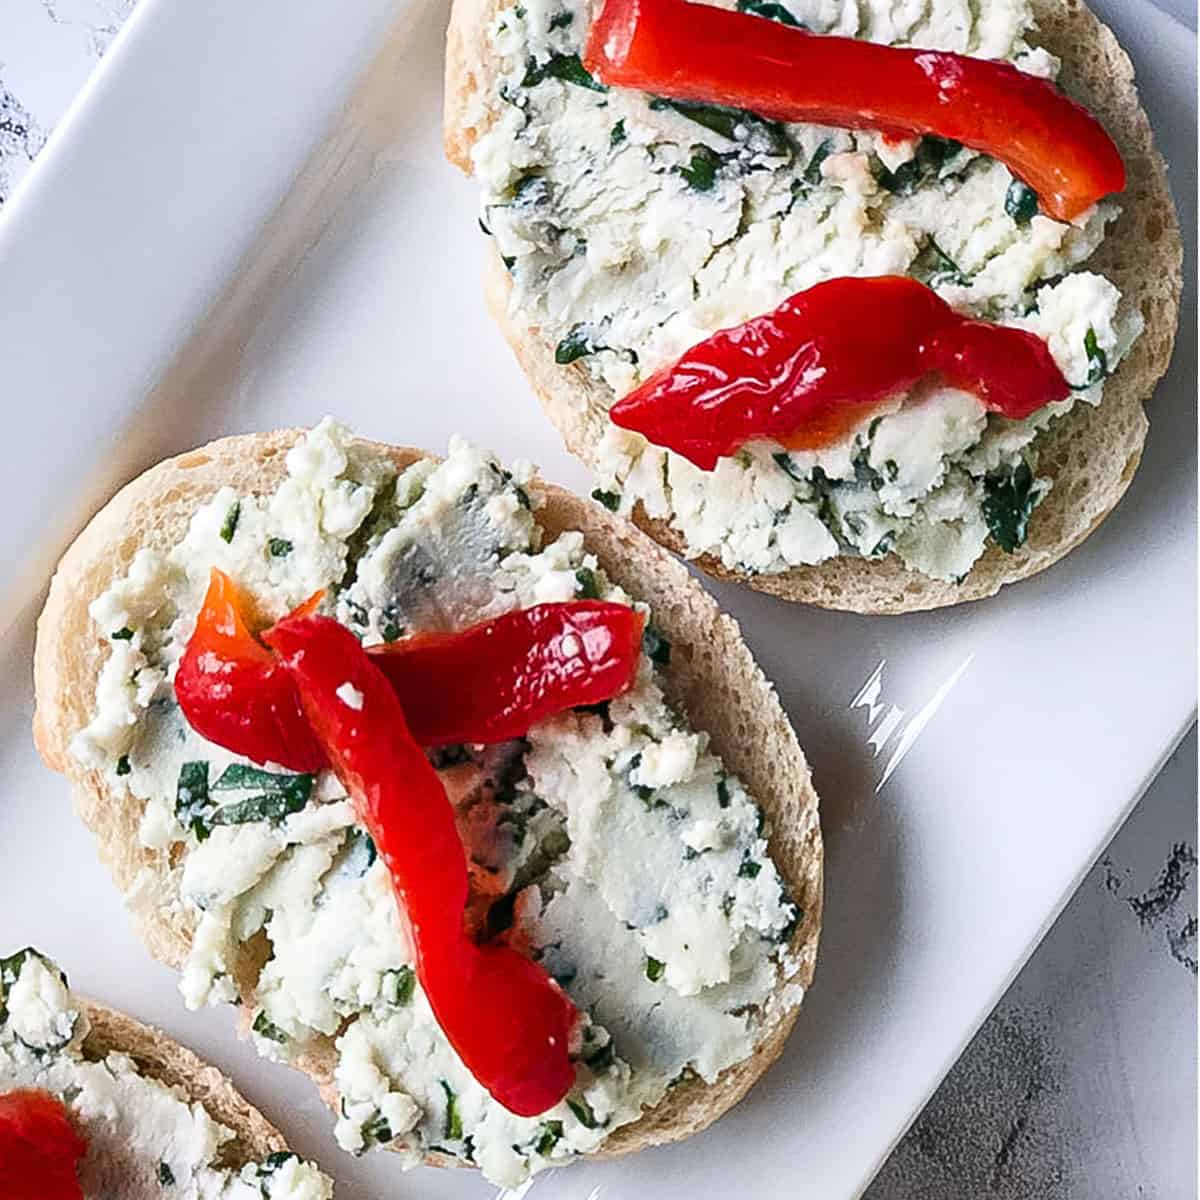
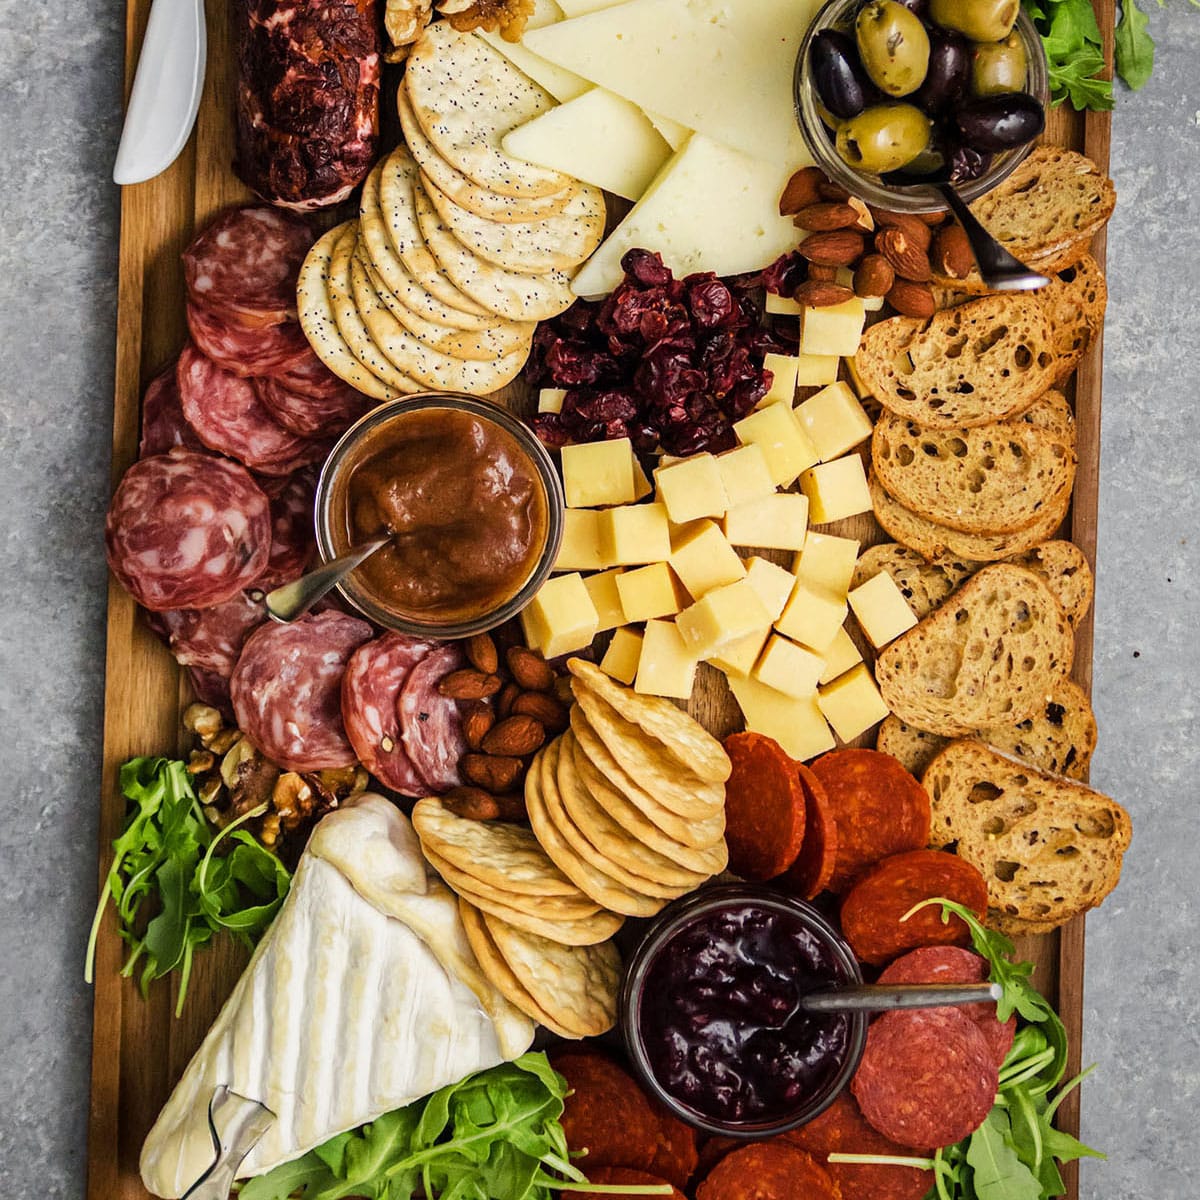
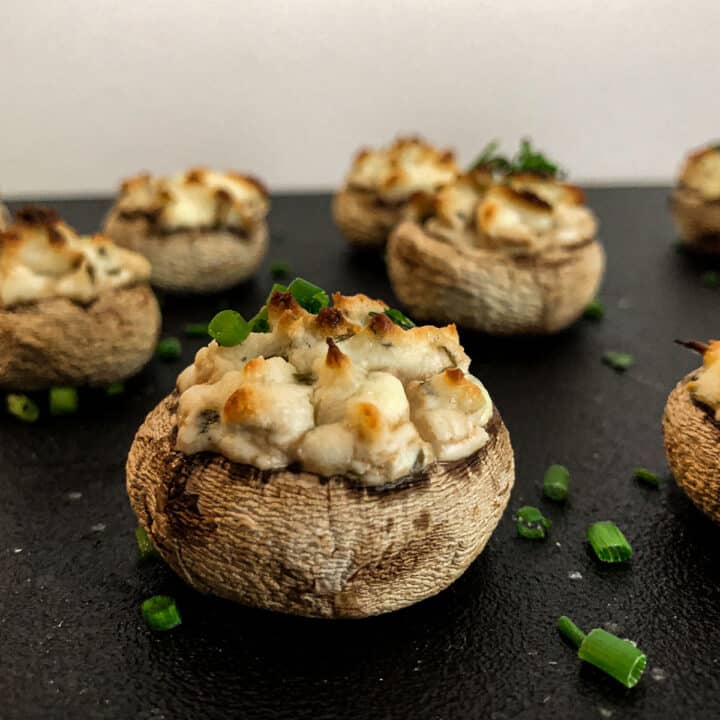
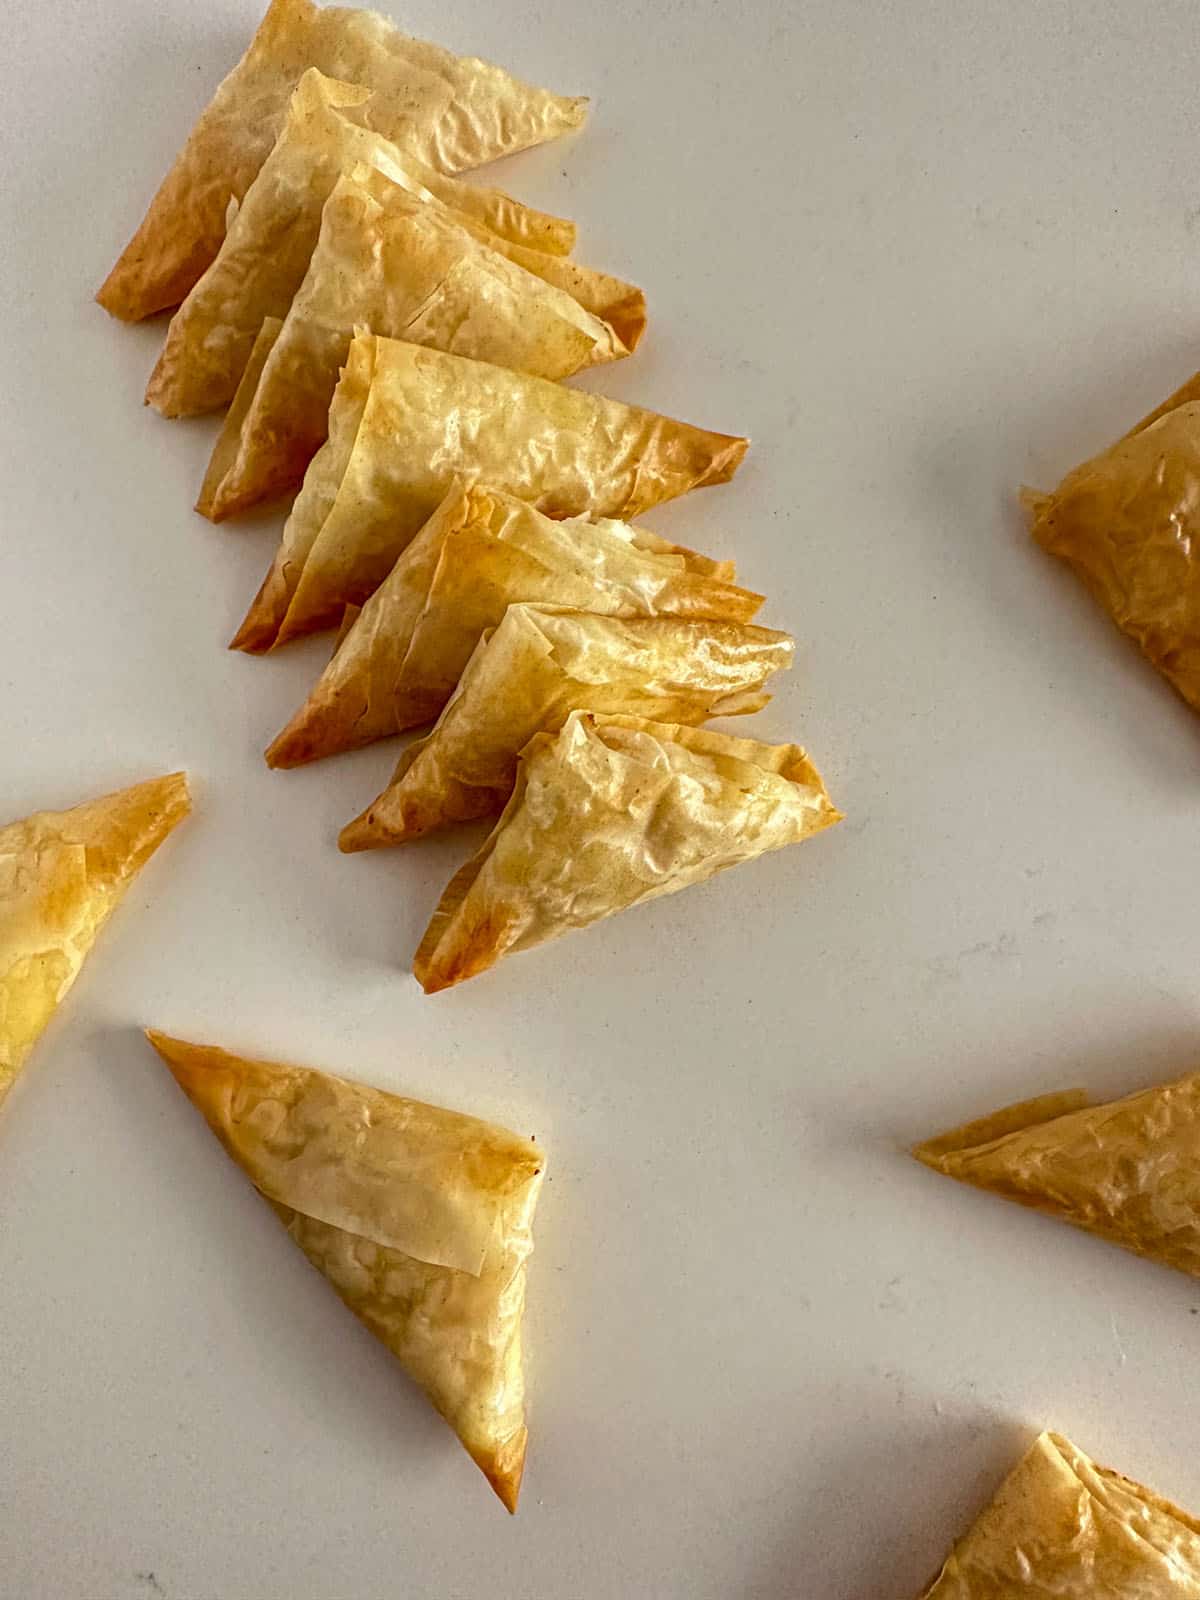
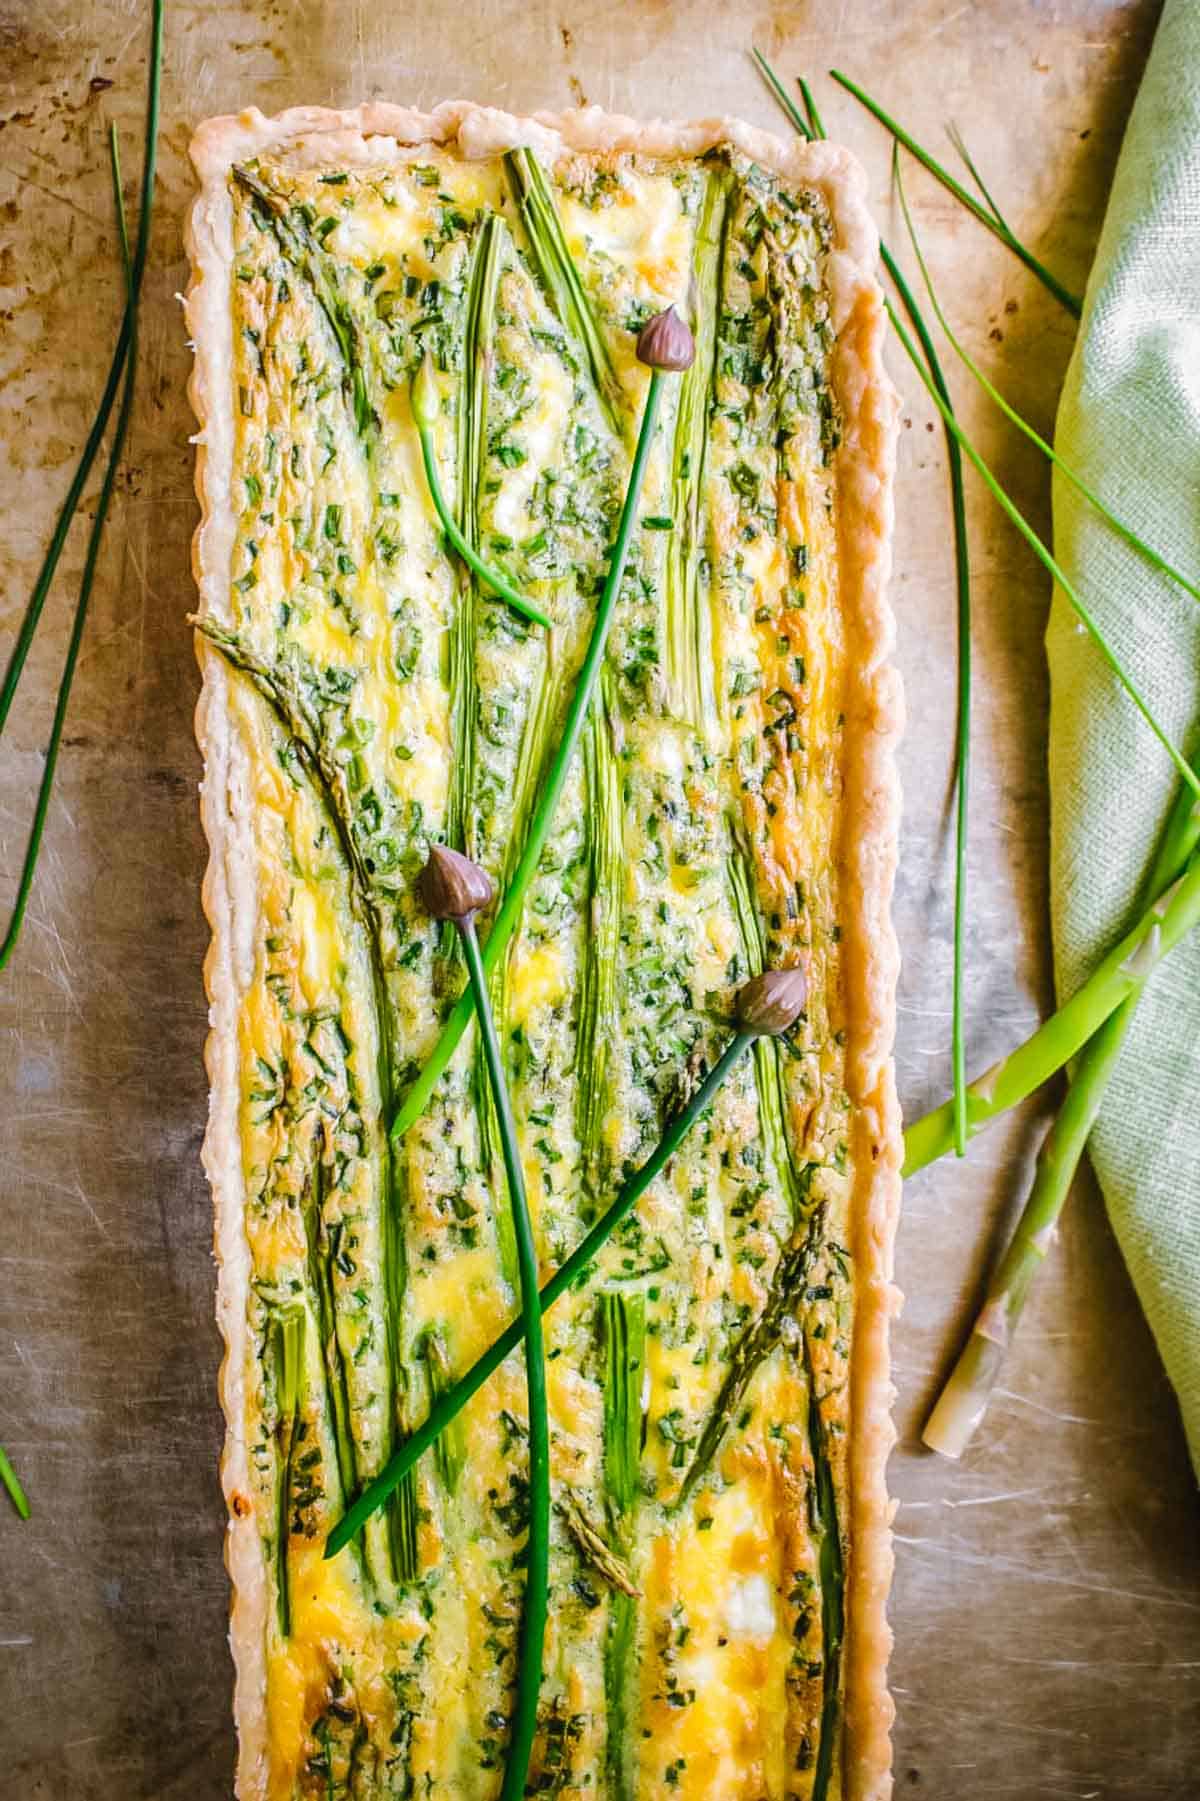
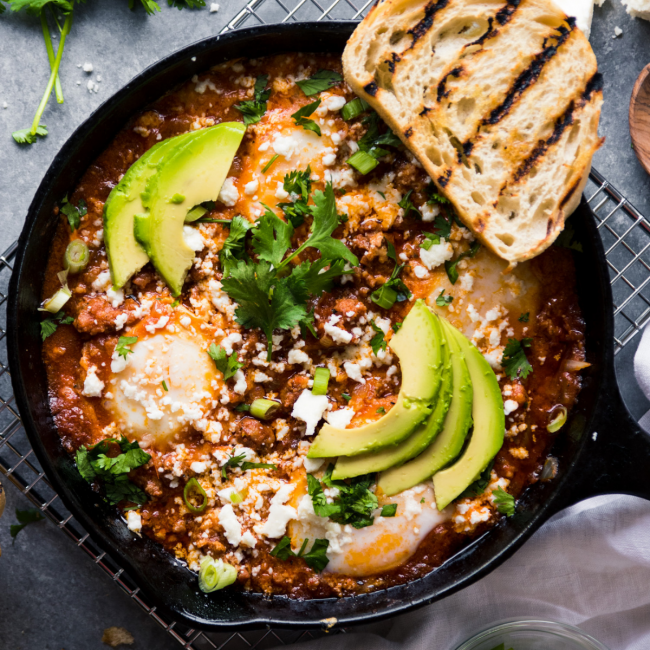
Some other favorite mini bites


Some FAQ's
No. These can be fried in a deep pot with 2-3 inches of oil. You can also bake them in an air fryer or a 425°F oven - but we definitely prefer the deep fried results.
Yes. While they're best served the day they are fried, they will last in the refrigerator for up to 3 days. Reheat in a 425°F oven before serving.
We don't recommend freezing these crab egg rolls. The cheese filling can turn grainy, and both the crab and cheese release moisture as they thaw which makes the wrappers soggy. Freezing also changes the texture and can cause the egg rolls to fry unevenly.