These Tahoe Treats were one of the most requested treats at the catering company - and for good reason. I've been making them for years, and they never disappoint. They're rich, chewy, and always a hit at parties, potlucks, or holiday gatherings. Best of all, they're a fantastic make-ahead option: they freeze beautifully and taste just as fresh once thawed.

I first had these years ago in Lake Tahoe, where we simply called them Tahoe Treats. I only recently discovered they're actually a Midwest classic known as Scotcharoos or scotcheroo bars! No matter what you call them, they're a nostalgic, crowd-pleasing favorite. I've included all my go-to tips and tricks from years of making these.
[feast_advanced_jump_to]Ingredients

See the recipe card below for a full list of ingredients and quantities.
Crispy rice cereal. We use Kellogg's Rice Krispies, but any crispy rice cereal will work here.
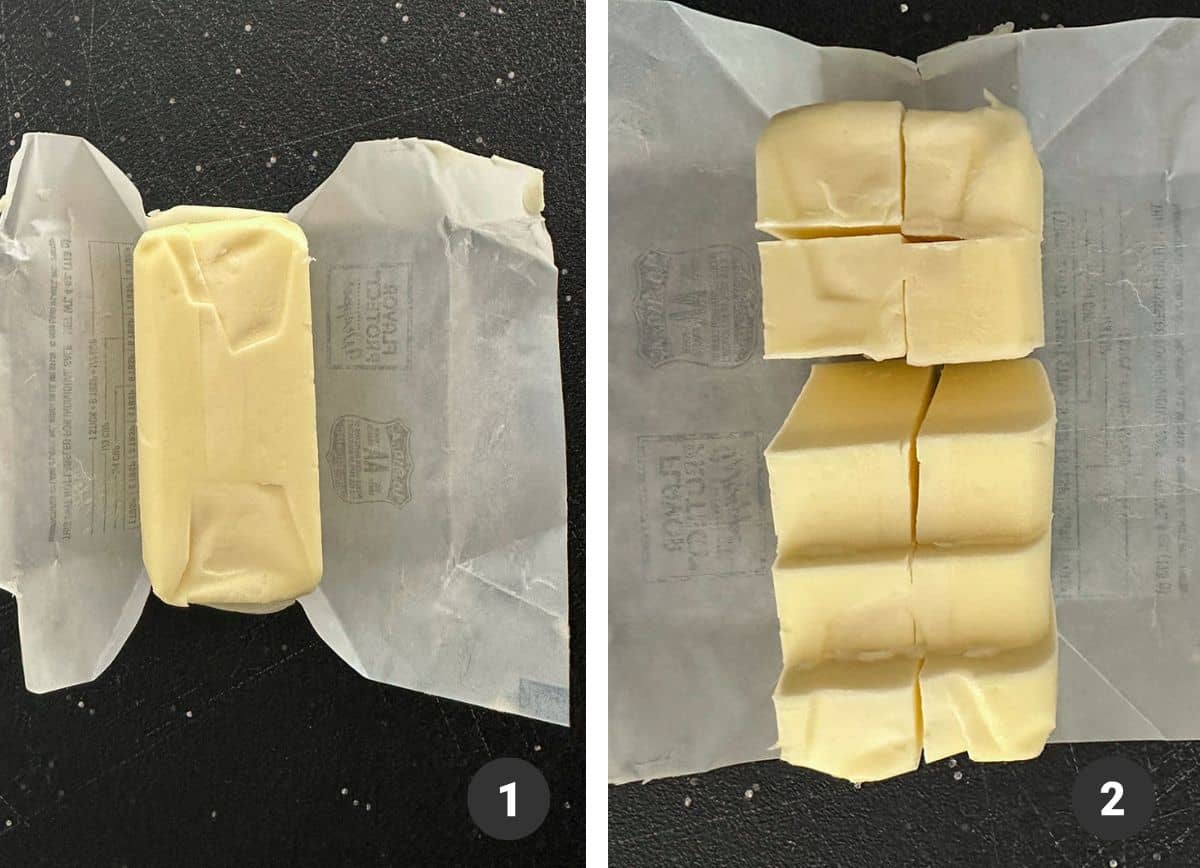
Sugar. We use both light corn syrup and granulated sugar for these cookie bars.
Peanut butter. We like using a smooth peanut butter since there is already so much crunch in this bar. While crunchy peanut butter works just fine (and I've used it many times), it does change the texture of the cookie.
Semi sweet chocolate chips and butterscotch chips. We keep it simple and use a bag of each chip for this recipe. Chopped bars of chocolate will also work in place of the chocolate chips.
How to make Tahoe treat (scotcharoo) bars
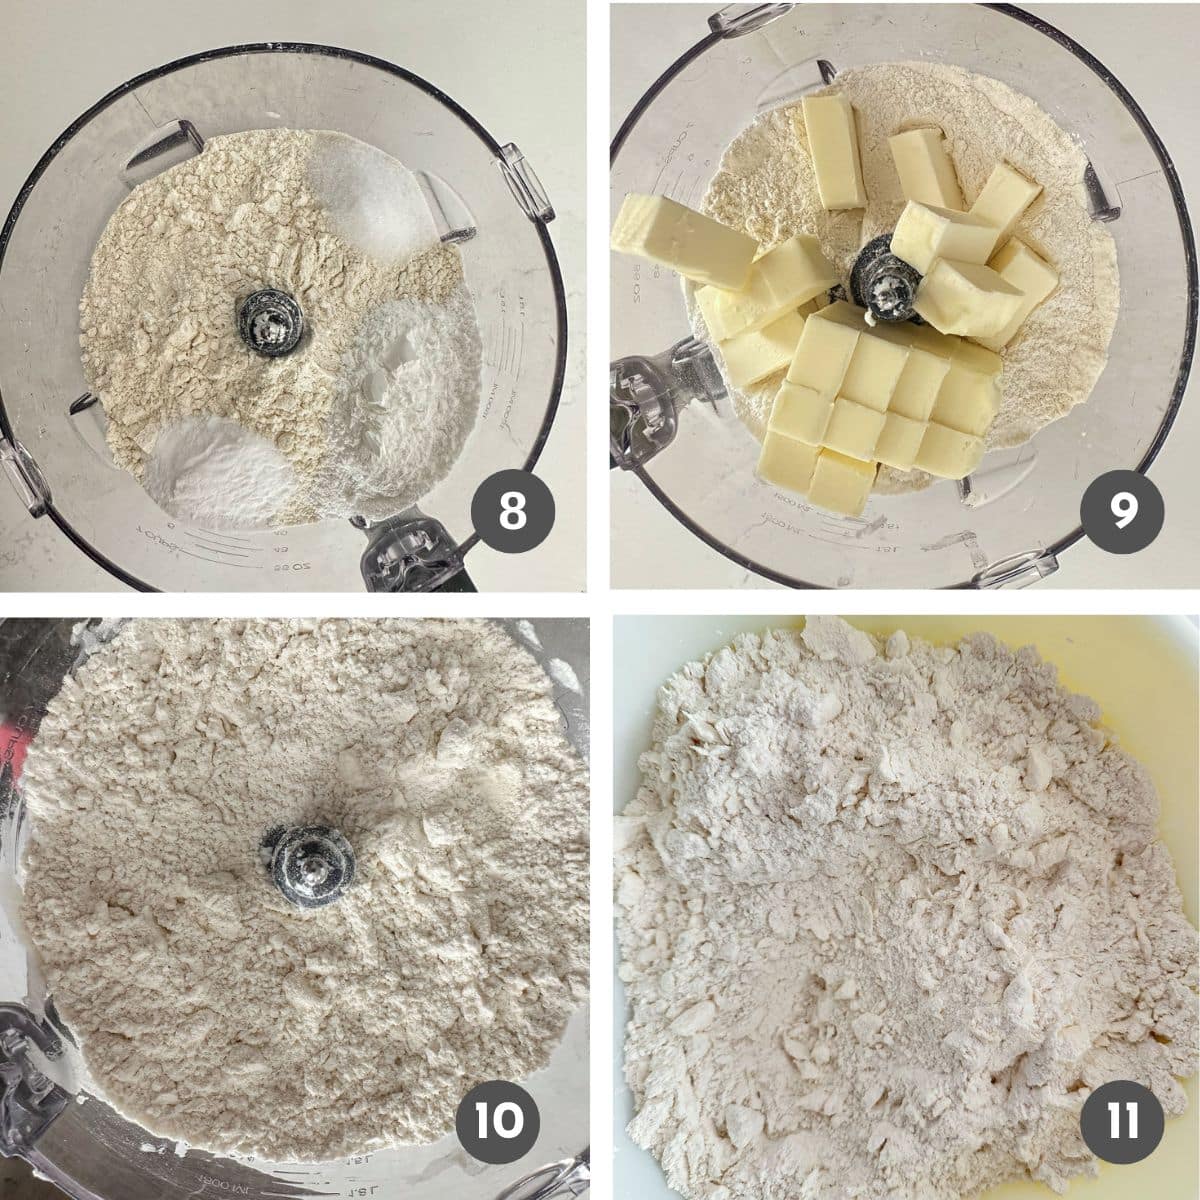
Step 1: Prep your ingredients and pan

PRO TIP: You'll need to work quickly once things are melted and you won't have time to stop. BEFORE you begin making the Tahoe treats:
- Butter a 13 x 9 inch baking dish.
- Have your crispy rice cereal measured out.
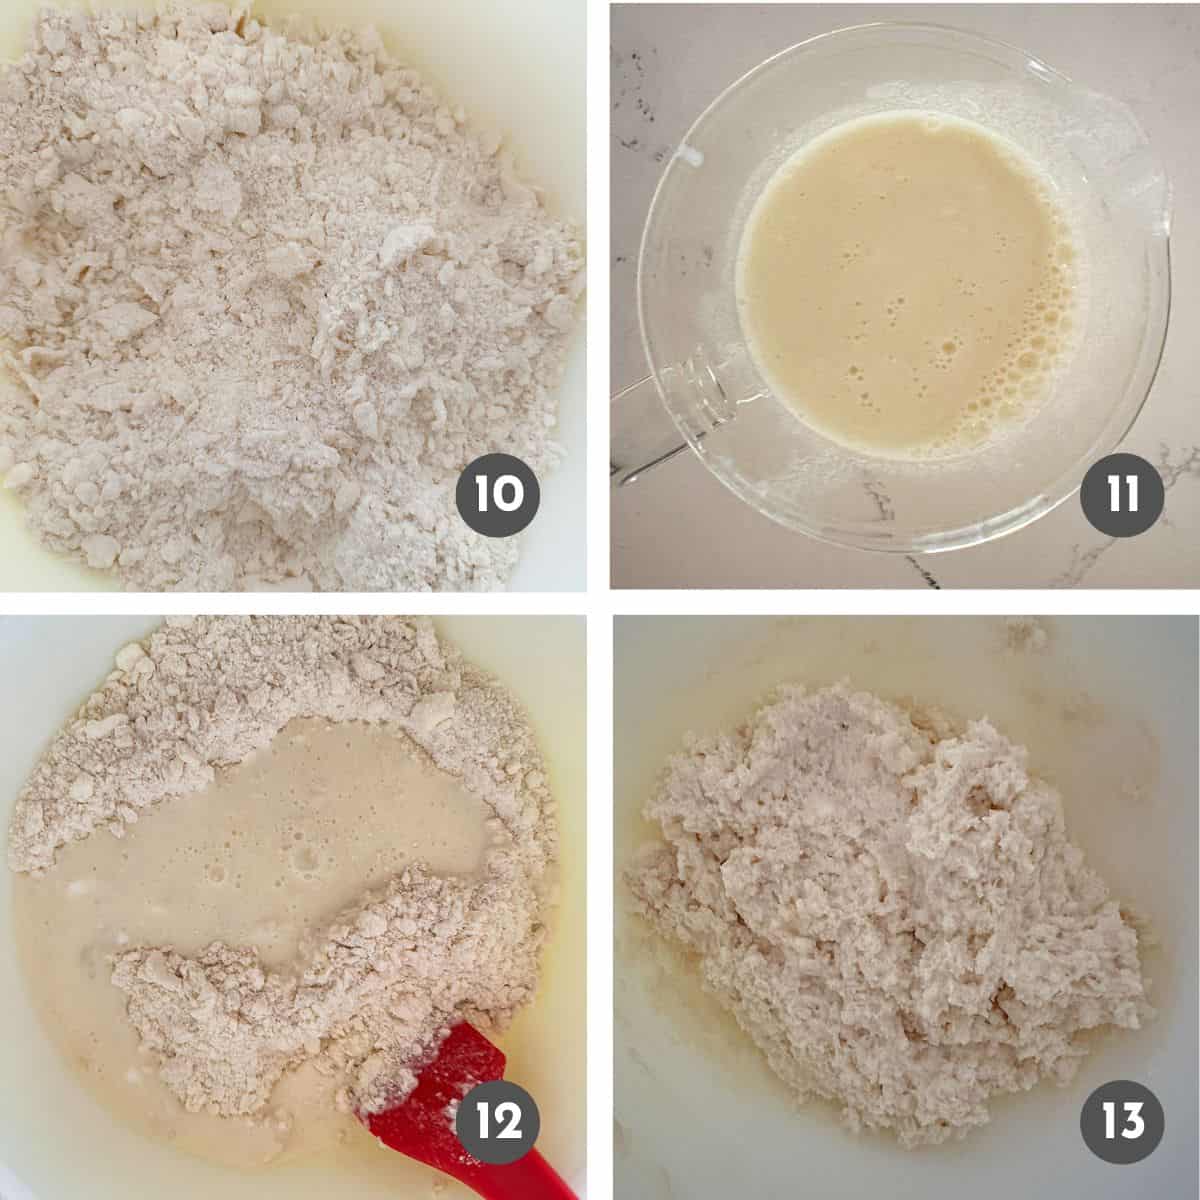
Step 2: Make the cookie

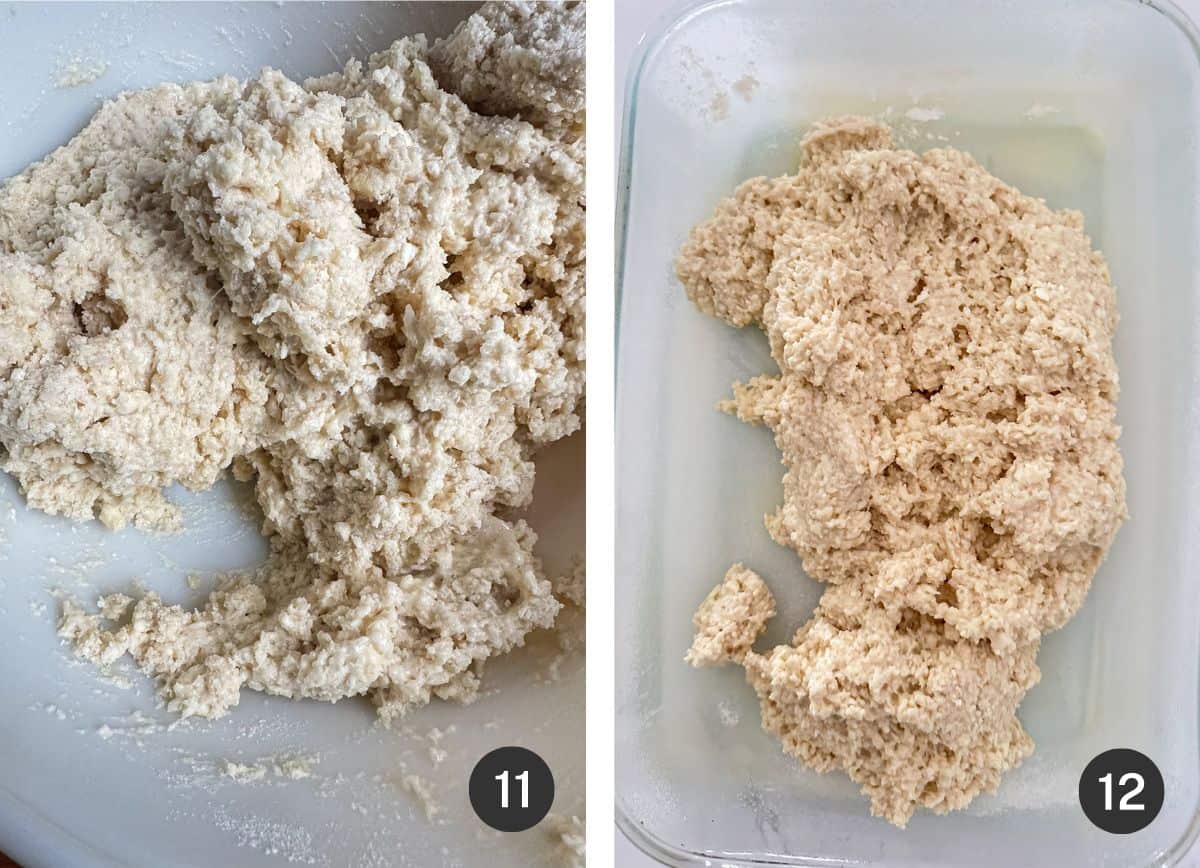
Place the sugar, light corn syrup, and smooth peanut butter into a large, heavy duty pot. Stir ingredients together while heating over medium heat until sugar is dissolved and the syrup mixture is smooth.

The key here is to make sure the sugar is fully dissolved. Before the sugar is dissolved the mixture is thick and grainy. After the sugar dissolves the mixture flows much easier and looks smoother.
PRO TIP: Stir the sugar and peanut butter mixture continuously while heating to prevent burning and sticking. Watch the heat and if it starts sticking turn the heat down, but continue heating until the sugar is melted.

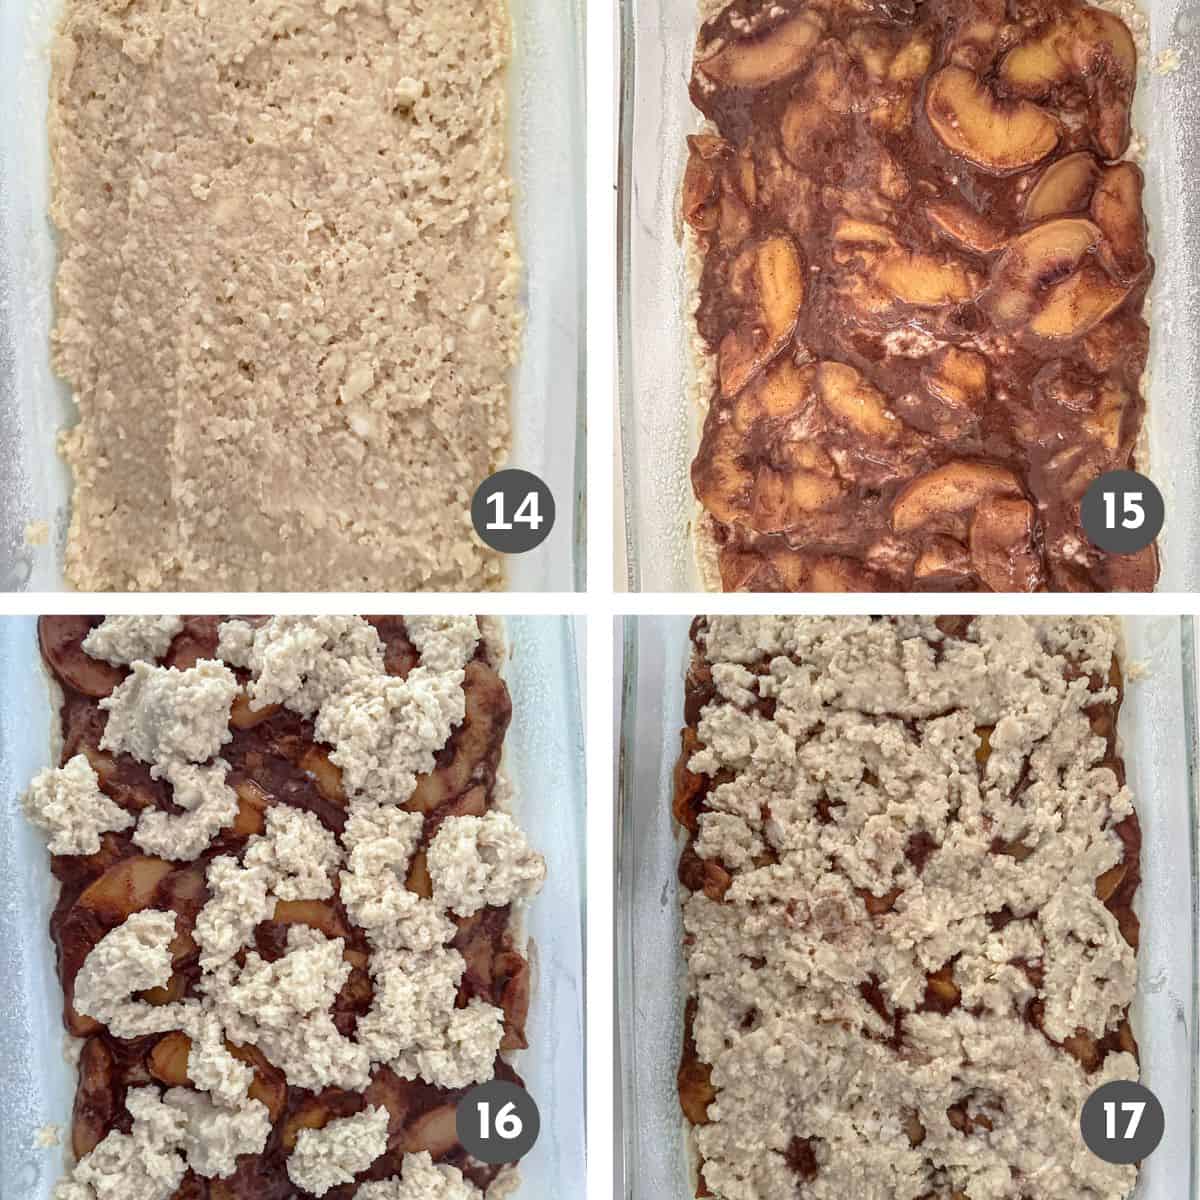
Once the sugar is fully dissolved, move quickly. Remove the pot from the heat and immediately stir in the pre-measured crispy rice cereal. Mix until all the cereal is coated with the warm peanut butter mixture.
Immediately transfer the mixture to your prepared pan. Spread it out evenly, pressing down as you go to create a smooth, level top. Set aside while mixing the topping.
PRO TIP: The mixture firms up fast, so fold quickly and confidently. Scoop from underneath, flip the sugar mixture over the cereal, and repeat. Keep folding from the center until everything is evenly coated - this whole step should take less than a minute.
Step 3: Make the topping

Add the chocolate chips and butterscotch chips to a microwave safe bowl. Microwave for 1 minute on medium high, remove and stir. Continue to heat and stir in 30 second intervals until the chips are almost melted, then stir on 5-10 second intervals.
Be careful not to overheat and burn the chocolate. If you're worried about burning the mixture or not able to stir at frequent intervals, use a double boiler.
PRO TIP: We've tried this with less chocolate chips and less butterscotch chips but we love the ratio of topping to cereal bar using a whole bag of each chip. If you want a thinner chocolate-butterscotch layer, feel free to reduce the amount of chips.

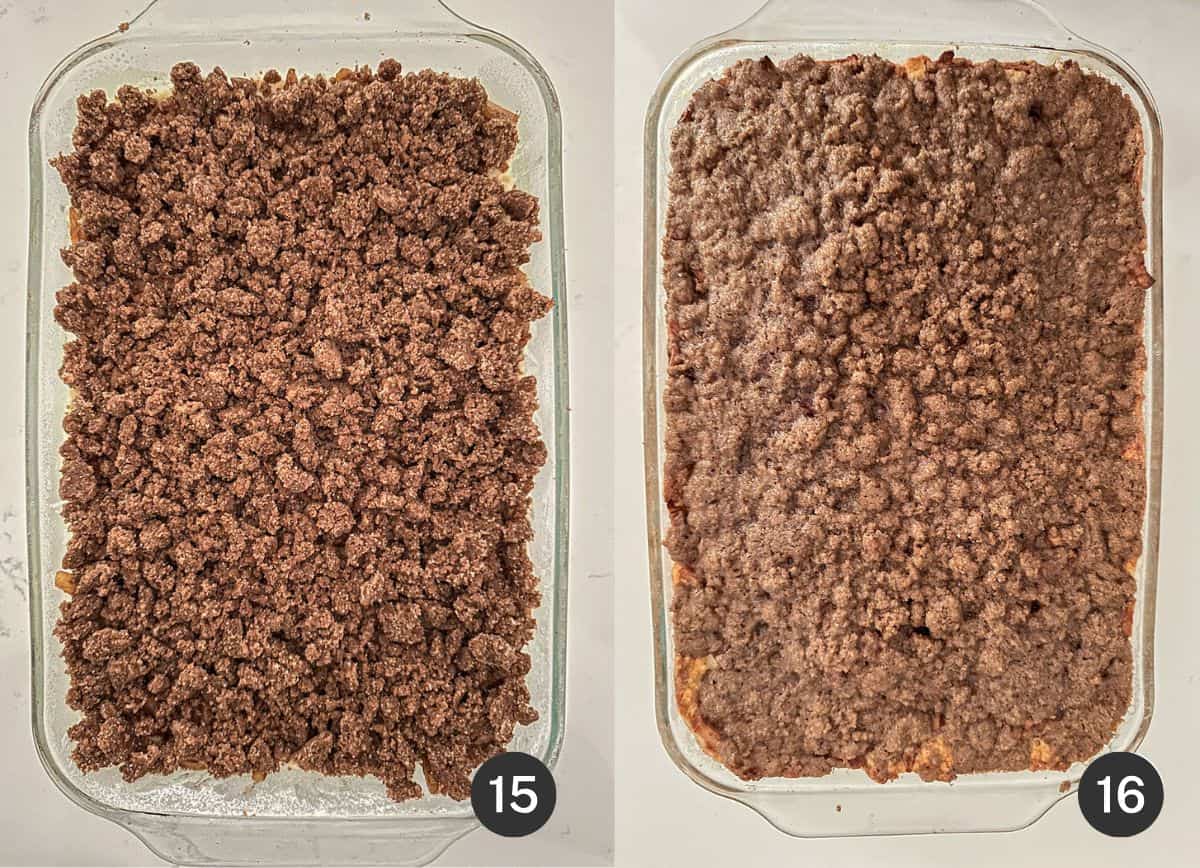
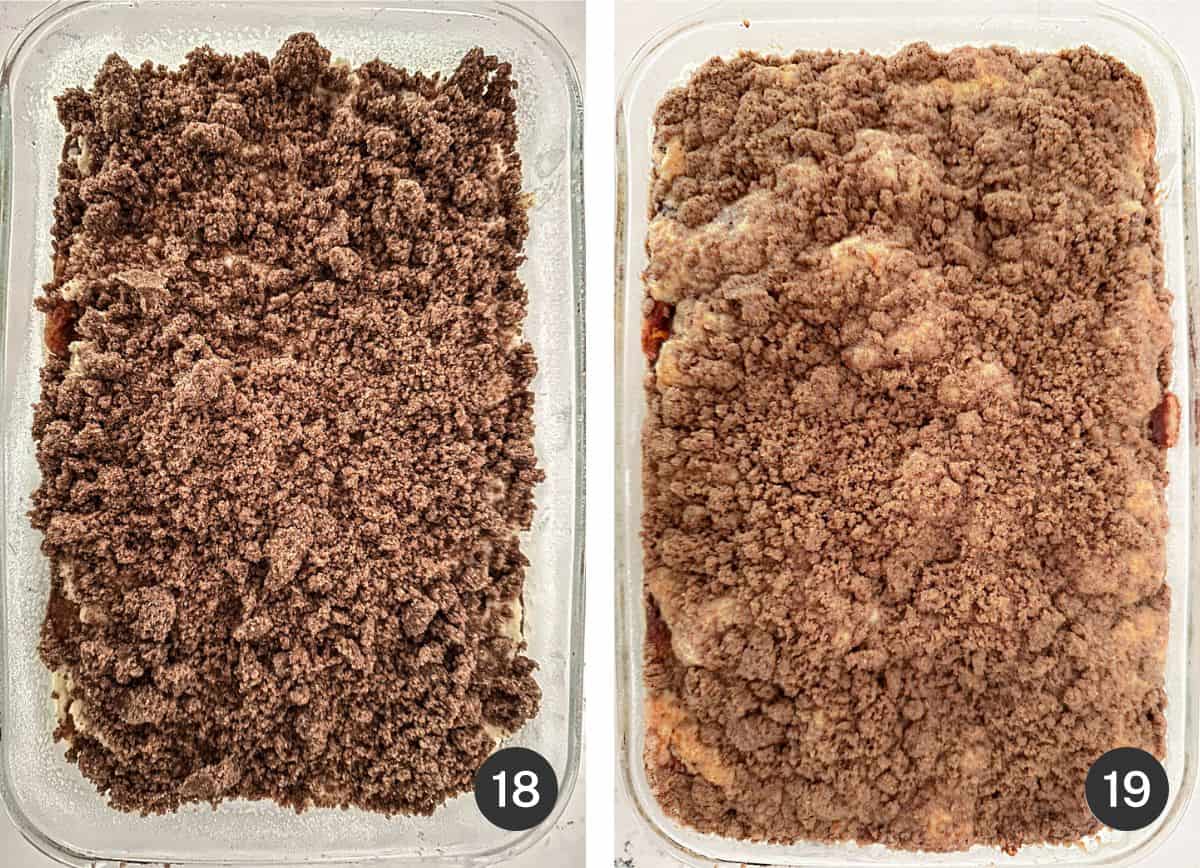
Once the chips are fully melted and smooth, pour the mixture over the cereal and spread evenly over the top.
Place the baking dish aside to let the topping set. This can be done on the counter for a few hours or place in the fridge for about 30 minutes. I'm never patient enough to wait, so mine always go in the fridge!
How to cut cookie bars
PRO TIP: We'll show you how to cut these bars into neat, uniform pieces for the prettiest presentation. But if you're not worried about perfect edges, feel free to slice them however you like.
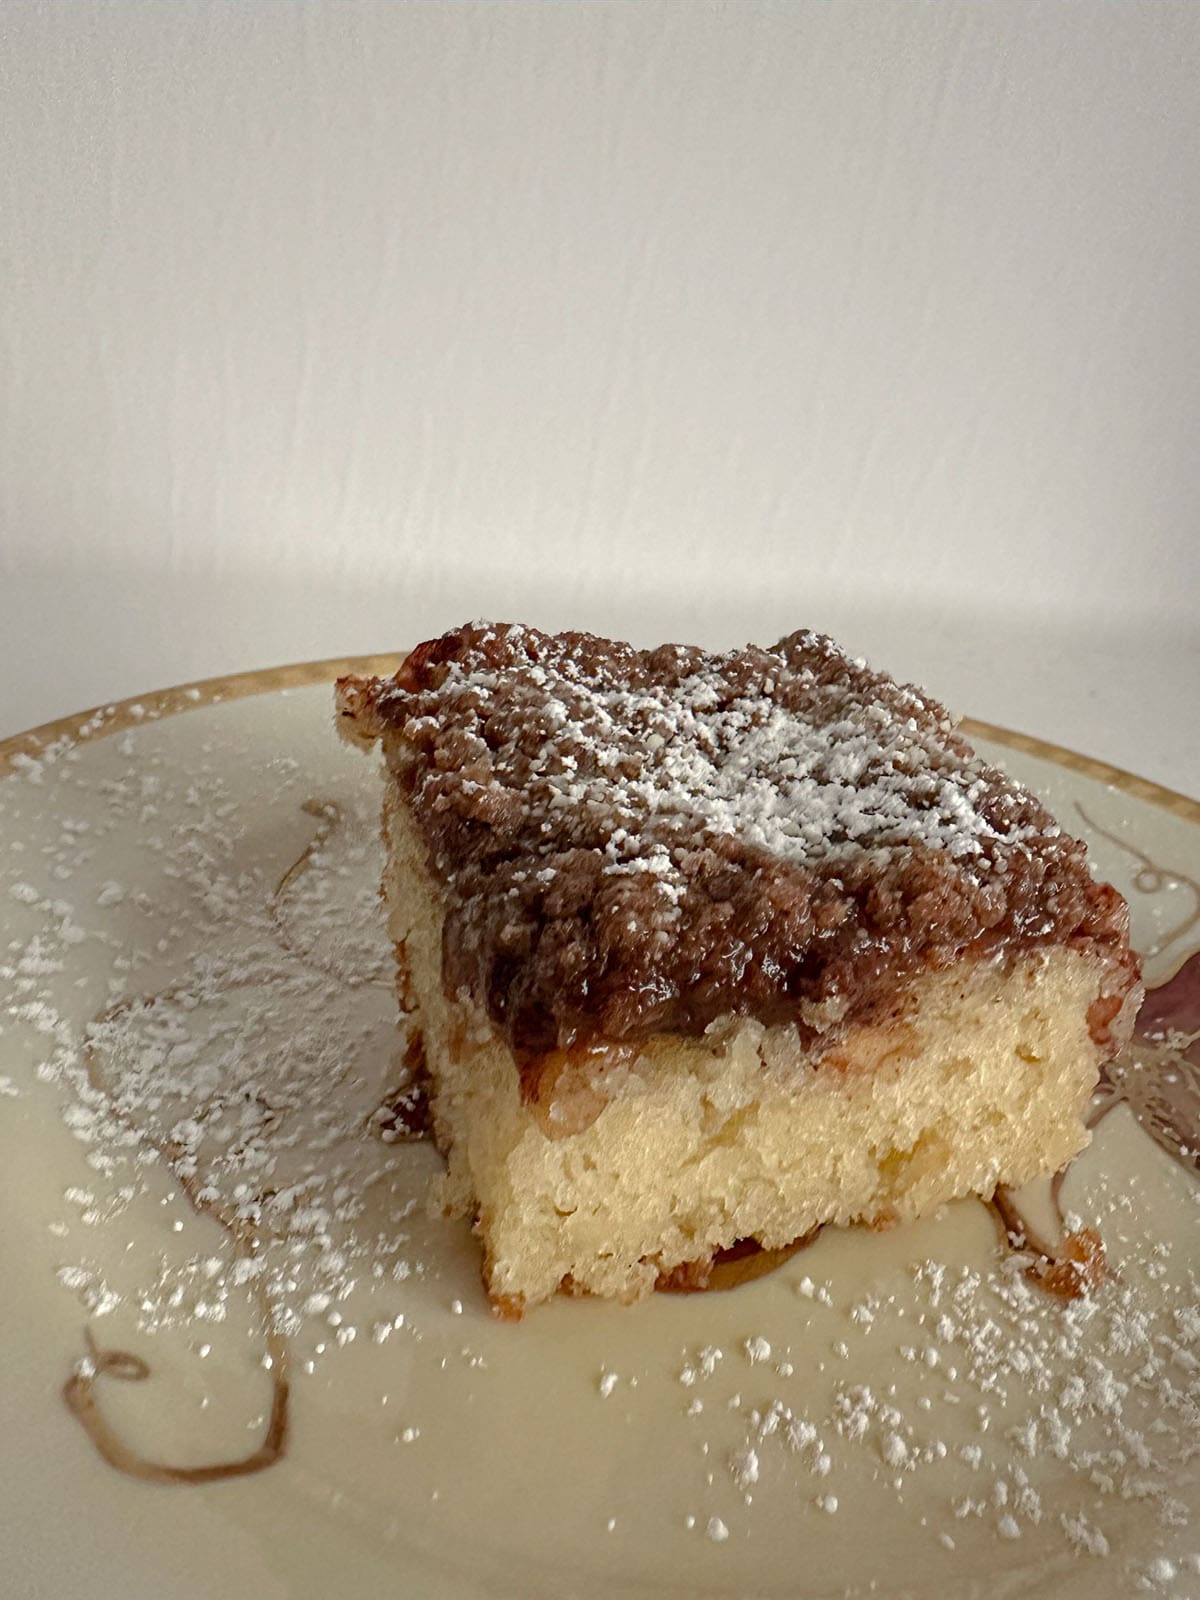
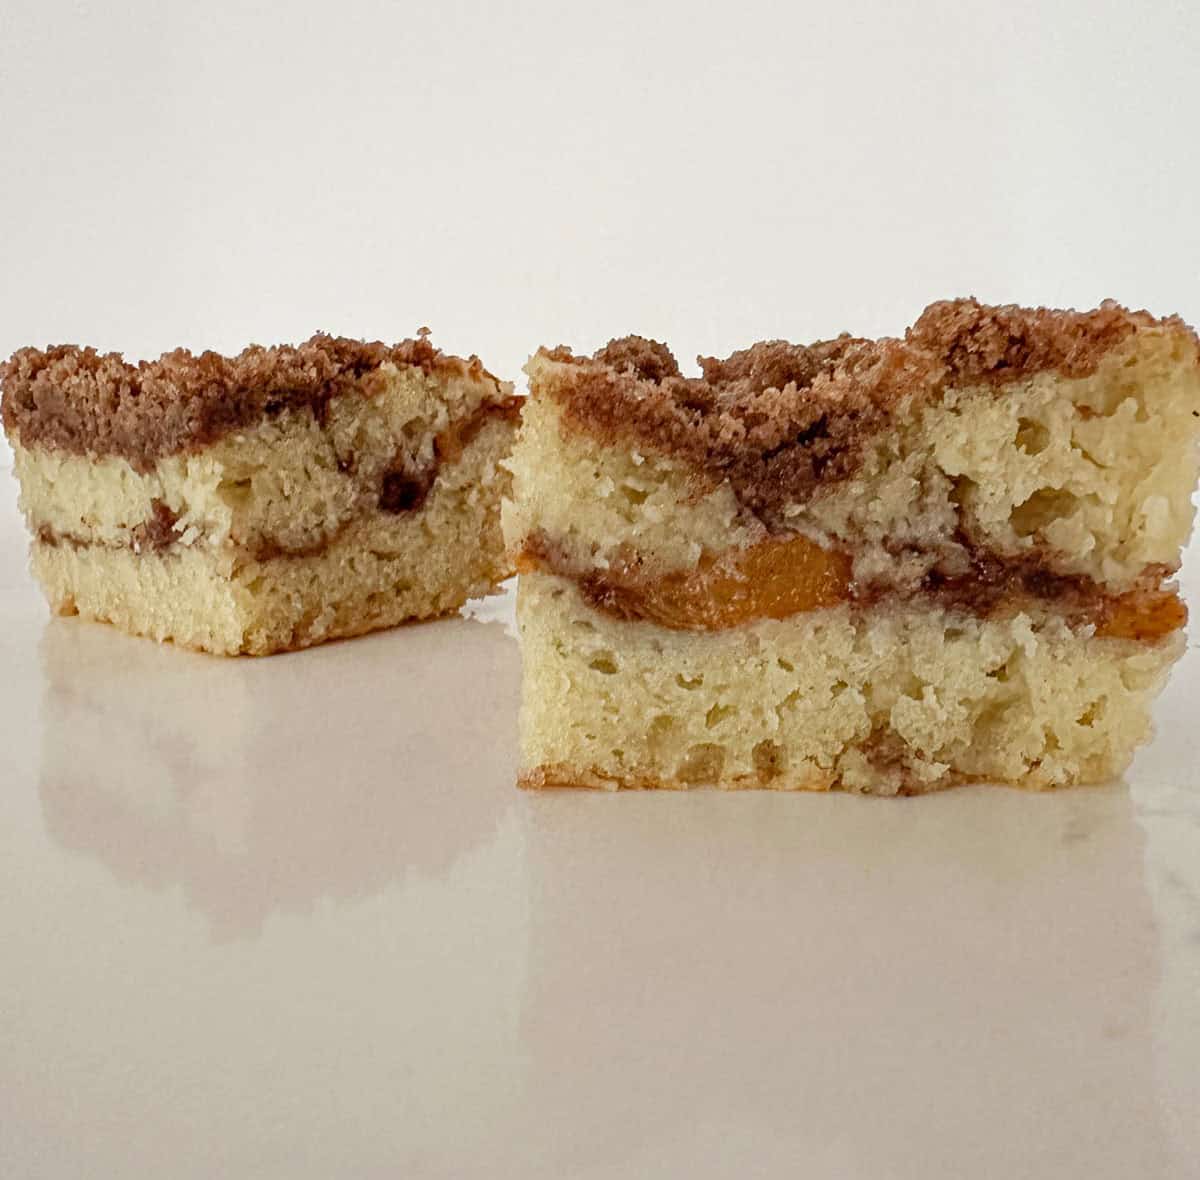
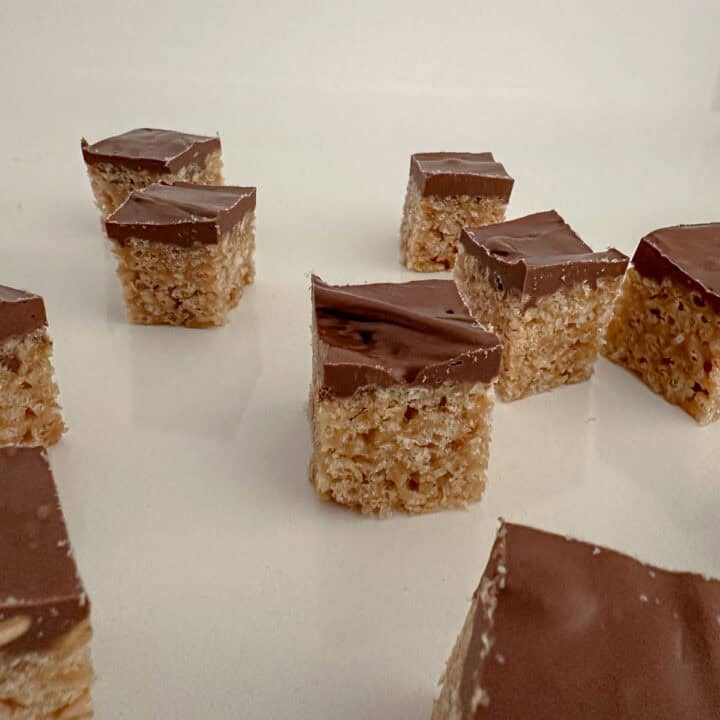
These bars are quite rich, so I usually cut mine into small squares - but truly, any size works. At the bistro, we made them in VERY large quantities and cut them into large bars, so go with whatever fits your style and need.

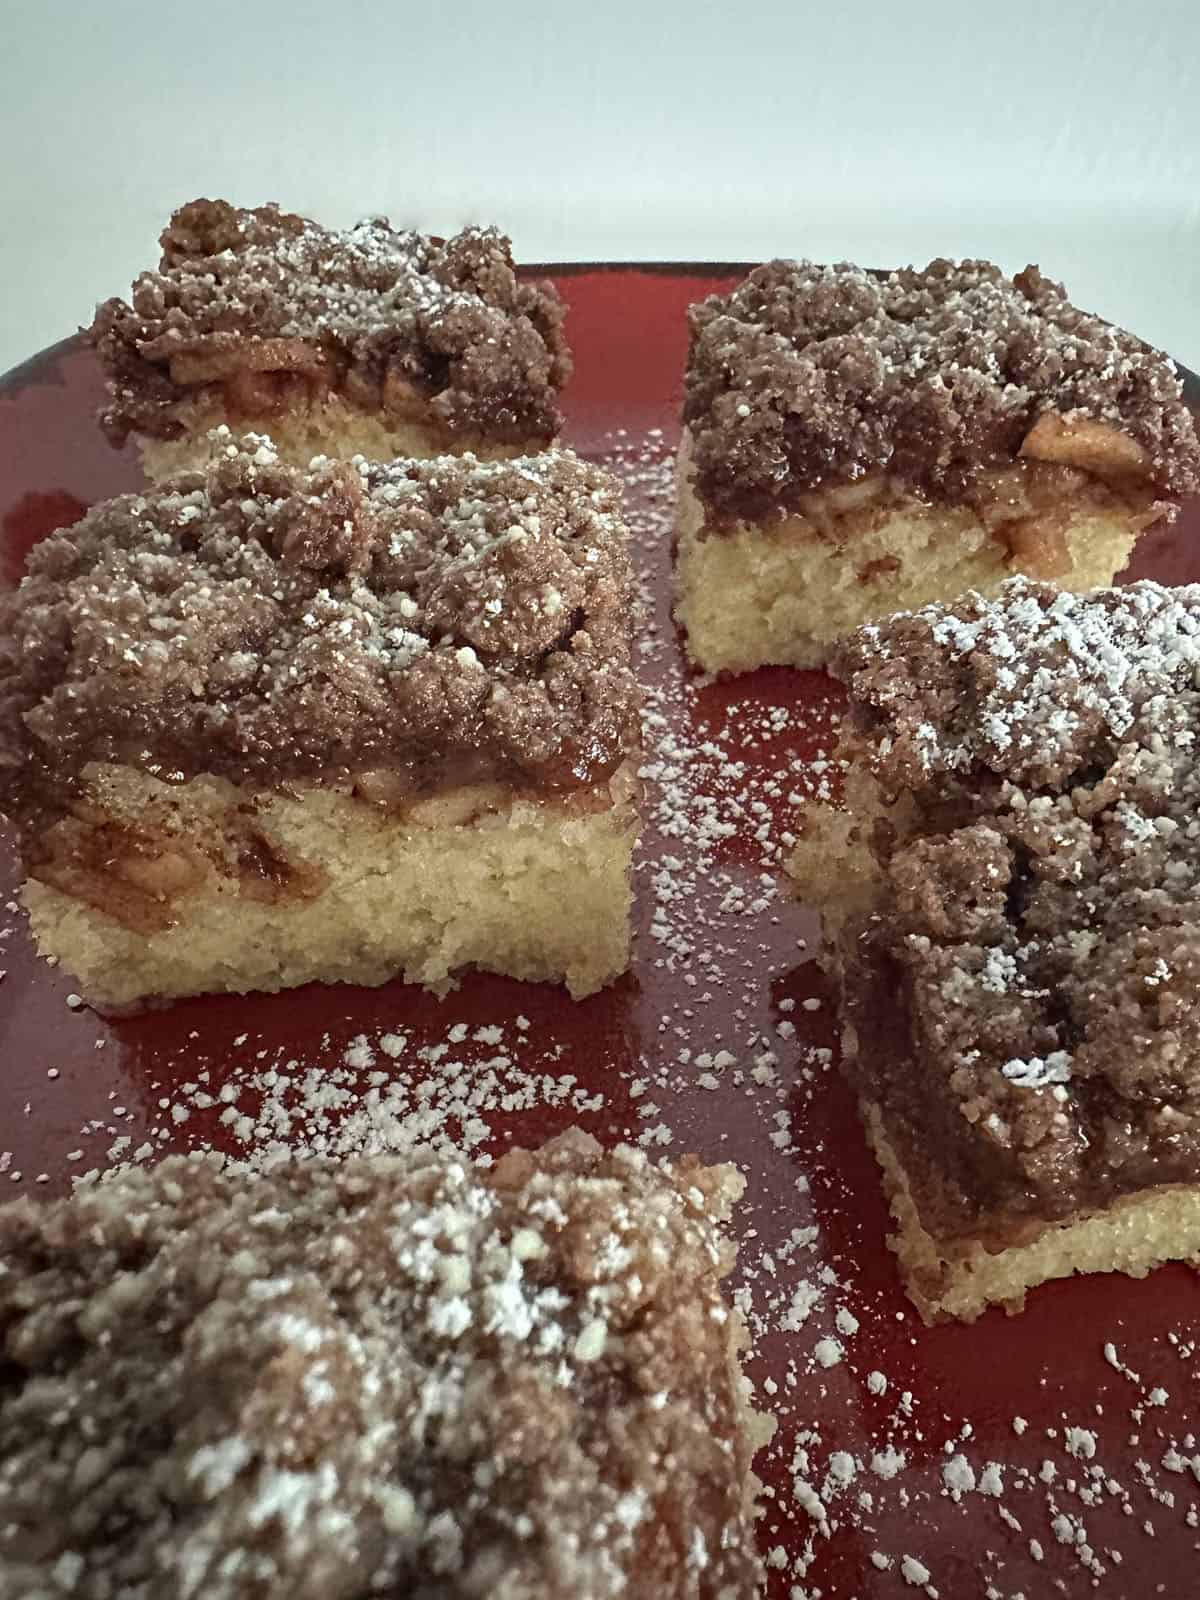
Once the topping is set, you should be able to run a knife around the edges of the pan and lift the entire sheet of scotcharoos out. Place it on a cutting board. then trim off one short end and the two long sides so every Tahoe Treat has a clean even edge. And don't toss those edges - set them aside for the chef's treat! They're absolutely delicious!
Next, cut the sheet into long strips in whatever width you prefer. I use a ruler to keep every cut the same size and usually go between 1 and 1 ½ inches. Then, cut each strip into your squares, again, measuring so they stay uniform. Place the finished scotcharoo squares in a single layer in a airtight container.

Storing Tahoe treats
These easy scotcharoo bars firm up quickly if left on the counter, usually within a day or two, but they freeze beautifully - I almost always freeze some for later.
- Store at room temperature in an airtight container for up to 2 days.
- Freeze in an airtight container for up to 3 months. Let them thaw at room temperature a few hours before serving. They'll soften right up and taste like you just made them.
Other favorite cookie & bar recipes


Some FAQ's
No, the liquid sugar helps the granulated sugar dissolve easier. We rarely use corn syrup but we haven't found a great alternative for these bars. While you can use honey in place of the light corn syrup, we find it changes the flavor and our taste testers didn't like it.
Absolutely! I almost always freeze some of these bars. Place in a single layer in an airtight container and freeze for up to 3 months. Thaw on the counter for an hour or two before serving.