Ricotta cheese and roasted red bell peppers get a kick from some chipotle peppers in this Spicy Red Pepper Baked Ricotta Dip. Perfect for entertaining!

We like a hint of spicy in our food and this baked ricotta recipe delivers. We made this for company, we all tasted it, Ohh'd and Ahh'd, said how good it was. . . . Then got more. Said "This is REALLY good!" To which everyone agreed and we just continued eating and repeating. REALLY - this is amazing!
[feast_advanced_jump_to]Roasting Red Peppers
While roasting peppers is easy and is mostly 'inactive time' (put it in the oven and leave it), it does take some time. Allow about 45 minutes to completely roast and peel the peppers
Basic Steps for Roasting Red Peppers
- Roast the pepper. Place in a 400 degrees Fahrenheit oven or roast over a flame until skin is charred.
- Let cool slightly. Put pepper in a covered dish and let cool. This will help steam the skin a little so it peels right off.
- Peel the pepper. Once the pepper has cooled enough to touch, gently remove the stem and seeds from the pepper. Pull the skin off.
- Transfer to airtight container. Refrigerate or freeze until ready to use.

Time Saving Tips for Roasted Red Peppers
- Roasted red peppers freeze great! We like to roast 3-4 peppers at a time. Remove stem, seeds, and skin then freeze in an airtight container for up to 3 months. Remove the amount of peppers you need, thaw them in the refrigerator, and use them in your recipe.
- Purchase already roasted red peppers. Most grocery stores carry them in cans, jars, and fresh in the deli sections.
Peppers and Heat
A Little History! An American pharmacist named Wilbur Scoville found a way to measure the amount of capsaicin in peppers. Capsaicin is the main chemical that makes hot peppers spicy hot! The level of spicy heat is measure in Scoville Heat Units (SHU) using the Scoville Scale. There is a HUGE difference in the heat level of peppers.
- Bell peppers are at the bottom with a rating of 0 SHU (means no heat).
- Jalapeño peppers, commonly used in cooking, rate 2500-8000 SHU.
- Ghost peppers, which most of us have heard of, measures 855,000 SHU. THAT'S HOT!
- Pure Capsaicin is at the top of the scale with a rating of 15,000,000 SHU - Umm, NO - JUST NO!!

So, where do chipotle peppers land? Chipotle peppers are just a dried, smoked jalapeno pepper. Most of us can handle this level of heat in small doses making the chipotle a great pepper, with a wonderful smoky spiciness, to use when cooking. If this is your first time using them, start with ½ a chipotle pepper, mix, taste, and add more until you reach the desired heat level. It is easy to add more chipotle peppers but hard to remove the heat.
If it does get too hot, add more tomatoes to the sauce until the heat is the desired level. If there is more sauce than needed when it is adjusted, freeze any leftover to use in this recipe again (like next week when the craving strikes!) or in a red sauce for an extra boost of flavor!
Have fun and play with the flavors of different peppers in this spicy red pepper baked ricotta appetizer. Use a favorite hot pepper instead of the chipotle. We recommend roasting or smoking the peppers before using them. Remove stem, seeds, and peel, add to the sauce ingredients, and blend.

Make Ahead Tips
Make the spicy roasted red pepper sauce up to three days in advance. Store in an airtight container until ready to make the dip. Assemble the dip earlier in the day and store in the refrigerator until ready to bake. NOTE: DO NOT use a glass baking dish if moving straight from the cold refrigerator to the hot oven, as the dish may break. We recommend a cast iron skillet or metal baking dish.

Substitutions and Additions
Cheese. Use any cheese that is soft and creamy; ricotta, goat, or cream cheese. Use goat cheese for a stronger, bolder flavor, use ½ goat cheese and ½ ricotta cheese, or add in some cream cheese. Throw in a little feta or gruyere. Watch the bake times if using different cheeses since some cheese bakes faster than others.
Serve this baked ricotta appetizer with fresh veggies (broccoli, bell peppers, cucumbers, celery) instead of bread and crackers. Add a drizzle of balsamic reduction right before serving for a little extra pop!

How To Serve This Spicy Dip
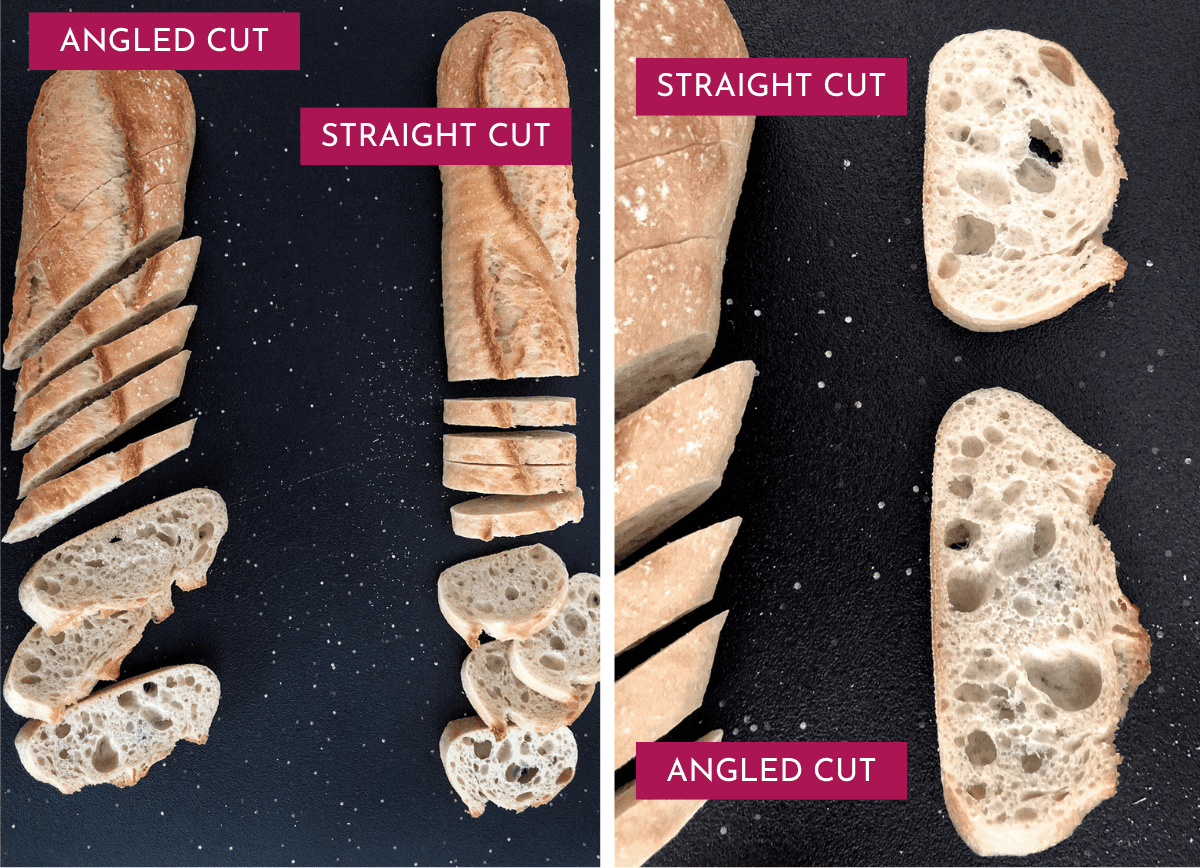
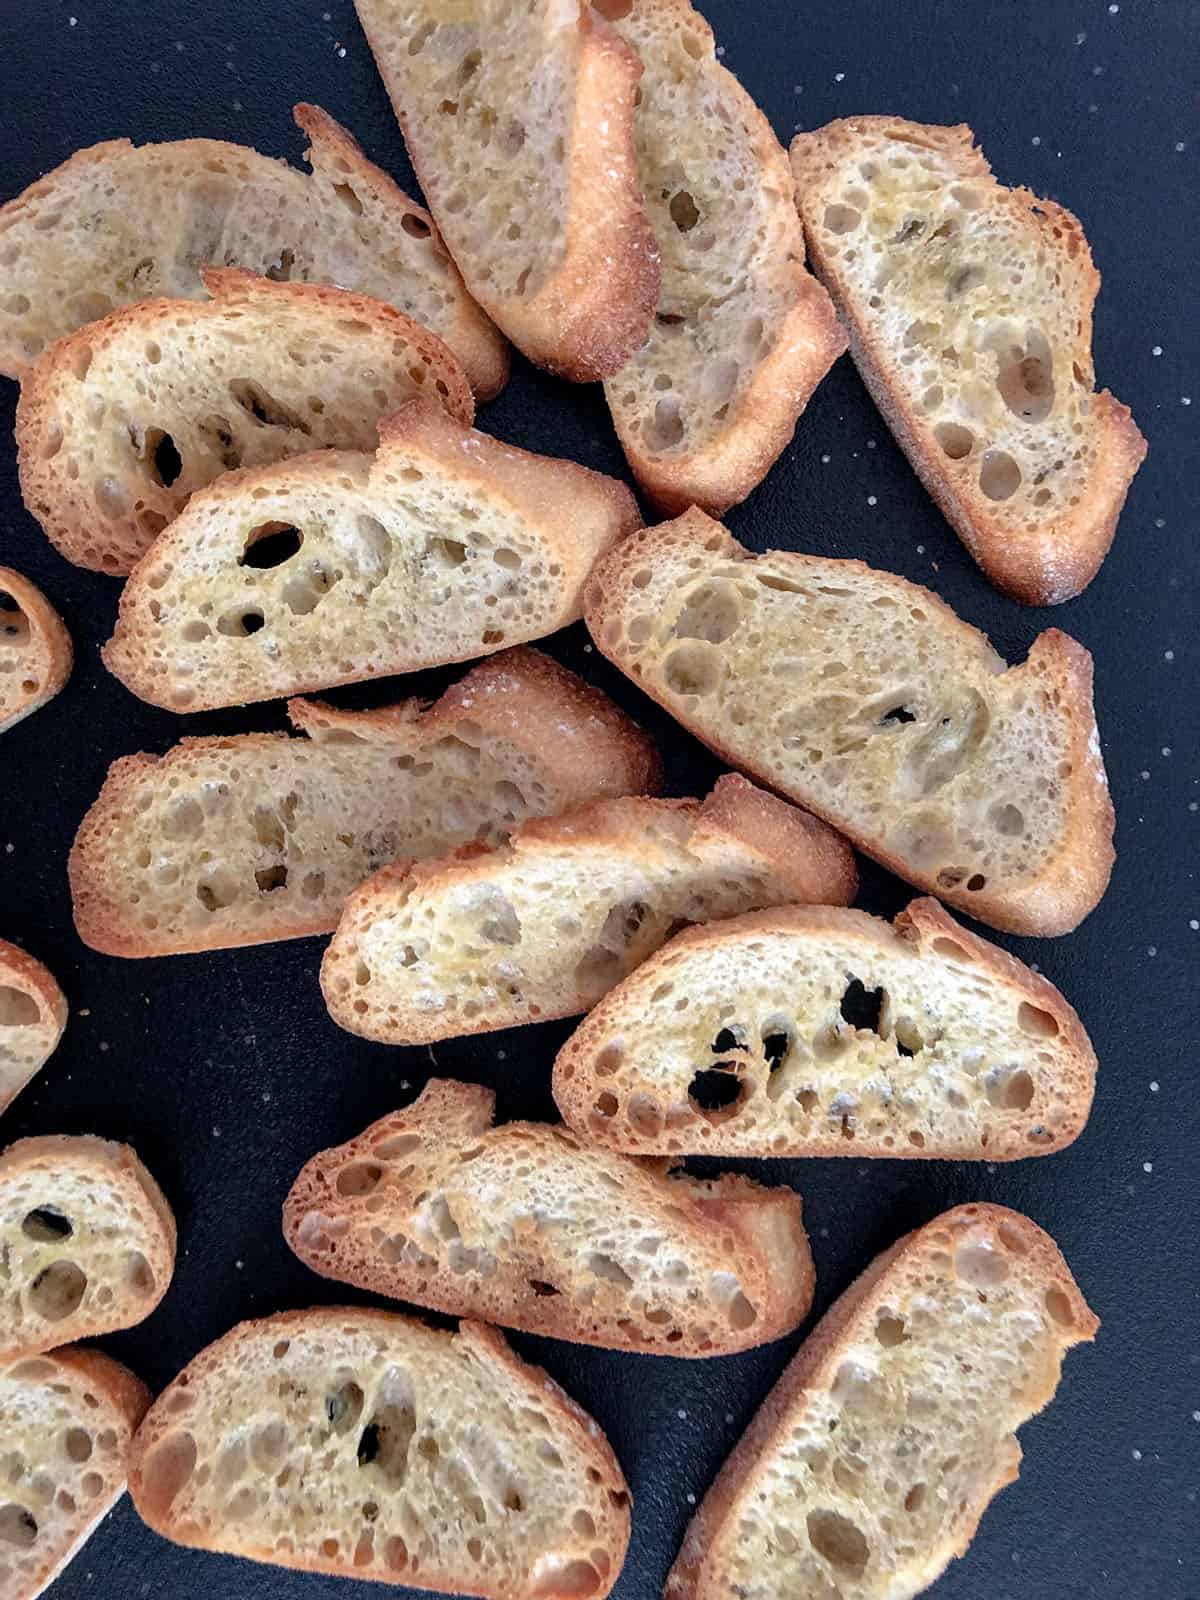
We love baking and serving this spicy red pepper baked ricotta right in a cast iron skillet. NOTE: This will not transfer to a different dish for serving without mixing it together, so bake this in a dish that is good to use for serving. Serve with artisan bread, crostini, crackers, or veggies good for dipping (celery, carrots, broccoli, bell peppers, cucumbers).
Saving Leftovers
The FDA recommends discarding any perishable food that has been out at room temperature for more than 2 hours.
If you are within the FDA recommendations, leftovers can be stored in an airtight container in the refrigerator for up to 4 days. Once transferred to a dish, the cheese and spicy red pepper mixture will tend to run together. While it may not look as presentable, it will taste great, just reheat in oven until warm. We also love the leftovers tossed with hot pasta, with additional sauce or on its own.
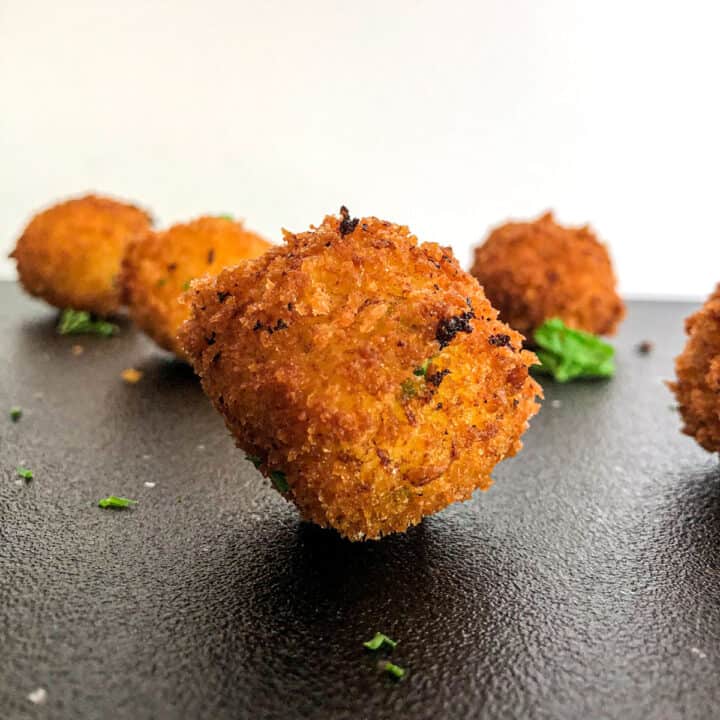
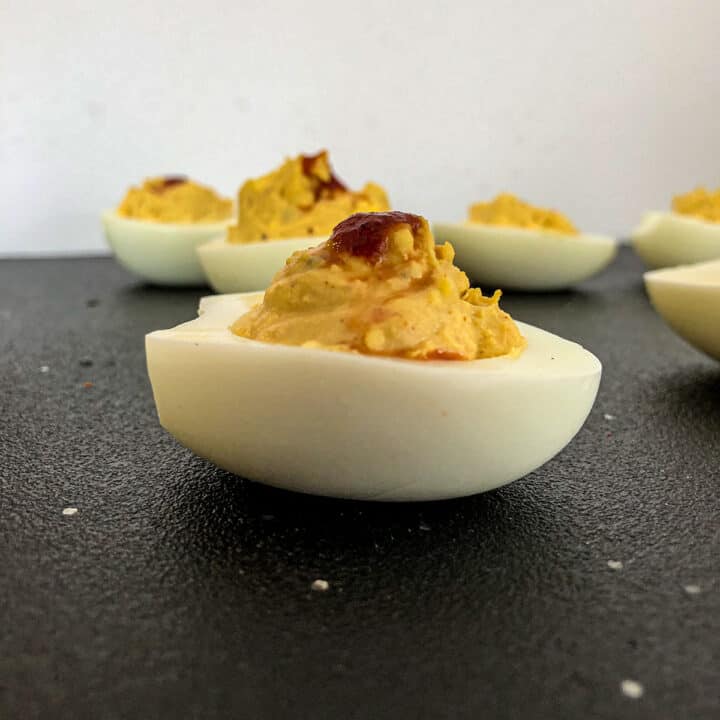
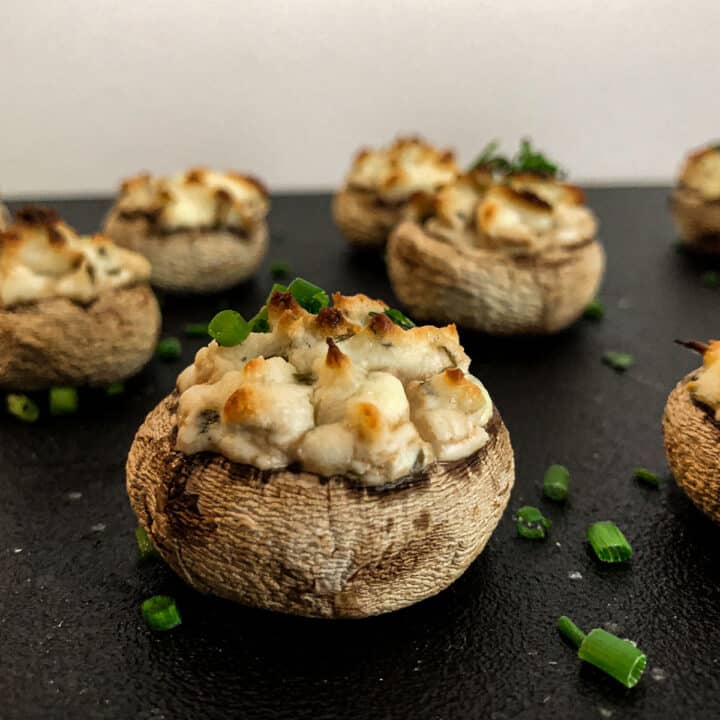
Other favorite cheese appetizers


FAQ's
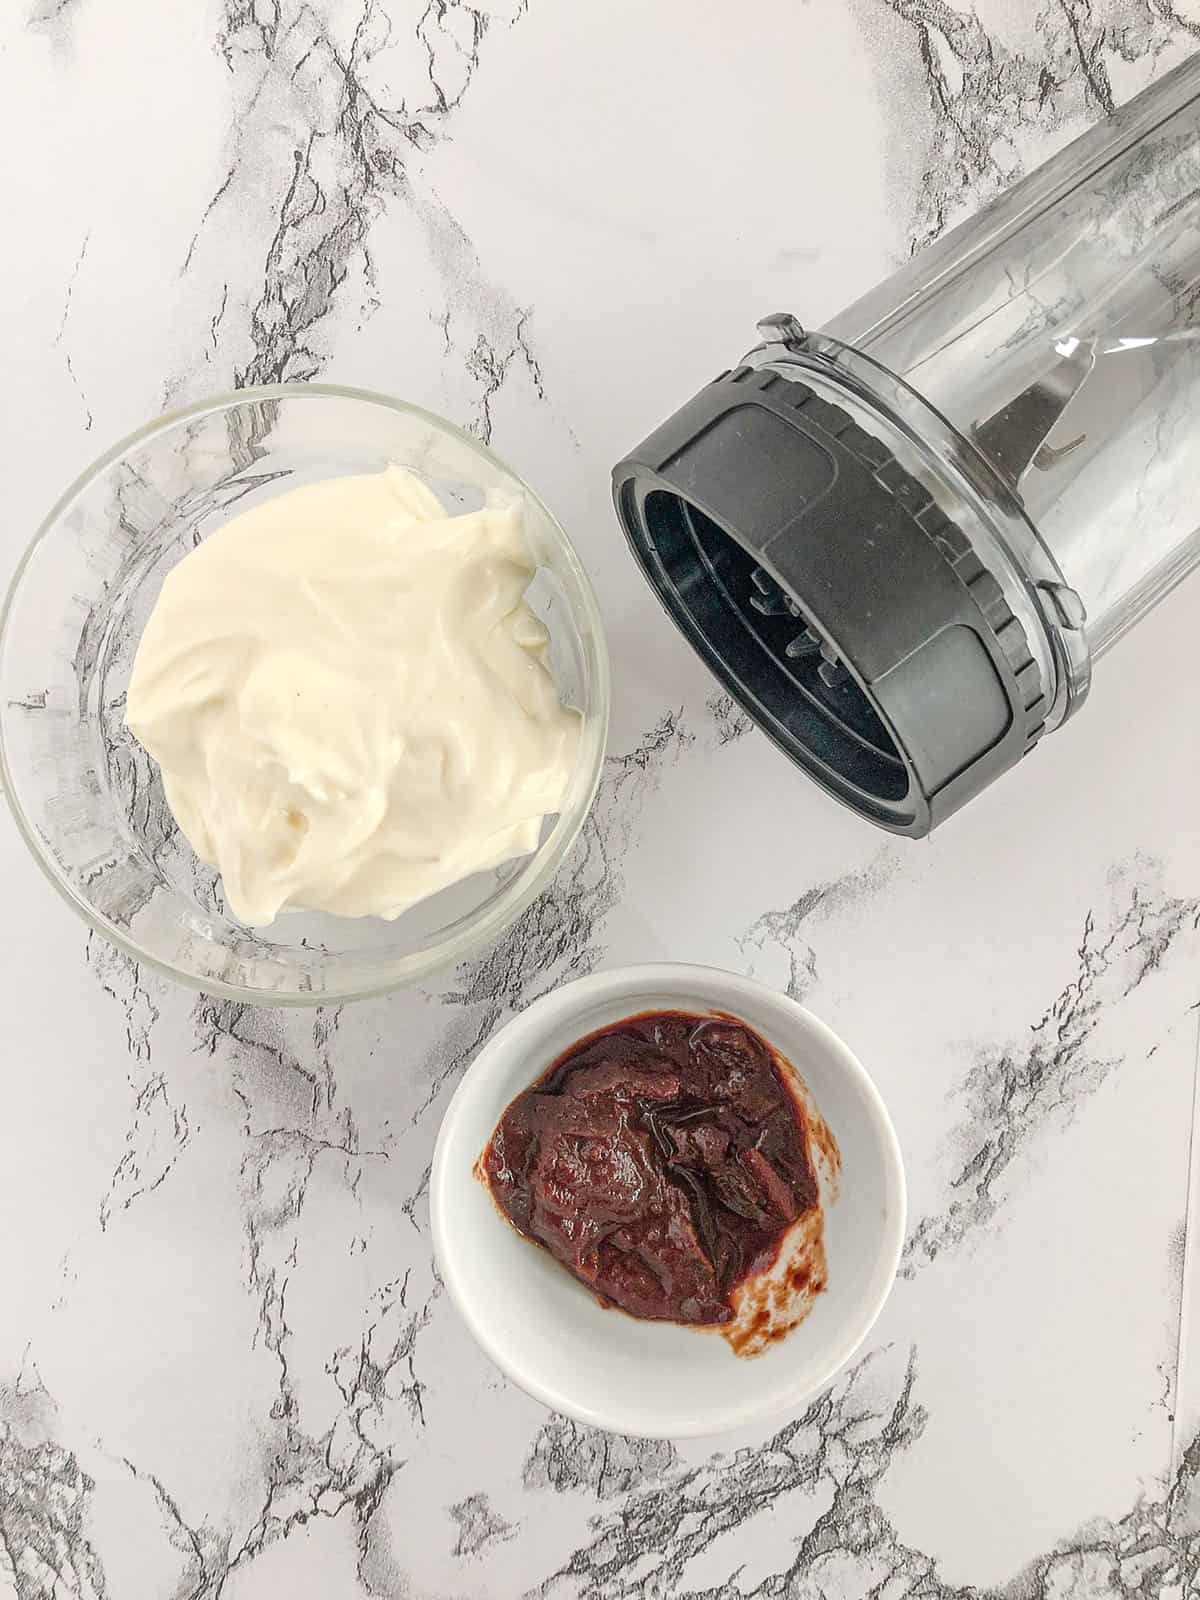
It is possible but it can get a little complicated with trying to get the flavor just right. It is a combination of chipotle powder, vinegar and extra tomato for the sauce. We recommend grabbing a can of chipotle peppers in adobo sauce for the pantry. Extra chipotles in adobo sauce will freeze great in an airtight container.
YES! This is an easy dish to multiply. Make one large dish or, if your party is over many hours, make multiple, smaller dishes. Bake them as needed and serve the dish hot throughout the night.