This breakfast casserole with ham and cheese is our go-to when we want a delicious and filling breakfast! It’s a great option for a weekend breakfast or holiday brunch, whether you’re celebrating Mother’s Day, Easter, or Christmas.

This easy breakfast casserole recipe is a great addition to any brunch table. Perfect for a crowd, the recipe yields 15 satisfying pieces. Need to serve more? No problem! Just click on the 2x or 3x button in the recipe card to easily adjust the servings for larger gatherings!
[feast_advanced_jump_to]Basic ingredients

- Leeks. The leeks add a little sweetness that goes perfect with the ham and gruyere cheese!
- Eggs. Since this is loaded with ham and cheese we plan about 1 egg per serving.
- Cream. The cream helps achieve a creamier texture when baking eggs in the oven.
- Cheese. A nice gruyere goes great with the sweetness of the leeks.
- Ham. A great use for leftover ham or use a ham steak and dice into bite-sized pieces.
Try another of our favorite brunch recipes.
Mini Puff Pastry Egg Bites
Leeks 101
Don't be intimidated by leeks! They are like a mild, BIG green onion with two main differences in preparation. First, leeks grow in sandy soil and sand gets trapped in the leaves of the leek. They must be rinsed thoroughly before using to make sure all the sand is removed. Second, unlike with a green onion, we don't use the dark green part of the leek as it can be a little bitter and tough.

How do I prepare leeks?
Cut the leeks. Cut the dark green tops off the top of the leeks and cut the roots off the bottom. Slice the remaining leek (the white and light green pieces) in half lengthwise. Place the flat side down on the cutting board and slice into thin slices.
Clean the leeks. This is a crucial part in preparing leeks. Place all the leek slices in a large bowl of cold water. Stir the pieces around to shake all of the sand and dirt loose. Use your hands or a slotted spoon to remove the leeks from the water, leaving the dirt at the bottom of the bowl. If the leeks were very sandy, repeat this step a second time. Don’t drain the leeks by pouring into a colander - this would pour all the sand and dirt in the bottom of the bowl back onto the leeks!

How much green do I trim off my leeks?
A lot of people recommend trimming the ENTIRE dark green portion of your leeks and only use the white and lightest green portion for cooking. The dark green parts of leeks are perfectly edible, but are often discarded because they can be a little bit tough or bitter.
We trimmed off most (but not all) of the dark green pieces of each leek in this ham, egg, and cheese casserole recipe. Just cut off the dark green area leaving the light green and white of the leek. The dark green part, besides being a little tough, will add a slight bitterness to the dish we don't want in this ham, cheese, and egg casserole. NOTE: There are some dishes where you want that complex, bitter flavor.
The takeaway here is trim your leeks however you want! The recipe below includes cup measurements; if you'd like to trim off all the dark green of each leek and use only the white and VERY light green parts, go for it! You may need an extra leek to ensure you have enough for this recipe. (The dark green pieces of leeks are good added to chicken stock or turkey stock!)
Order of operations
See recipe below for full set of instructions.
Prepare eggs

- Crack eggs into a large bowl.
- Gently whisk the eggs, cream, salt and pepper until completely combined.
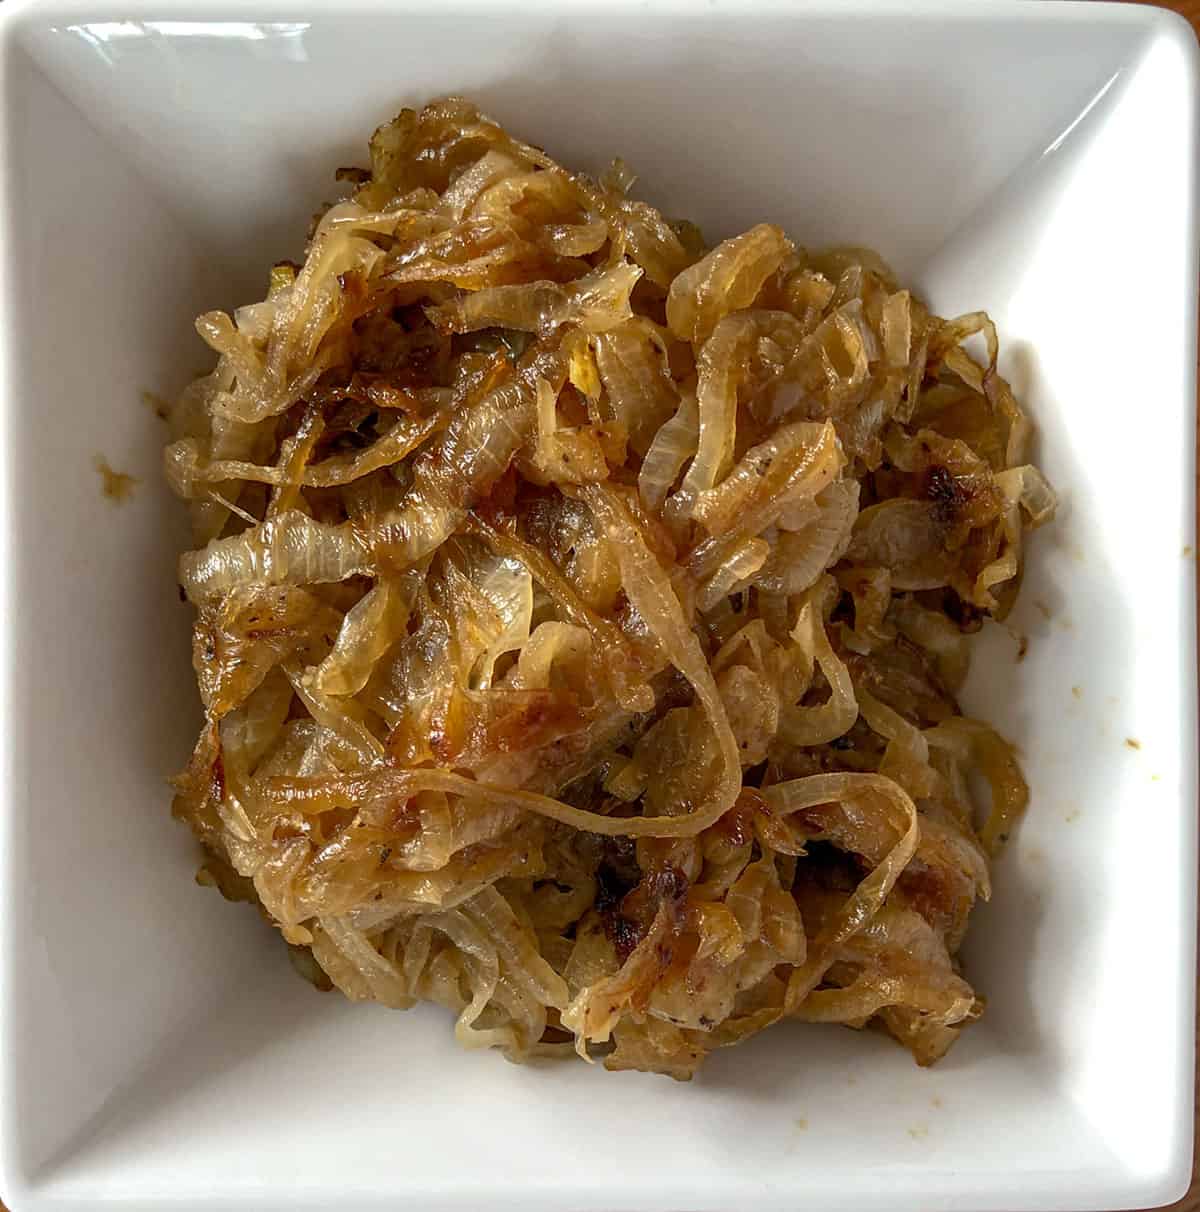
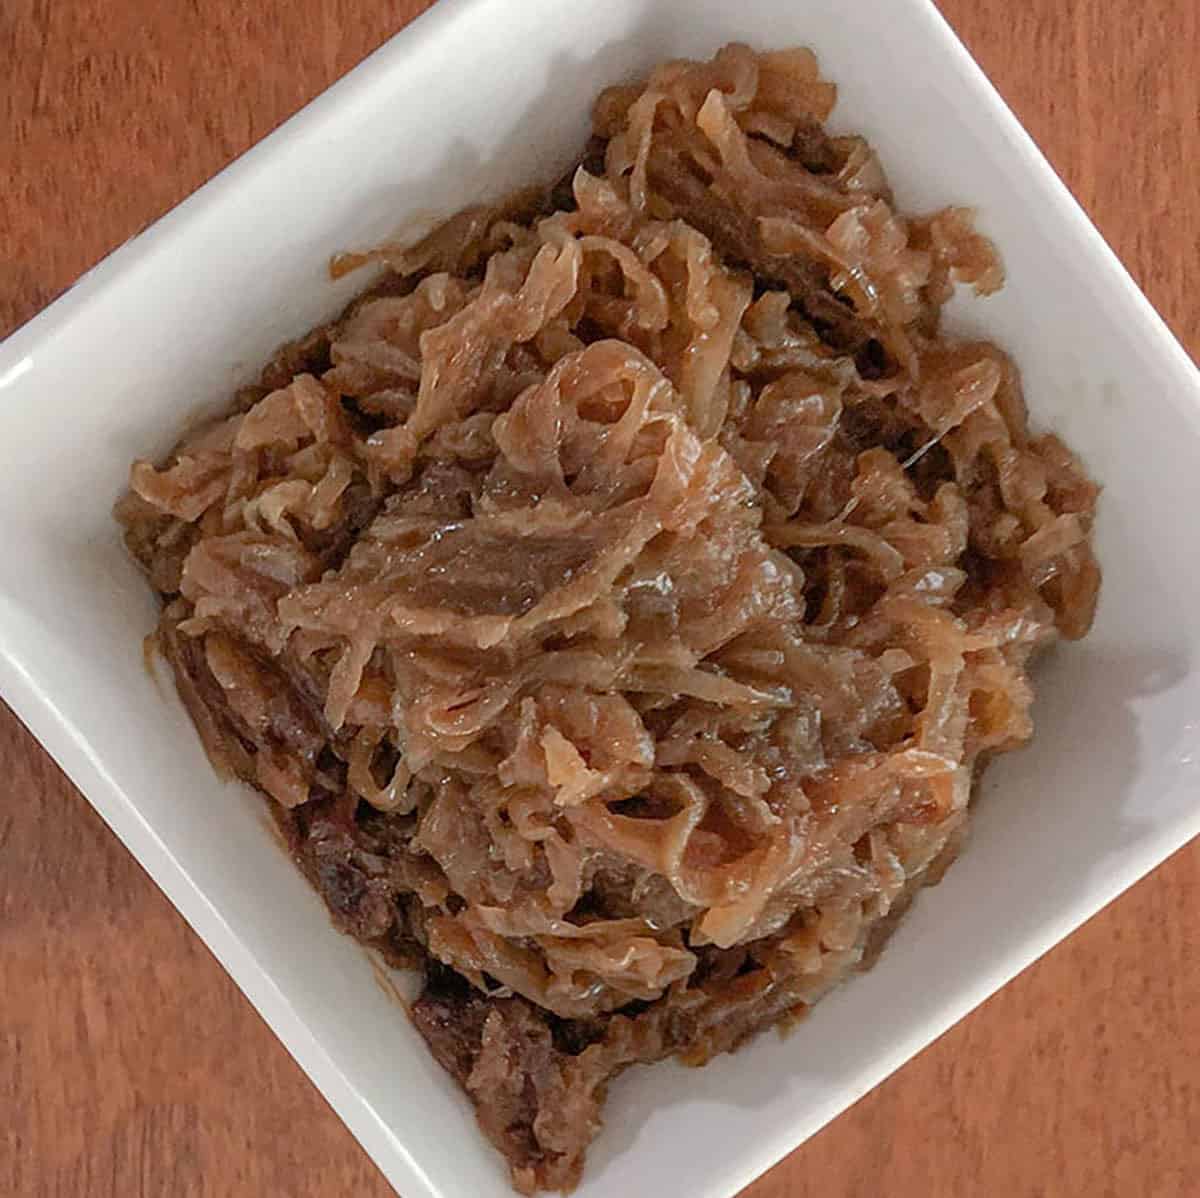
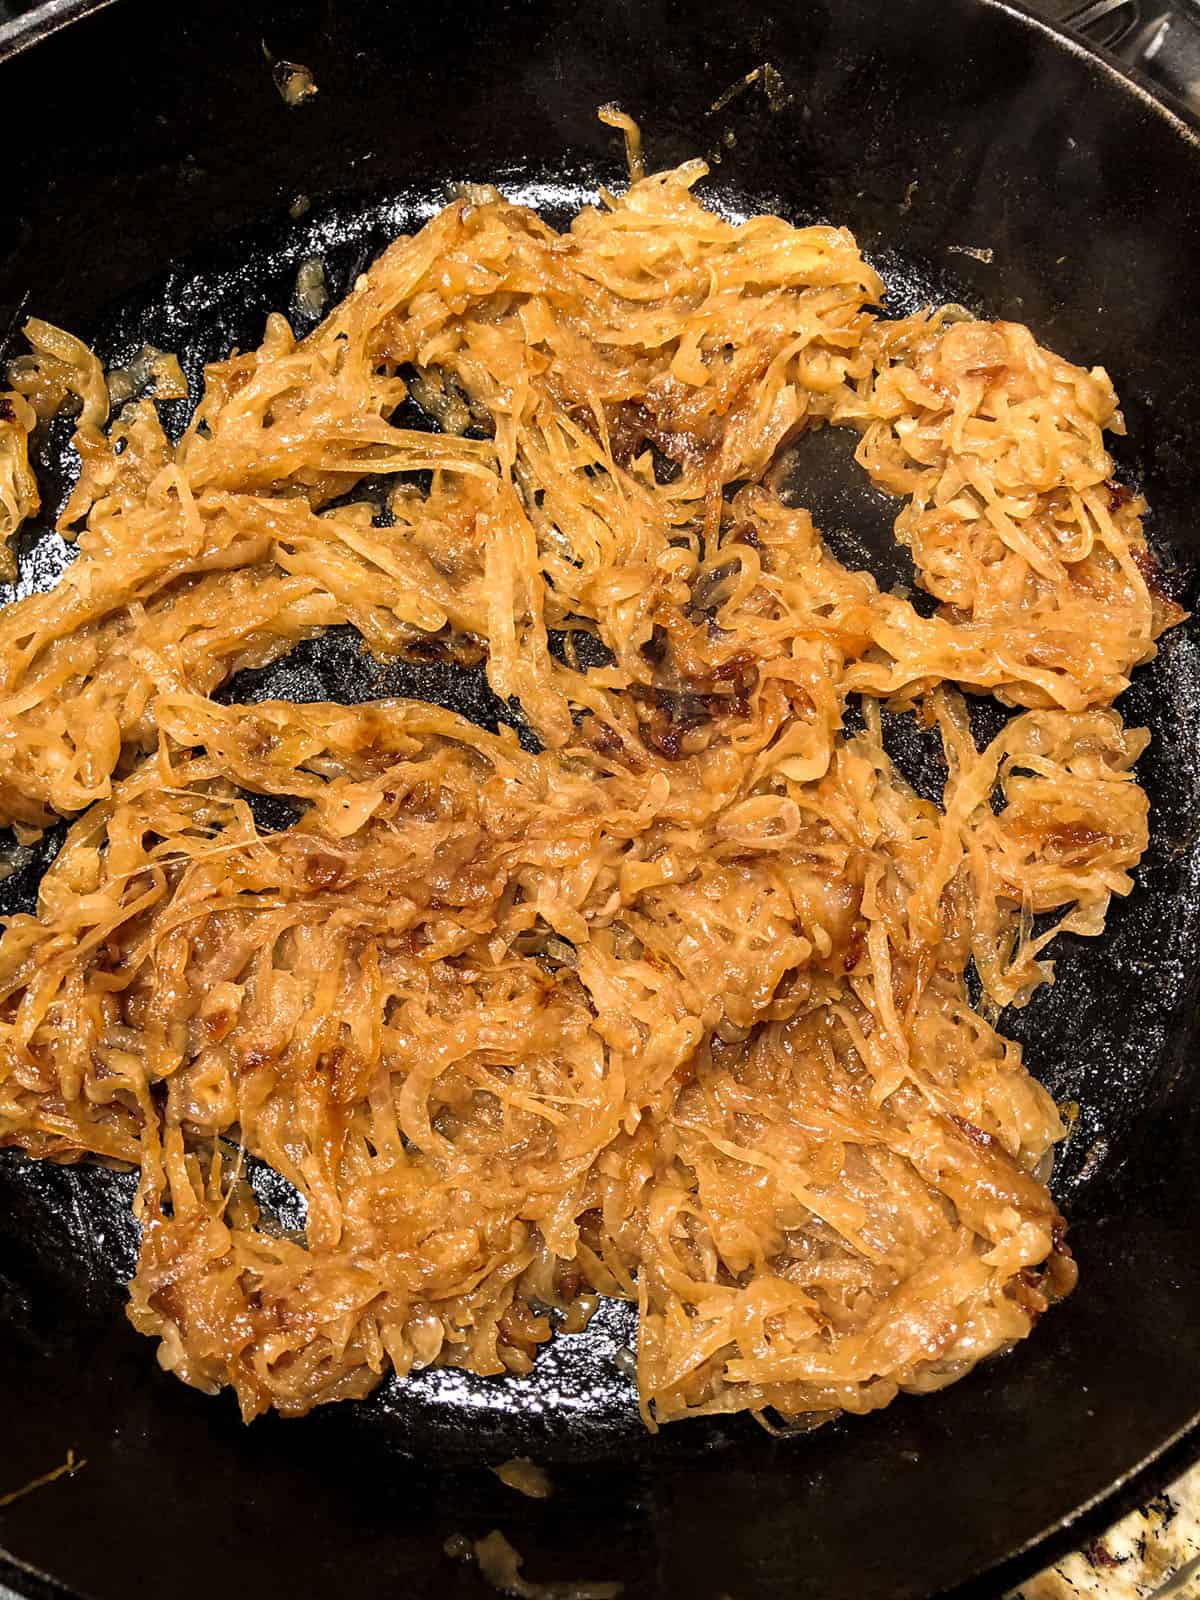
Sauté leeks and ham

- Melt butter in a heavy skillet.
- Add sliced leeks and sauté until soft.
- Stir in diced ham and cook until ham and leeks just start to brown.
- Remove from the heat and set aside until assembling.
Assemble breakfast casserole with ham

- Melt butter in the casserole dish and carefully tilt dish so the dish is coated with butter.
- Spread sautéed leeks and ham in the bottom of the casserole dish.
- Top leeks and ham with most of the cheese - save about ½ cup for topping the casserole.
- Pour egg mixture over the top of the shredded gruyere cheese.
- Sprinkle the remaining shredded cheese over the egg mixture.
- Bake in a 350°F oven.
Baking ham and cheese breakfast casserole

Covering the baking dish prevents the top of this breakfast casserole with ham and cheese from getting over-browned. If you like the top nice and crispy, brown then leave uncovered. Less brown, leave covered longer.
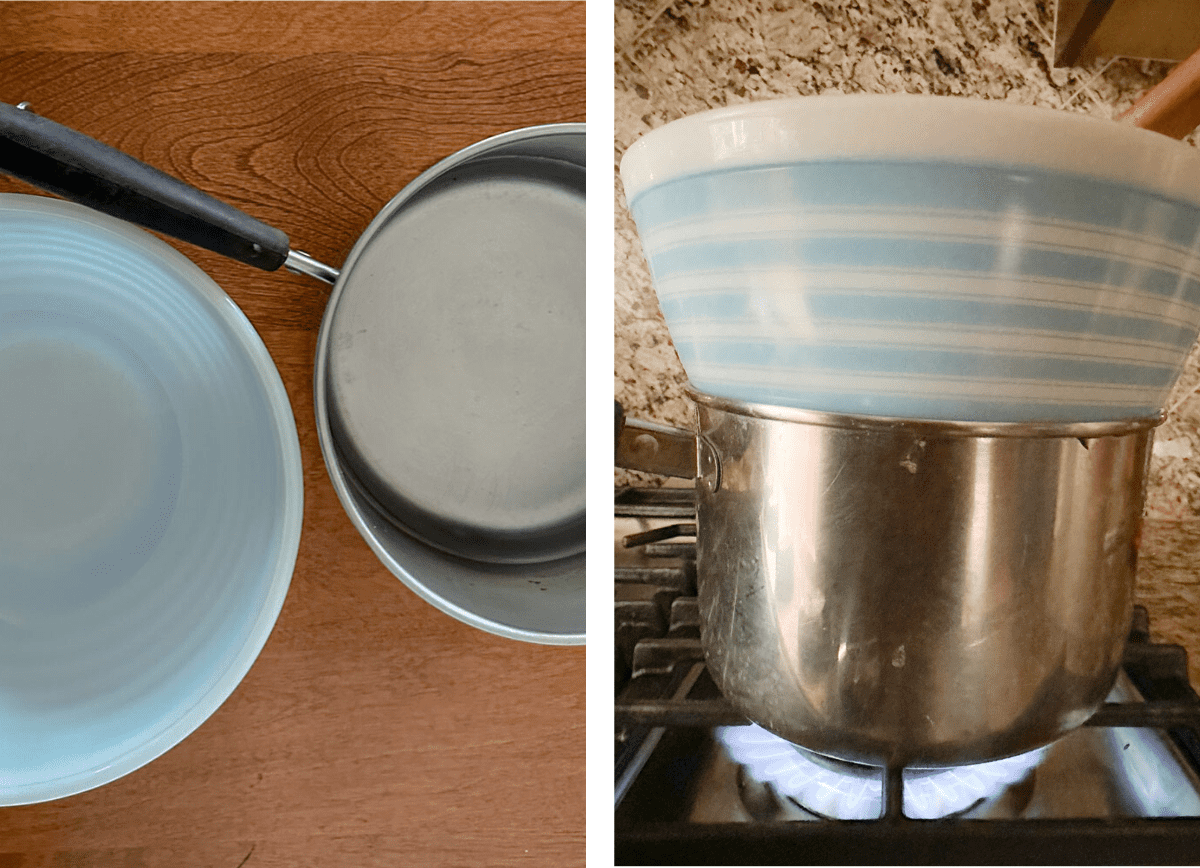
PRO TIP: We don't like using single use items (like foil or plastic wrap) in the kitchen. Whenever possible we use a cookie sheet as a cover for baking dishes instead of foil. It doesn't have to fit tight, just cover the top.

Equipment
Size of baking dish. We used a 13 x 9 inch baking pan for this egg casserole. If you are multiplying this recipe, you can bake this in multiple pans or a larger pan. However, if you use a larger pan, make sure it isn't just deeper, as you still want the leek, cheese, and egg mixture (before baking) to be no more than 2 inches thick. A thicker mixture may take longer to bake and may not cook evenly in the middle of the dish.
Type of pan to use. We recommend using a glass or ceramic pan for best results. Eggs can react with aluminum pans, causing them to turn green over time. An aluminum pan is okay if the eggs are going to be baked, cut and served on a platter. However, if you plan to serve the eggs on a buffet where they will sit for a while it's best to avoid using aluminum to avoid any discoloration. If you do use an aluminum pan and the eggs do turn green, they are still safe to eat, although they may not look as appealing.
Some favorite riffs
This breakfast casserole with ham and gruyere cheese is a great base recipe and so easy to make your own.
- Replace the ham with bacon or sausage.
- We like cream the best but milk or half and half will also work.
- Use shredded cheddar cheese, shredded white cheddar cheese, cream cheese, or goat cheese instead of gruyere cheese.
- Add additional veggies - spinach, bell peppers, broccoli, mushrooms, and asparagus are all good.
- Spice it up a little with some jalapeño peppers or a drizzle of hot sauce.

Make ahead tips
This breakfast casserole with ham and cheese can be made ahead of time and reheated in the morning. Mix and bake the egg breakfast casserole as directed, let it cool completely, and store in an airtight container in the refrigerator up to 3 days or the freezer up to 2 months. NOTE: You can store this in individual pieces or as a whole casserole.
Reheating tips
- REMINDER: Do not place a cold dish - especially glass or ceramic - into a hot oven, as the temperature difference can cause the dish to break. Allow the dish to come to room temperature before placing in the oven. Do this by removing the casserole from the fridge while you preheat your oven to 350°F.
- For the entire casserole cover the dish and place in a 350°F oven for 20-30 minutes or until warmed through.
- Reheating individual pieces will not take as long as a whole casserole. We recommend checking them every 5 minutes to see if they are heated through. You can also reheat individual pieces in the microwave. Just be careful not to heat too long as the eggs can become tough.
- If the casserole is frozen, thaw overnight in the fridge.
- For food safety, the USDA recommends the inside of the eggs should reach a temperature of 165°F when reheating them.
Saving Leftovers
The FDA recommends discarding any perishable food that has been out at room temperature for more than 2 hours.
If you are within the FDA guidelines, place any leftovers in an airtight container in the fridge for up to 3 days or the freezer for up to 2 months. Reheat before serving.
Other favorite breakfast recipes


Common FAQ's
Yes. Make this in advance and store for up to 3 days in the refrigerator or up to 2 months in the freezer. NOTE: You can store this in individual pieces or as a whole casserole. Reheat in a 350°F oven when ready to serve.
See above for more reheating instructions.
Yes - HOWEVER, we recommend making the casserole up to pouring the eggs over the top (step 9 in the recipe). Whisk the eggs and cream and refrigerate them separate from the other ingredients in the fridge overnight. In the morning pour the egg mixture over the leeks, ham, and cheese and top with the remaining cheese. Bake and serve.
Yes, bake as directed and let cool completely. Freeze the whole casserole or individual pieces in an airtight container for up to 2 months. See above for more notes on reheating the egg casserole.